In today's tutorial, you will learn how to write a unit test that will automatically test if your guards work as expected. I think most developers will agree, writing boring boilerplate unit test code sucks. After 30 minutes of writing this type of code, I sometimes feel the temptation to shoot myself in the foot so I have an excuse to stop. Having tests to ensure that the arguments/parameters are being passed into your methods is an essential part of knowing your system works as expected. I also find that these types of tests are the most tedious to write. Would it not be nicer if we could instead use a tool to confirm our argument validation works? The good news is that we can 😊
To quickly re-cap on guards, when you use dependency injection, you should aim to always use construction injection. When you use constructor injection, you should use a guard to guarantee that your class can not get instantiated without everything it needs. If you follow this principle, then you will also need to write unit tests to ensure that your guards are working correctly. If you are new to guards and want to learn more, start here.
The problem of writing unit tests for every combination of parameters, for every class, takes a long time and the process is TEDIOUS... trust me. To prove how boring writing this code is let us step through an example. Take this class:
For this class, I would normally write three tests to ensure that all the guards work. These tests would look like this:
Imagine working on a project with several thousand classes, imagine how boring it would be to write tests to check everything... One fateful day I bumped into a great library that makes life a lot less painful. In today's article, I'm going to cover how to use that library to help automate more of your code!
Introducing AutoFixture
AutoFixture is a great free library, written by Mark Seemann author of Dependency Injection within .NET. If you are new to dependency injection I recommend you read this book as it's very comprehensive (this was the book I read to learn more on dependency injection). Autofixture has a number of cool features that I'll cover at a later date, but today I'm going to focus on how it simplifies our tests when it comes to guards. You can install Autofixture via Nuget. You will also need to install two additional packages, AutoFixture.AutoMoq and AutoFixure.Idioms:
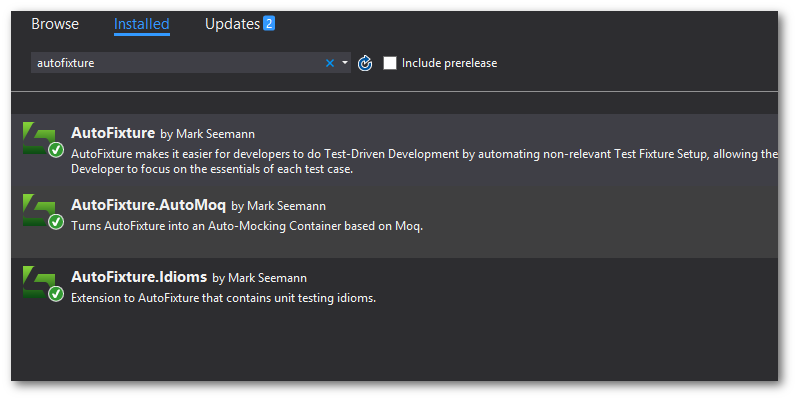
All of these packages can be installed using these commands:
Using AutoFixture To Test Our Guards
So how can we use Autoficture to reduce these boring tests, simple? First, we create a helper method like so:
We can now simplify our tests like so:
Look how much simpler the code has become! With a one-liner, we can ensure that everything is passed into the constructor throws an argument exception if not present. If not the test will fail. Even though this snippet looks pretty simple, it really can save you and your team a lot of effort over the course of a large project.
One limitation of this code is that everything needs to be the same. If a guard fails, throwing a custom exception that includes a message with the failing parameter name is a good idea. Having a custom exception would break the auto-guard code. To extend the code above to cater for this new scenario, you will need to write your own custom behaviour expectation. A behaviour expectation is a way you to customise things to ensure your auto-guard checks work the way you need them to. To allow the guard code to work, with a custom validation message, I created this custom behaviour expectation within my unit test project:
Updating the guard code to work with the new behaviour is done like this:
Using this approach, you can still auto-test your guards, using whatever method you want. Happy Coding 🤘