In this tutorial, you will learn how to manually enable and disable different languages within the Episerver CMS backend. If a client can afford to pay for an Episerver license, it is likely they will be a bigger company that has customers all over the world. As a developer, this means you will need to build your project with multi-language support. In Episerver, working with different languages is very simple and in this post, you will learn how to enable multiple languages. This post is the first in a series of articles that will teach you how to enable multiple languages in your website and provide all the code you need to get started.
Selecting The Languages
Log into the Episerver admin and go to the Manage Website Languages page, enabling the languages you want to work with. You can see where and how this screen looks like below:
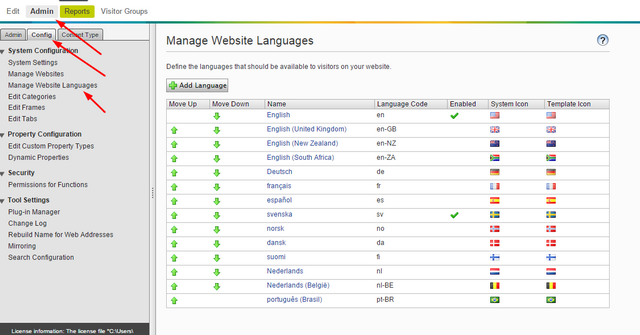
To enable the languages you want to work with, click on the little checkbox next to each language. WHen you are finished, click the save button.
Adding Data Into Your Pages
So, now you have language enabled on your site, the next thing is to add some multi-language content. In your page and block type definitions, you will need to decorate any property that you want to allow translated content to be associated with using the [CultureSpecific] attribute.
Swapping Languages Within The Editor And Adding Content
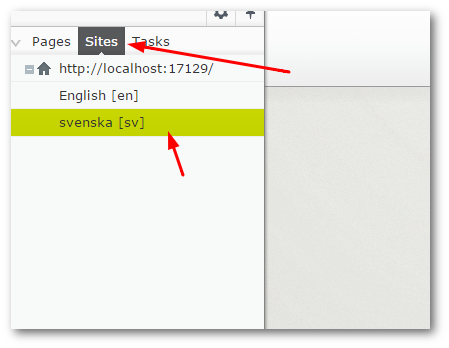
Now you have languages enabled and a way to store that multi-language data in Episerver, our next task is to create some content in a different language! To do this, go into Episerver editor and click on the navigation pane button to open the page tree screen:

Click the Sites tab and double click on the language you want to create:
If you select a page and you encounter a translation warning (as seen in the screenshot below) this means that the language has not to be associated with that page/section in the content tree. This is a content editing configuration you will need to make. If you hit the translate button on the top right, you will then be given the option to add enable the language you have specified.
Remember, the fields you can edit will be determined by which page properties you've set the [CultureSpecific] attributes on within your page and block type definition files.

Setting WhichLanguages Can Be Used On Which Areas
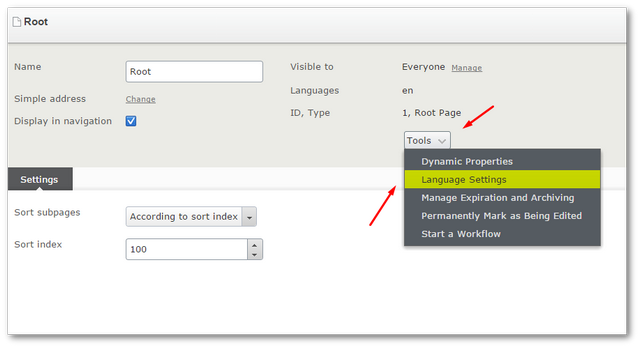
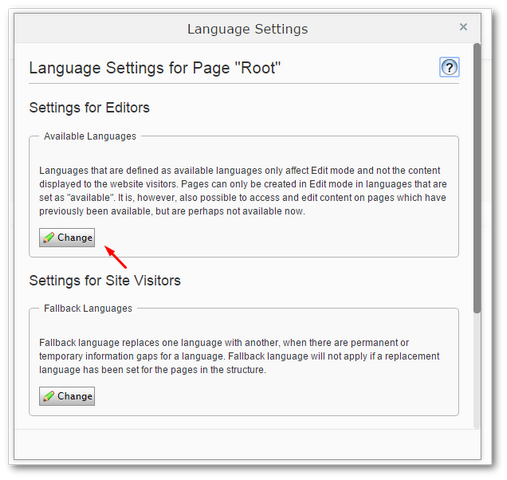
To set which languages a content editor can use against a page, or, an area, make sure you have logged into the CMS as an admin. Select your root page in the editor tree, on the pages properties select:
Tools ➡ Manage Languages
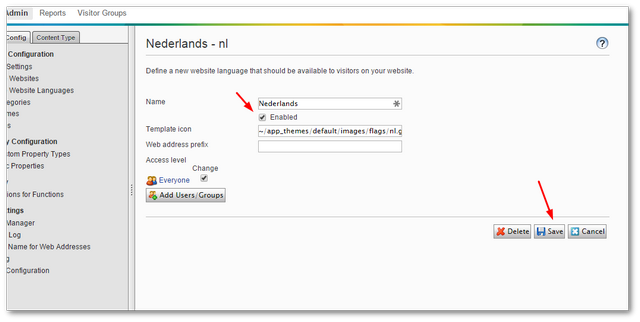
Select the Change button:
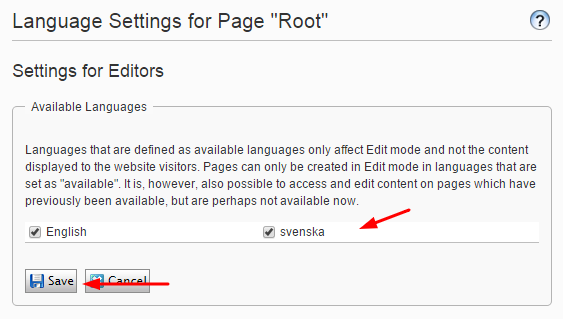
Next, enable the language you want to be available to editors to work with. As we are doing this on the root this change will reflect all pages. Hit the Save button:
Following those steps should be enough to allow content editors to add content in multi-languages on a per-page basis. To apply language settings globally on the page tree you need to enable the "Inherit Settings From the Parent Page" option. To enable this, go to the page you have defined as your Start Page, then click:
Tools ➡ Manage Languages (like we did for the root)
You should see a check-box called "Inherit Settings From the Parent Page". Tick this and then click Save. The permissions you select will now be replicated down the tree. Happy Coding 🤘
