In this tutorial, you will learn how to create a continuous integration (Cd/Cd) pipeline that gets trigger whenever you push code into a GitHub repository. The good news is that the tooling required to do this is completely free, using TravisCI. This tutorial will assume you are writing a Javascript application, however, TravisCI does work with other languages. Despite all the information that is available online, a lot of teams never bother getting around to setting up a CI pipeline. Whenever I have asked a team that I have encountered who doesn't use a pipeline why? The most common response is a lack of time or knowledge to get started. This isn't true. Within around 15 minutes you can add a build pipeline to your project within minimal knowledge, sounds good, then read on!
What Is Travis CI
TravisCI is a continuous integration tool, it integrates into Github easily. TravisCI will run your unit tests on every commit and then email the results to an inbox of your choice. The best part... it's free for open-source projects! To get started you will need to create an account with Travis CI here.
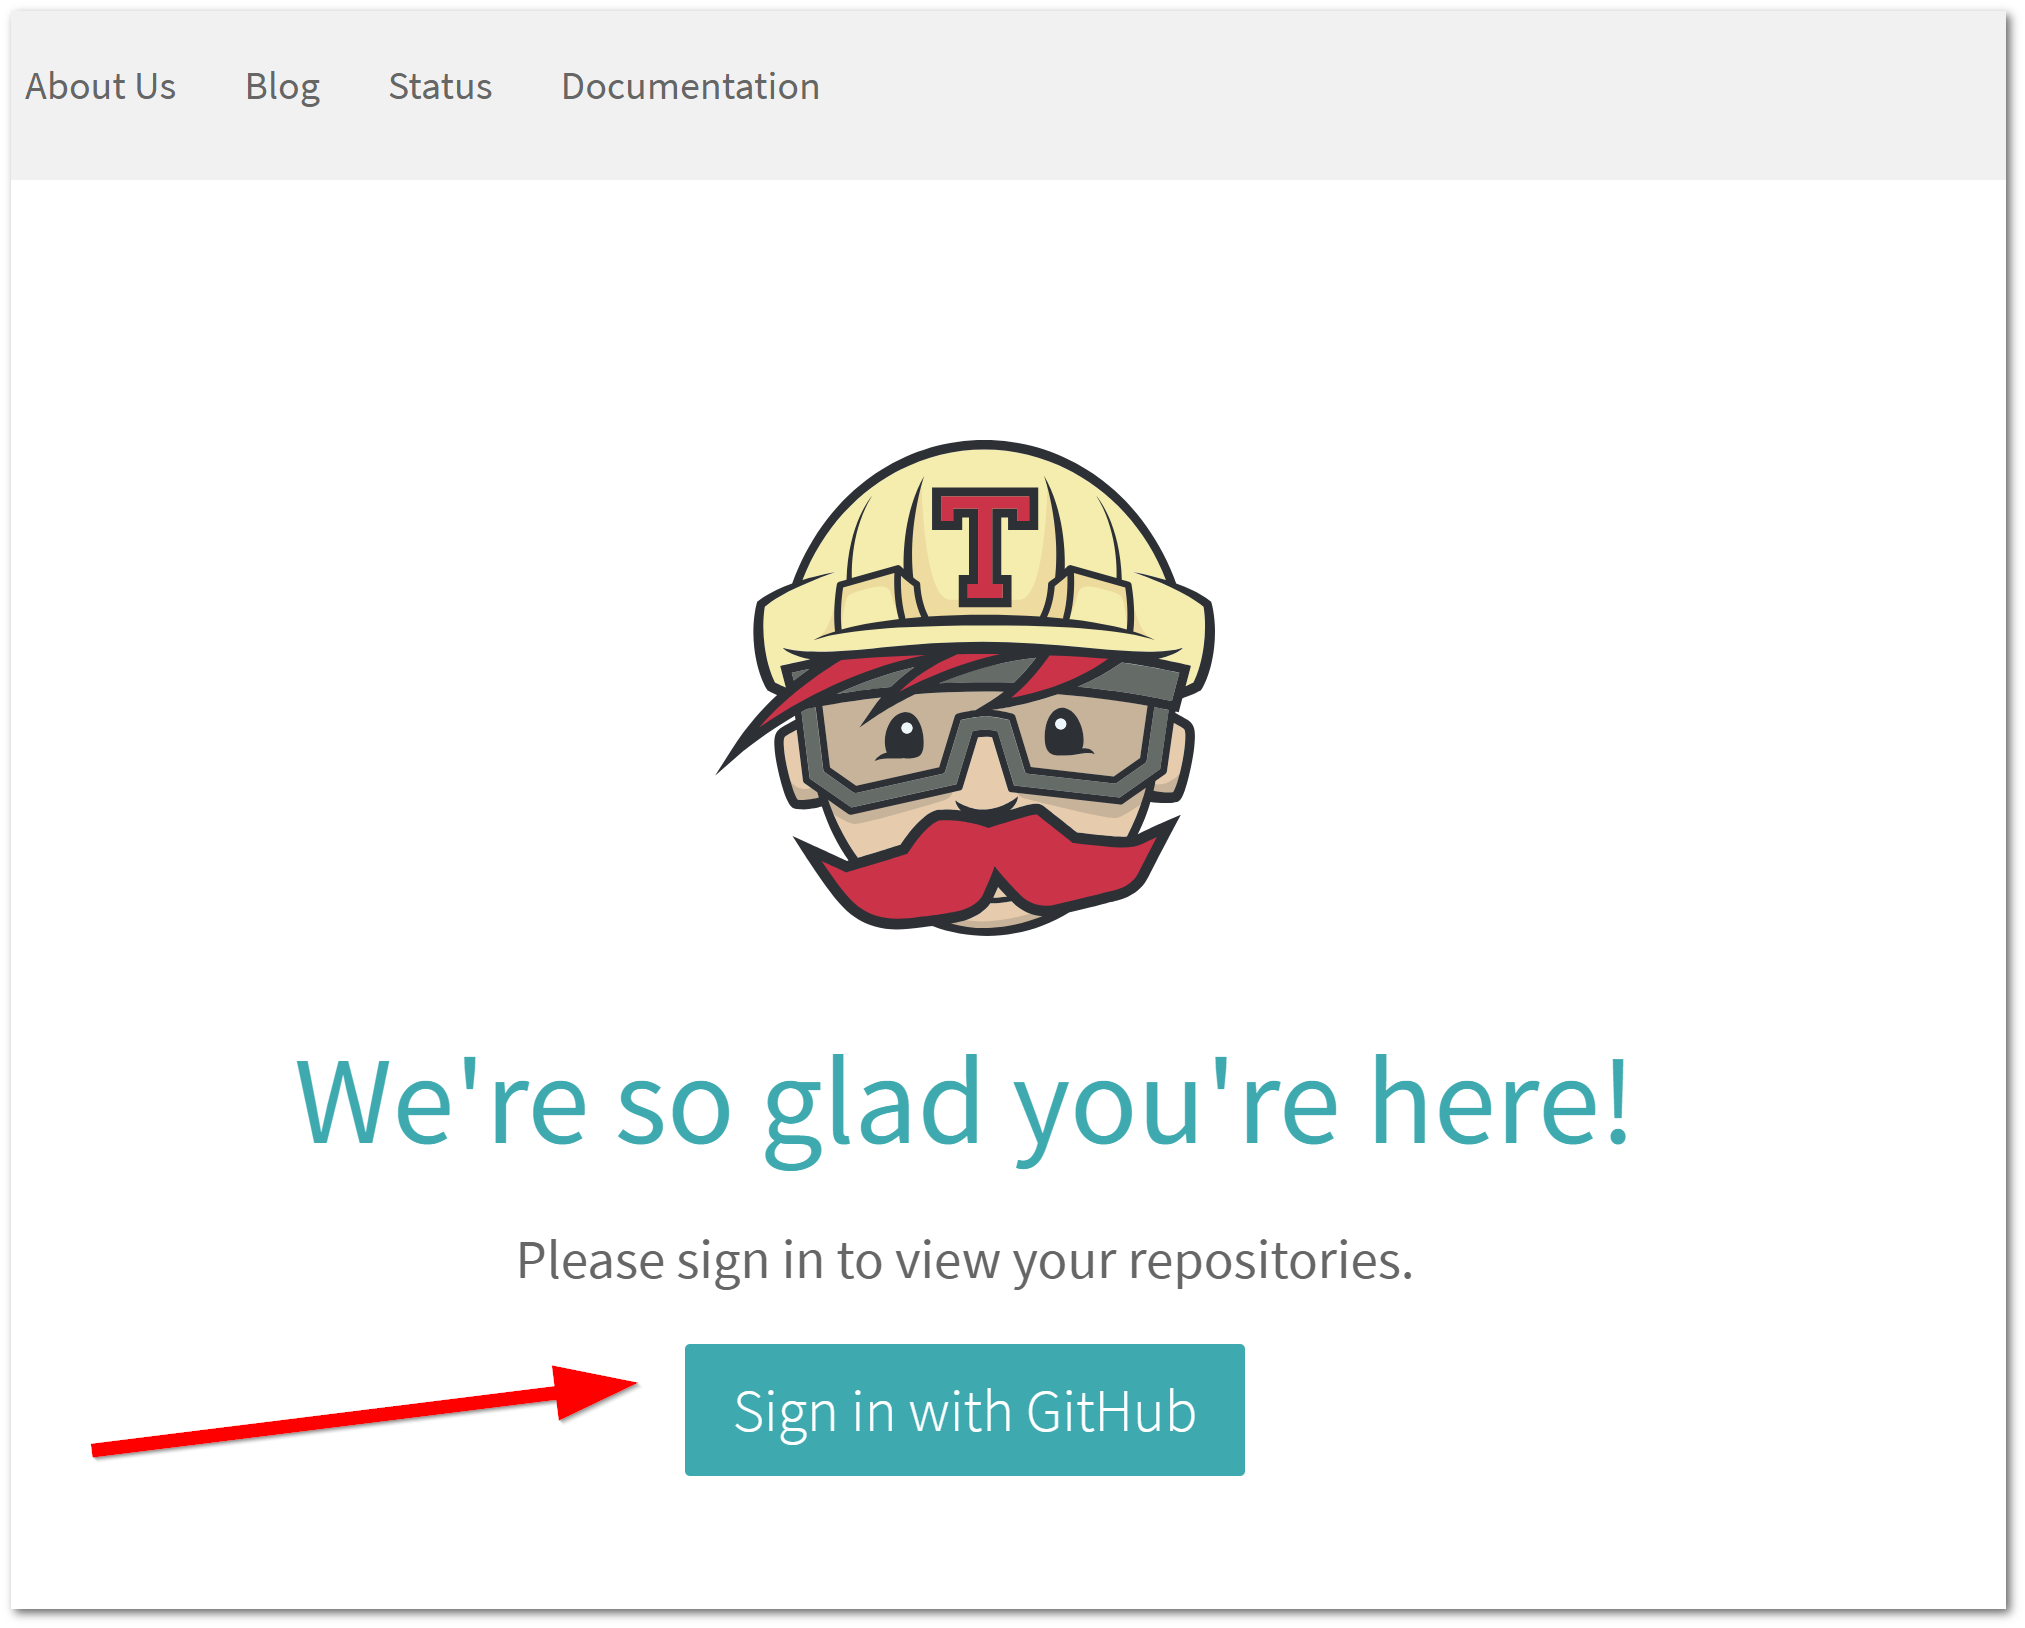
Sign in with your Github account and head over to the repositories page, the link should look like this:
https://travis-ci.org/account/repositories
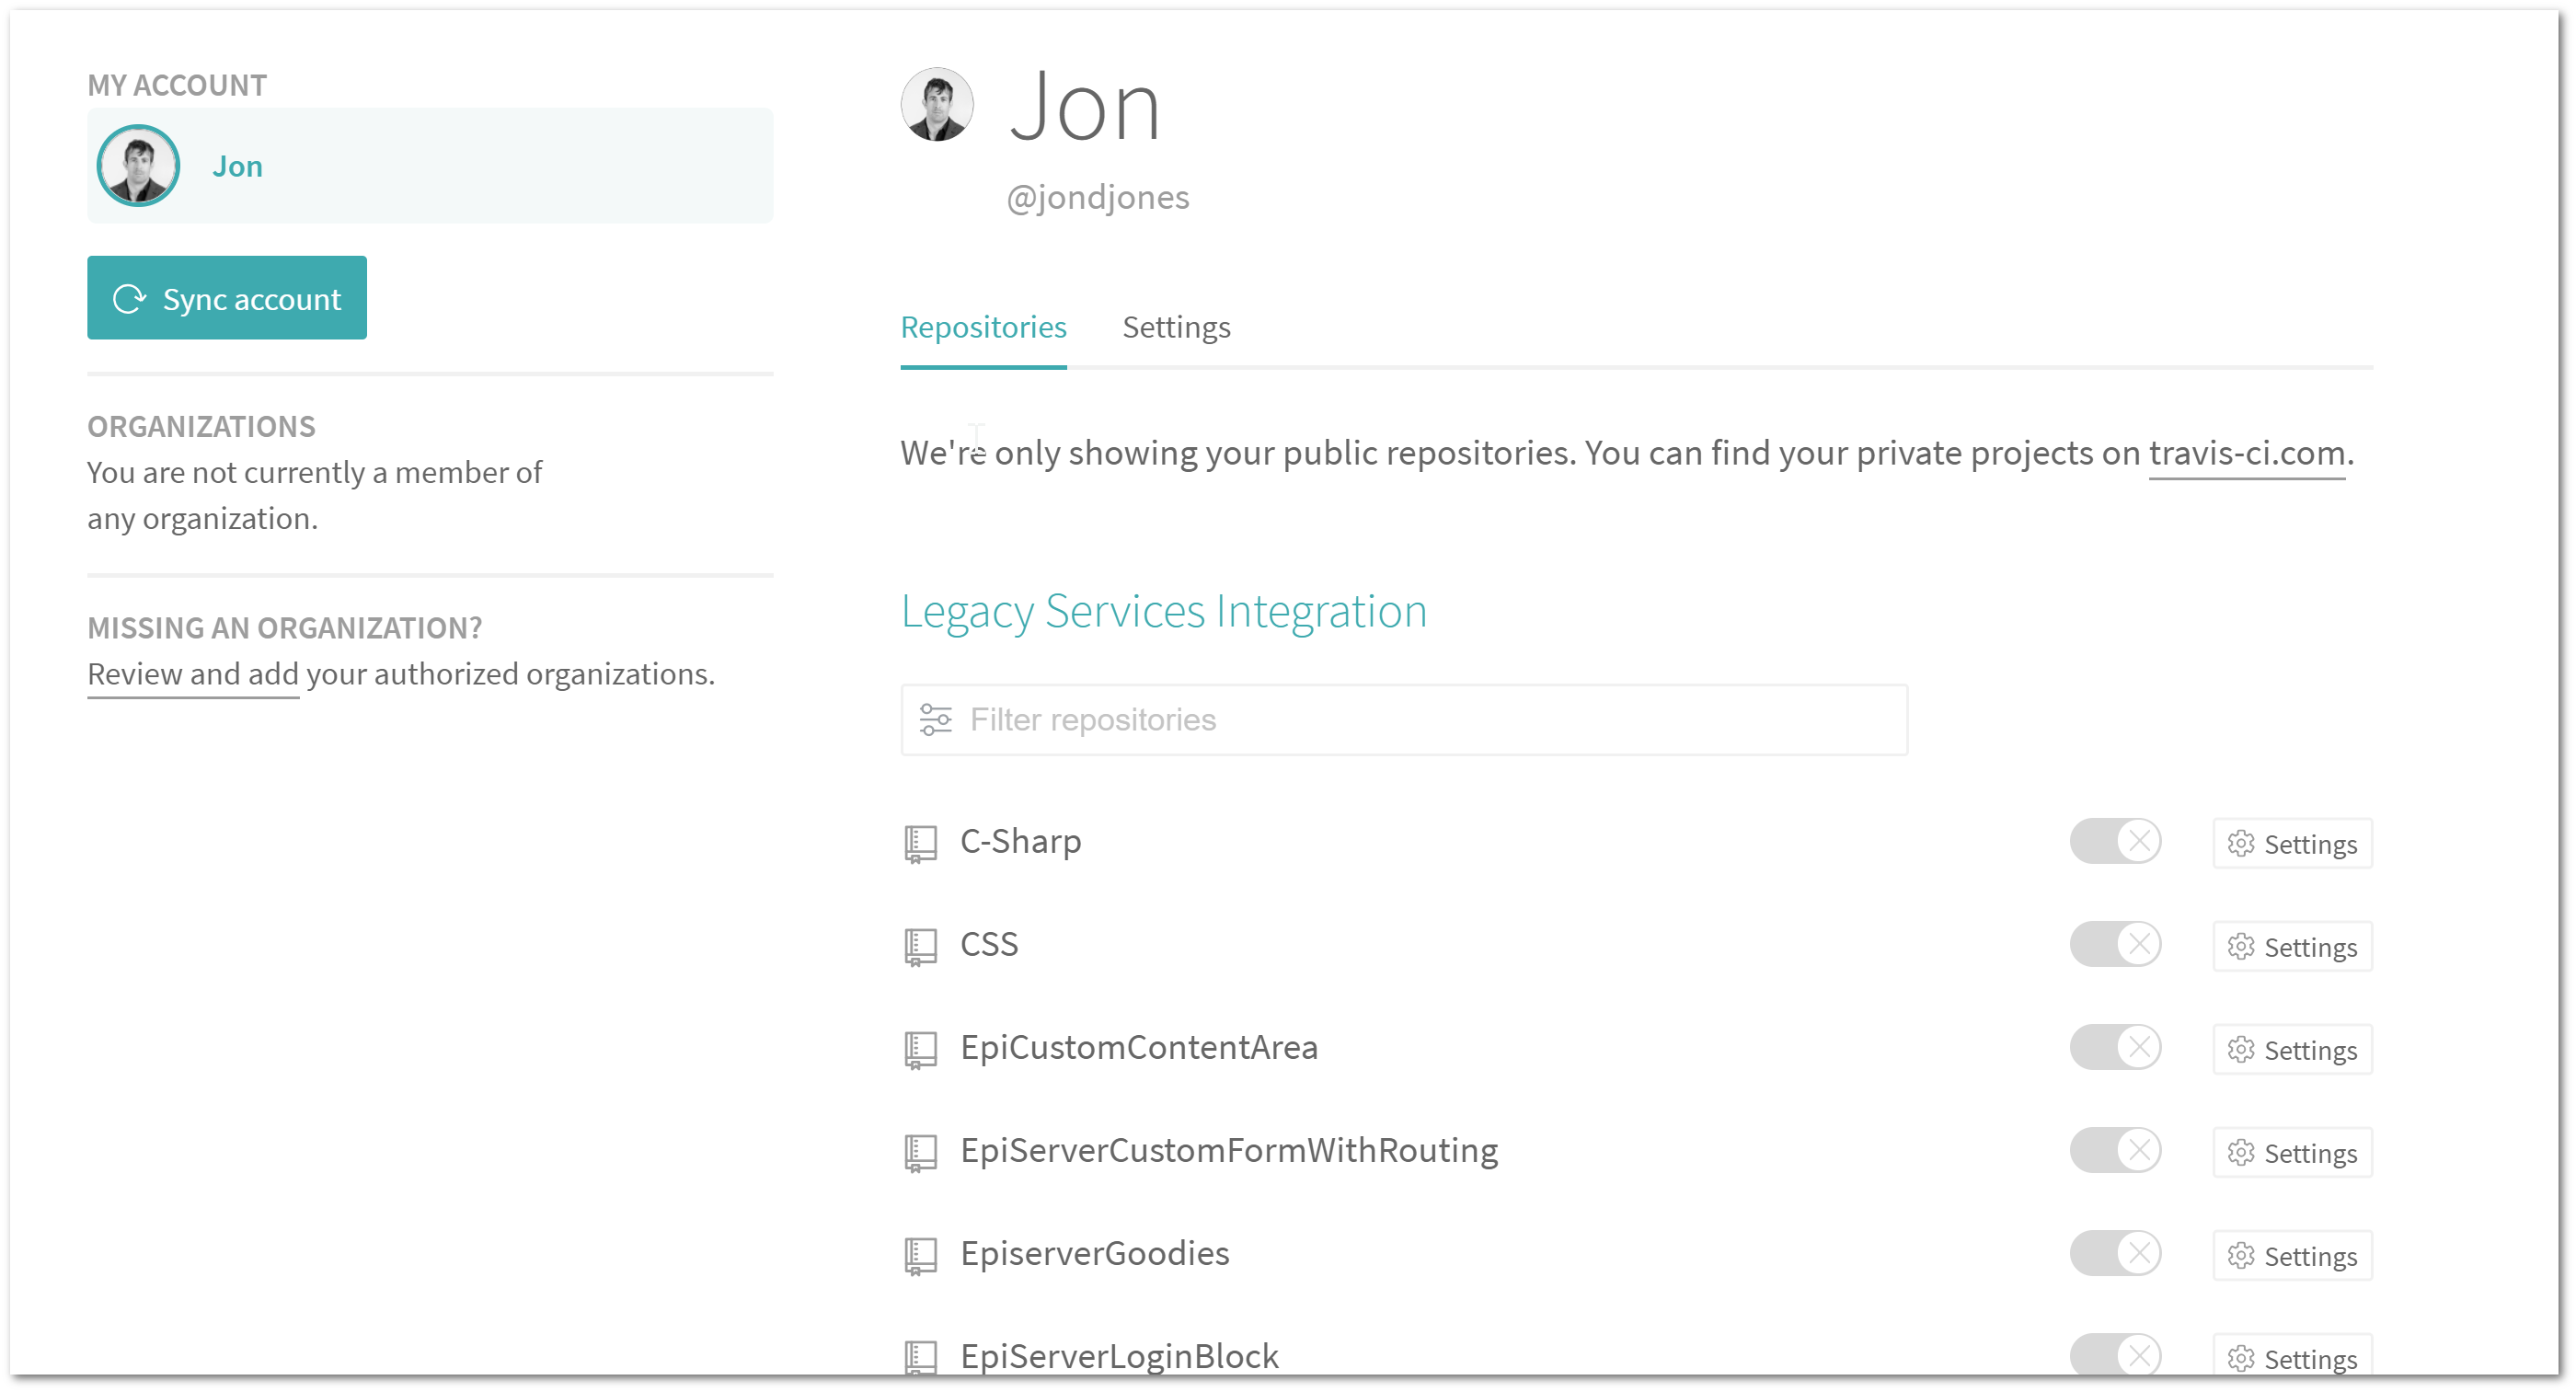
From this page, you will see a list of all of your public Github repositories. To create a new Ci/Cd pipeline, simply click the enabled button against the repository of your choice:

Before your new Ci/Cd pipeline will start triggering when you push, you will need to add a config file into your solution. In your Javascript project in your root folder create a file called .travis.yml. Here you will need to structure the file like this:
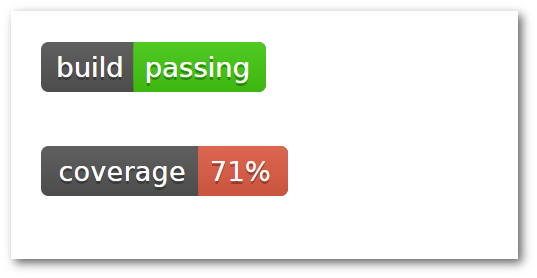
With this file created, add the file, commit and push it. After doing this, you should see a build trigger in Travis! It really is that easy to set up a Ci/Cd pipeline into your Javascript projects. The next thing that I recommend you do is add the state of your build to your repository so it is easy to see when things break. You may have noticed those cool little badges on some projects readme.md, like this one:
Adding this to your repository is simply a matter of creating a readme.md file in the root of your application (assuming one does not already exist) and then paste a single line of markdown into it. To get this markdown snippet, log into TravisCI and go to the repositories page. Find your project and click the settings button:

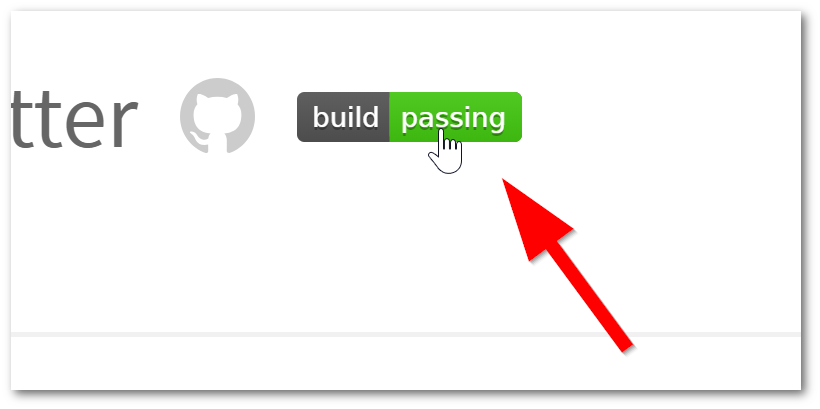
Next, click the build icon against your project:
From the pop-up, ensure that markdown is selected from the drop-down.
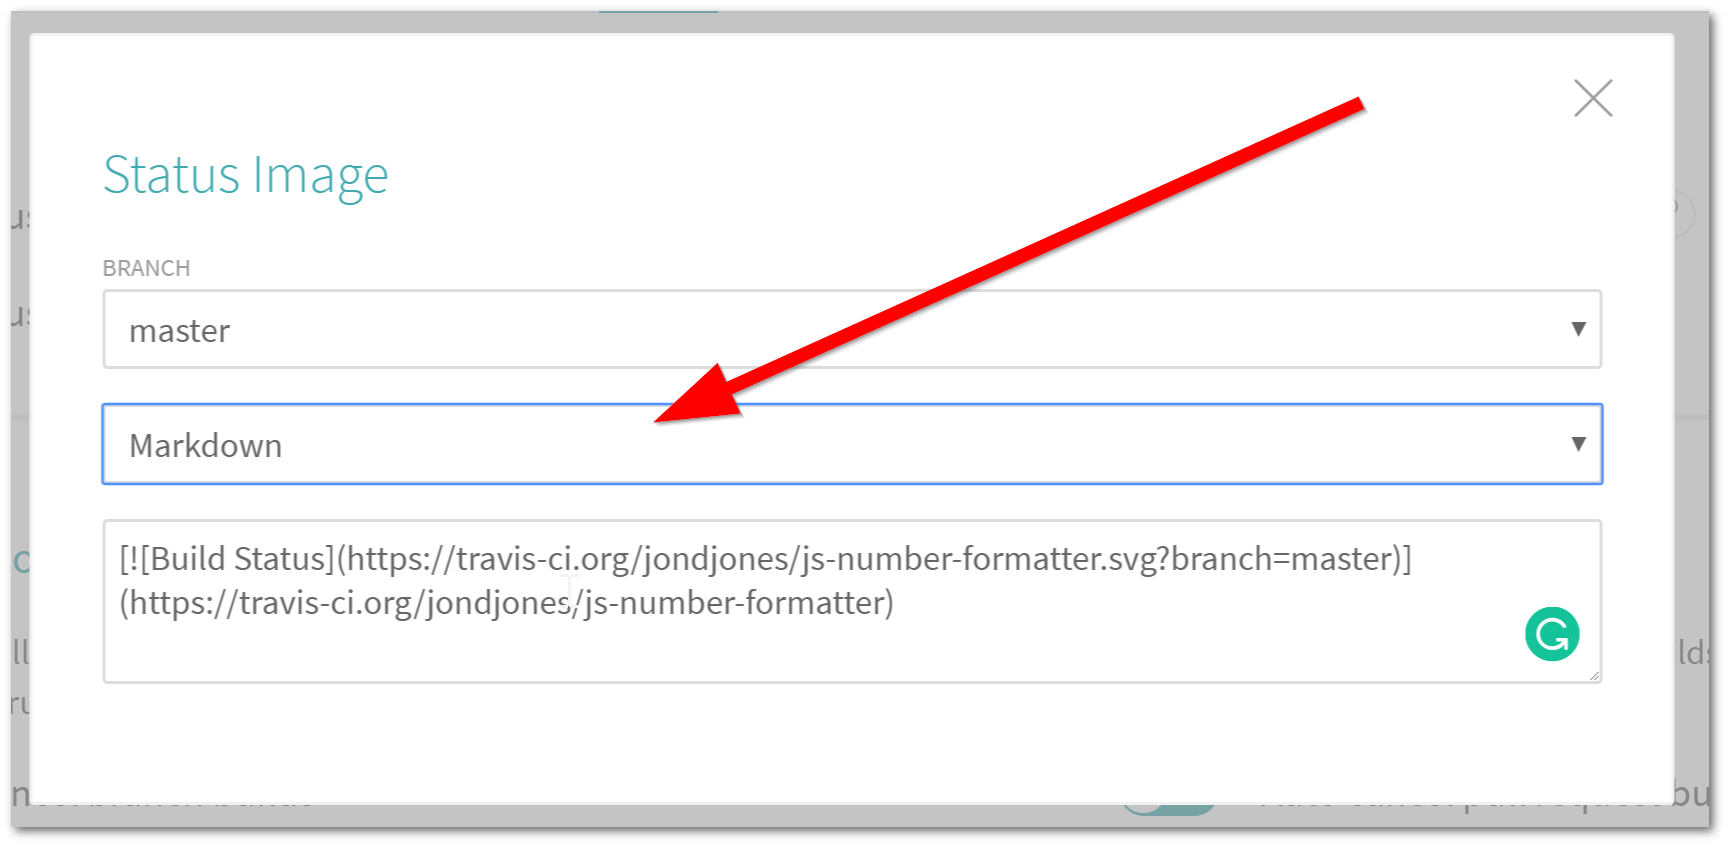
Next, copy the text snippet and then add it within your readme.md file. Commit and push the updates and you should now see the build status when you view your readme.md in Github! That's all it takes to set up a simple Ci/Cd pipeline that integratess it into your project. Happy Coding 🤘