In this tutorial, you will learn about a very quick and easy approach that will allow you to host a ReactJs application using normal web hosting. After following the steps in this tutorial, you will have a website that anyone in the world will be able to view. Most tutorials that discuss hosting ReactJs application tend to dive into the deep end. Many tutorials assume that you need something new like Netlify, Heroku, etc... in order to host your application. When practising on a hobby project, more often than not you just want to get shit done and get shit shipped! If you already have a normal web hosting account already you have everything you need. The approach I'm outlining within this tutorial is aimed at developers who are new to ReactJS and who want a simple way to host their applications. Let us make things super simple!
Configuring Your Application
To keep things super simple when you start out I recommend that you create your ReactJS application using create-react-app. After installing create-react-app, the first thing you need to do is compile your application. If you look within your package.json file, you should see a scripts section:
These scripts define the compiling options you can run against your application. To run these scripts you will need to use a package manager. As of writing the two most popular ones are yarn and NPM. To build your application using yarn within a terminal type this command:
These commands will go off and compile your project into Javascript that a browser will understand. The 'NPM' equivalent command is very similar. Within a terminal you basically swap yarn for npm, like so:
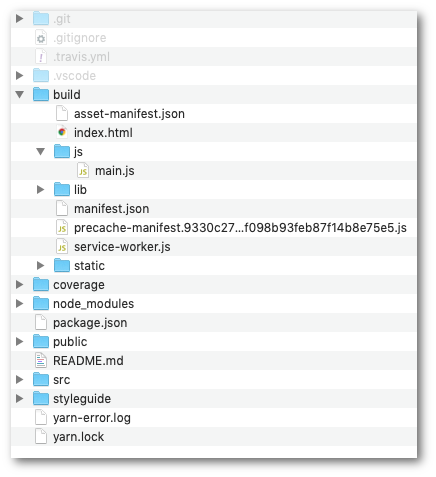
When your project has successfully built, you should see a folder within your application called build. All the files required to run your application can be found within this build folder:
After you have successfully compiled the code, you have everything you need to host your react app. Simple so far right?
Hosting The App
To host your application you will need to purchase a web domain and buy some hosting. There are hundreds of providers out there who will supply this service for you. I've used https://www.100webspace.com/ for years and can recommend them. They are not only very cheap their response to support queries is EPIC. Sometimes I've had a reply to a support question in less than 2 minutes. Hosting usually costs me about $20 a year to register and host a domain, which is very cheap.
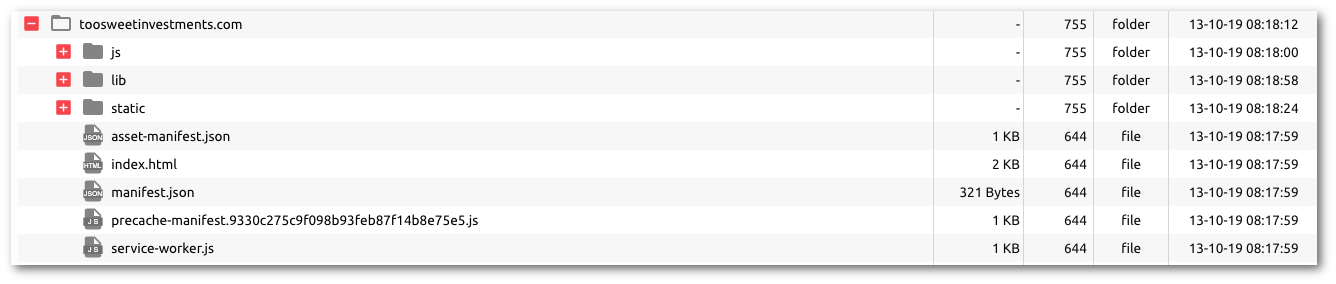
In your hosting companies portal, you will normally see a section called 'files' or 'file manager'. In the file manager, you'll see a list of all the domains and their corresponding directories. To get your react application working, all you need to do is copy all the contents inside the build folder into the root domain of the folder in your hosting domain. For 100webspace this looks like this:
After copying your files you should be able to now view your website via a web browser. Assuming you will use Linux hosting as it is cheaper, if you see a permissions error, you may need to create a .htaccess file. The .htaccess will configure the webserver - Apache - to allow requests to load your react application. This file should look like this:
When you view your website in a browser it should now load. As I have hopefully shown you getting a simple ReactJs application to load using a normal web host is straightforward. This approach is great for people starting out or for sites that will only be updated once in a while. If you care about performance, running unit tests, working in a team etc... then I suggest you start looking into web-pack and how to create a Ci/Cd pipeline using something like Netlify.