In this tutorial, you will learn how to render BootStrap grids within Episerver CMS. When you use Bootstrap as the grid framework within an EpiServer CMS powered website, anything you want to render inside of a grid needs to render using the correct HTML. Items inside a grid need to render in a row and column format. In the rules of Bootstrap grids, pages should be made up of rows, each containing items with column widths that add up to 12.
Episerver, on the other hand, provides a really flexible and configurable block architecture. Blocks allow content editors to arrange page layouts in new and creative ways. Episerver has no notion of the correct way to structure items to allow for valid Bootstrap HTML to be rendered on the page. These two requirements create a bit of friction for us as implementers when trying to wire up Bootstrap and Episerver. Content editors need to have some form of understanding of Bootstrap grid layouts when adding blocks to a page, otherwise, the rendered Grid HTML might be invalid. This in turn may cause your page layouts to render strangely.
This means we need to write some custom code to try and make this situation better. There are a number of approaches to solving this. In today's tutorial, I'm going to cover all the code that you need in order to create a content area, that only accepts a row block. The row block will then be configured with a custom Episerver validation attribute that will prevent content editors from adding blocks with widths that are greater than 12 columns. This approach isn't the only way of configuring Episerver to work with Bootstrap, however, I've personally used this approach many times and it works well, so let's begin:
How Do I Restrict A Content Area To Only Content Editors To Add Certain Blocks
Restricting a content area to only allow a row block to be added is simple. You can use the 'AllowedTypes' attribute, like so:
Using this approach ensures that your HTML will always have a wrapping row block. The row blocks HTML is simple and it looks like this:
And the row blocks-type definition woudl look like this:
The issue with this code is that content editors can still add as many blocks as they want to inside the row block, breaking the maximum of 12 columns per row rule. To get around this we can create a custom validation attribute. TO deal with custom block widths you will need to enable something called a display option. Display options are Episerver's way of giving the power to a content editor to decide how wide a block should render on a page. To pre-warn you now, you'll need a lot of boilerplate code to enable display options 😢
I'll cover the validation attribute first as that's the clever bit as that's the important thing for this tutorial. You can see display options in my base sample site, available from my Github here, just in case you get stuck 😊
In the example above, we inherit from ValidationAttribute and implement the IsValid method. Here, we get all the items within a content area using the Items collection. We can then iterate through each one. For each block, we get the display option that has been associated with it, get its width and add that number to a total width count. If that count gets higher than 12, false is returned which will prevent the content editor from being able to save the page. Instead, a warning message will be displayed!
Whenever I enable display options within a site, I recommend creating a custom DisplayOptionEnum enum to represent all the display options. In this way, you can have one thing that defines the display option name, the bootstrap class name and the import bit in our case an integer value indicating the width of the column. If you are wondering how you attach the attribute to your pages or blocks, you simply decorate your content area property like this:
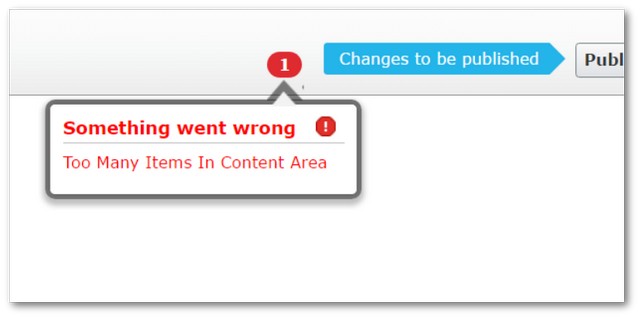
Now, if you run Episerver and try and a content editor tried to add too many blocks and they exceed the bootstrap column limit, this error will display within the CMS:
As a comic book writer who worked at Marvel once wrote, "with great power, comes more headaches for developers". The aim of this tutorial is to get you to think about the importance of structuring an Episerver backend while keeping the end HTML in mind, This approach isn't the only way of enforcing that grid markup is outputted correctly. This approach does mean you can 100% ensure the end row and columns HTML structure is rendered in the way you need it to be. Happy Coding 🤘
