In this tutorial, you will learn how to install Mongo DB on your local development PC and then configure Sitecore CMS to use it. As of Sitecore v7.5, the Sitecore Experience Database was introduced (xDB). The official xDB blurb is that 'xDB collects all your customer interactions from all channel sources in a real-time, big data repository.' In normal terms, it's real time analytics for your website. In order for xDB to run quickly enough without adding an excessive amount of network traffic, Sitecore moved from a normal SQL database and switched to a NoSQL approach. The NoSQL framework they picked was Mongo. If you want to learn how to get Mongo up and running with Sitecore, read on 🔥🔥🔥
How To Install Mongo
The first thing you will need to do is get a copy of Mongo. You can download the installer here.
When you run the installer, you'll be greeted with the usual welcome screen, click Next:
Agree to sell your soul and agree to the T&C's:

Select Complete installation and then click Install. Mongo will then go off and install all the files you need 💥
Configuring Mongo with Sitecore CMS
Running Mongo is really easy, all you need to do is run mongod.exe from within a terminal. You can find mongod.exe in the Mongo bin folder. The default locations is normally here:
If you try running Mongo directly you should see a Data Directroy Not Found error:
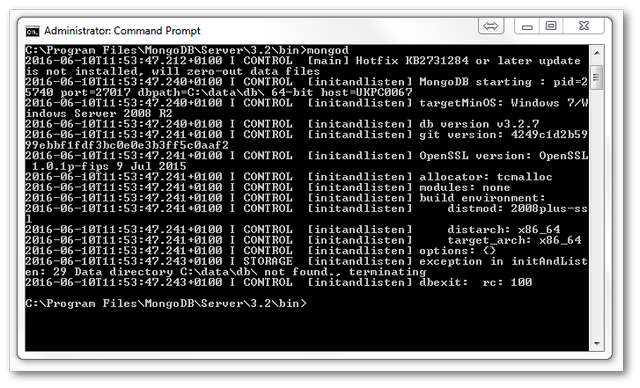
To get around this, you need to create a folder where Mongo will create the database. The default database location within your Sitecore instance should be Data\DB create this folder to fix the error.
You can also configure Mongo to use a location of your choice. When we work with Sitecore, it is very likely that you will probably be working on more than one site, so splitting your different websites' databases into different folders is highly recommended. If you go this route, I recommend creating a batch file per Sitecore instance that you work on. The file should load Mongo with a flag that tells it to launch using the correct folder for that instance. This will save you some time. The batch file would look something like this:
After you have created your batch file, get it up and running, load Sitecore and you are now running Sitecore with Mongo! Job one 💥
RoboMongo
If you are new to Mongo, I would recommend you download RoboMongo. RoboMongo is a UI manager for MongoDB that will allow you to more easily work with the data contained inside the database. The best news is that then community version is free:
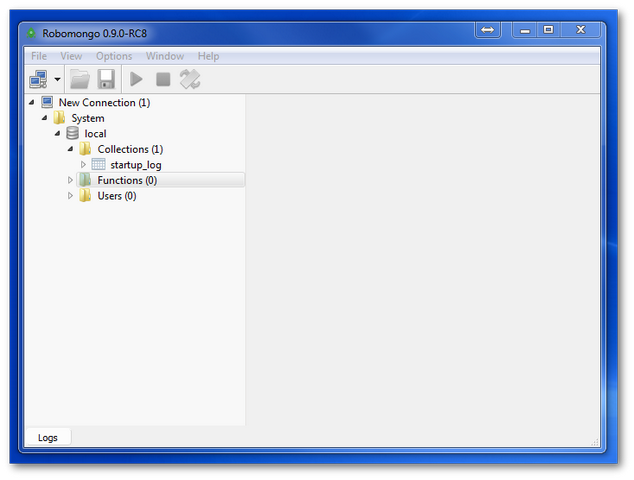
RoboMongo allows you to view your Mongo indexes and help you test that your connection strings are all set correctly. This can save you lots of time 😊
Mongo Versions
Depending on which version of Sitecore you use, you will need to be careful about which version of Mongo to install. At the time of writing, Sitecore 8, Update 5, supports MongoDB 3.0. Older versions of Sitecore are only compatible with Mongo 2.6.x. Check on the documentation about which version of Mongo you need to use. xDB will not work if you use the wrong version 😱
You now know how to install and get MongoDb up and running with Sitecore CMS. Installing Mongo is very quick and easy and you should be up and running within minutes. Happy Coding 🤘