In this tutorial, you will learn how to install the search module for Episerver CMS. Episerver provides a free search module that anyone can easily use and add to their Episerver powered website. The module is not installed with the core CMS pacakges and it will require you to do a seprate install. This guide will talk you through that process and provide some troubleshooting advice for potential issues that you may encounter 🔥🔥🔥
Creating an Episerver website is done using the Episerver Visual Studio extension. When you run through this upgrade process, you have the option to install the search module:
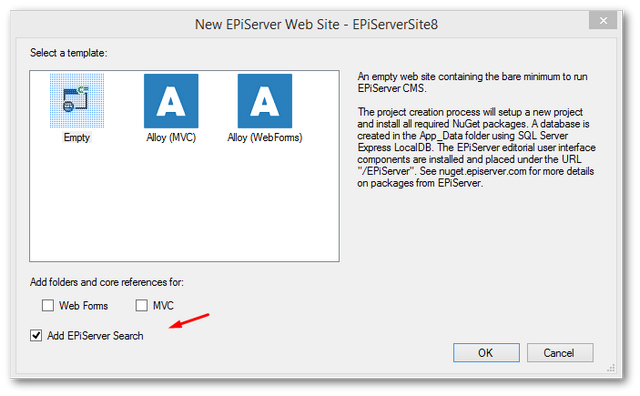
Simply, tick Add Episerver Search. Jone done 💥
If you already have an existing Episerver website, don't panic as you can install the search module anytime via NuGet. To install the module, fire up the Nuget browser:
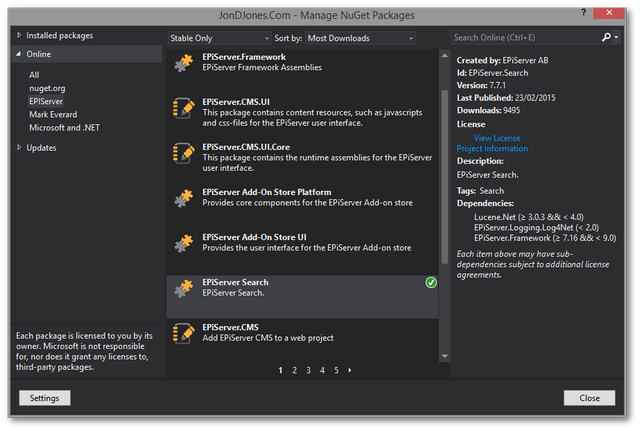
In the Episerver Nuget feed (not the default NuGet feed), search for a package called Episerver.Search package and install it. Install it and recompile your website:
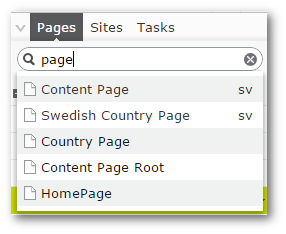
Now you have your search installed the internal search within the editor should work. If this does not and only a "Content not found" message is displayed the module has not been installed correctly 😔. A good tip is to try and search for \*. If the only search result returned is the recycle bin, Houston you have a problem!
When you installed the search module it should add a config section in the web.config file, which looks something like this:
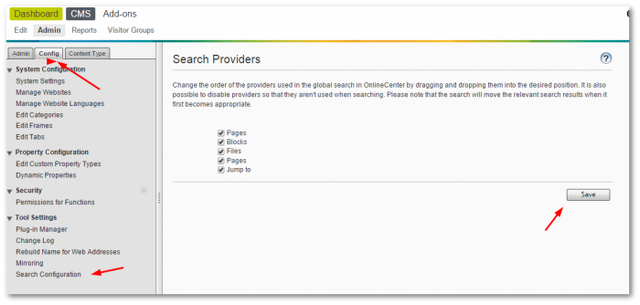
If the section and the config within it look good, the next step is to make sure that the search is enabled in the Episerver admin UI. To do this, go to:
Admin ➡Config ➡ Search Configuration
Make sure everything is checked and then click save:
After enabling the search, you need to run the search index job. You can access this from within the Episerver admin UI, or, you can use this URL:
http://YOUR_WEBSITE//EPiServer/CMS/Admin/IndexContent.aspx
You will know that you have got to the correct place as you will be presented with the search index page:
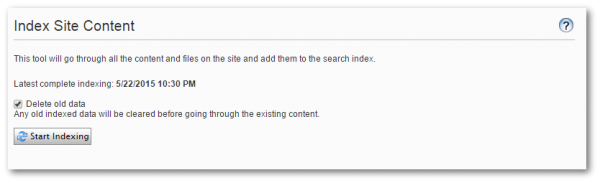
Click the re-index button and your site will re-index. The search index works by creating some files within your webroot. You can find these files at this location:
App_data ➡ Index ➡ Main
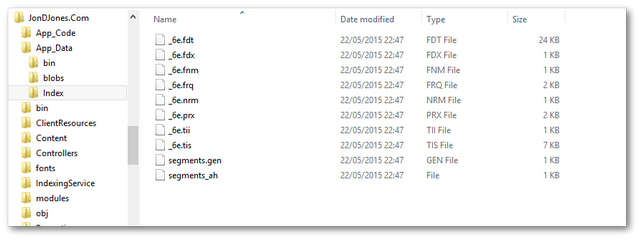
After running the job, some index files should now be generated within this folder. If you can't see anything in here, it's likely you don't have the correct Windows permissions set on the folder. Try adding the everyone permission and re-running the job. If you see some files then the search should be working. Go back into the Episerver editor and search for *, you should see some results 😊
In today's article, we've covered how to set up the Episerver search module. The easy option is to install the module as a build option when you install the CMS, however, as you have seen adding it later is no biggie. Happy searching 😊
