In this tutorial, you will learn how to structure your code in order to render a page within Sitecore CMS that follows the MVC paradigm. When it comes to Sitecore development, things are not always easy. This is why a lot of developers and companies have built tools to simply the process. There are tools like TDS and Glassmapper that can make your life easier.
On some projects you might not have budget for these tools. That is why in today's tutorial, you will learn how to do this manually all within your Visual Studio solution. If this sounds of interest to you, read on 🔥🔥🔥
In this tutorial, I assume you have a new Sitecore instance installed. If not, I suggest you read How To Install a Sitecore Instance Using the Sitecore Instance Manager first 😊
Installing Sitecore
To work with MVC and Sitecore, a good pattern is to not add any custom assets, code files within the main Sitecore webroot folder. All the code, CSS, HTML will be written in a separate folder and class library and effectively copied in, using the visual studio publish method. Using this method is very different compared to other CMS systems. The reason for doing this within Sitecore means we Sitecore hopefully more easily in the future. If anyone has worked on Sitecore upgrades, you will know it is not fun. Anything to make an upgrade easier and quicker is worth following. Using this pattern means you can delete the website and rebuild it easily. This approach will also make our source control repo a little easier to manage.
This approach does have some downfalls. Reading this, you might be wondering why this adds a bit more complexity to the solution. When you start writing code you need to do a publish each time. Also, you might be wondering how do you debug? It's pretty simple... attach the debugger to IIS and your breakpoints will fire (more on this later).
Creating Your MVC Solution
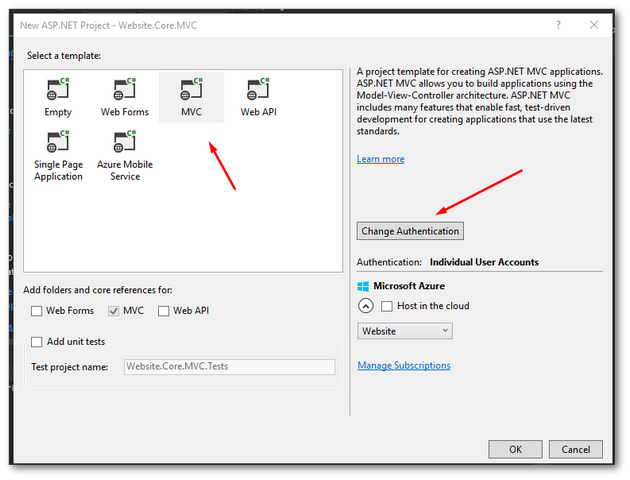
As we are not building inside the Sitecore folder, we need to create a project that contains a Controller, Models and Views folder. To do this we simply create an empty MVC project and then delete the bits we don't need. So, in Visual Studio create a new ASP.NET Web Application project.

Select an MVC project, you don't want to include anything else. You also want to create the site without all the OWIN crap, so don't forget to click Change Authentication:
Then:

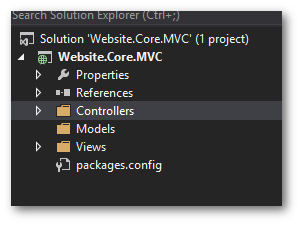
Now we have a solution, we want to delete all the things that we don't want to publish into the Website folder that contains our Sitecore instance. In this example, I'm removing everything except the packages.config, Controllers, Views and Models.
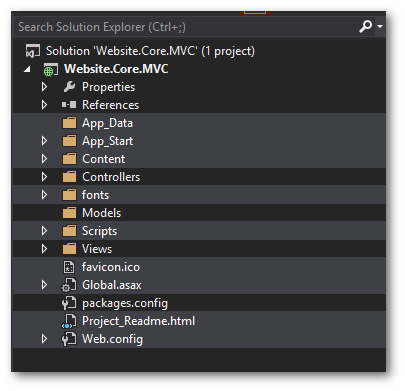
In your scenario, you might want to keep the web.config and global.ascx files to write custom logic in. To keep this tutorial simple, I'm removing them... but it's up to you.
Now we have the skeleton outline for our project, we still have a few tweaks to do. In your Views folder, you should have a web.config. In here you need to make sure you have the Sitecore MVC namespace added.
I usually add my web projects default namespace as well. Next thing is to add references to the Sitecore assemblies. In your Sitecore instances bin folder, copy the Sitecore.MVC and Sitecore.Kernel assemblies. Create a new folder called Lib in the same directory as your Sitecore instances websites and data folder (this is probably the same level you want to have your MVC project as well).
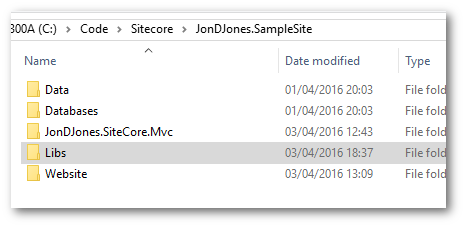
Copy the Sitecore assemblies into the Lib folder and then reference them in your web project through:
Visual Studio ➡ Add References
At this point, I would recommend checking your code into your source control repo, or at a minimum creating a file copy of the whole folder.
Publishing Your Code Into The Sitecore Instance
The next step in the process is now publishing the code into the Sitecore folder. In Visual Studio, right-click on the MVC project and select 'Publish'. From here you'll see the Visual Studio Publish Wizard.
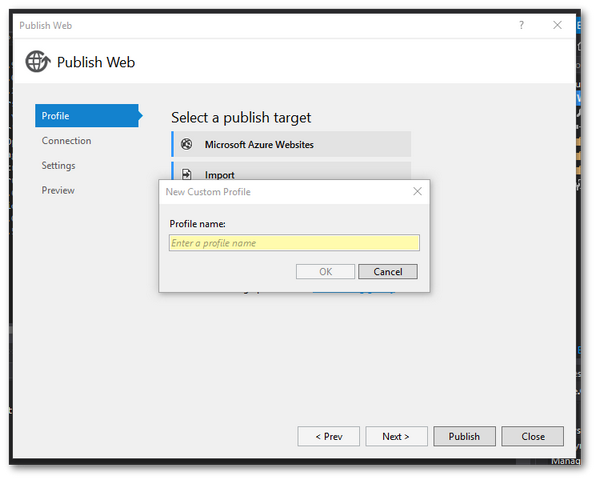
Hit custom and add any name you want, I'm calling my publish Debug, but you can call it dev etc..
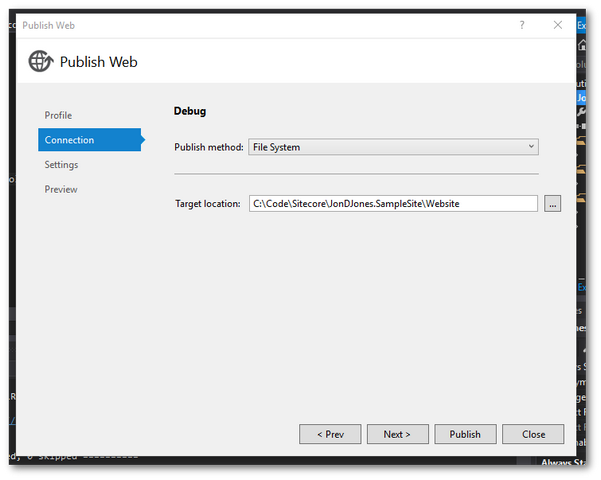
Set your publish method to File System and point the directory to your Sitecore Instances websites folder.
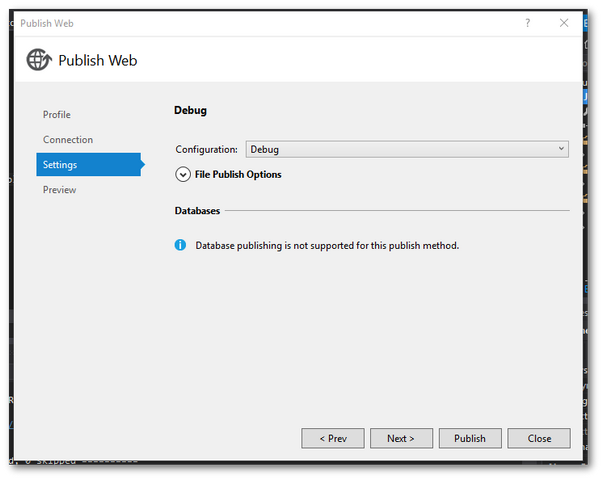
Set your configuration to Debug mode and you are all set. Do a publish and now all your views and code should be copied into your Sitecore instances website.
Debugging
At this point, we now have one project that will contain all of our custom code, we have a default Sitecore instance that we use a Visual Studio publish to copy our code into. The next important thing you need to know is how to debug it. As we set-up the publish in debug mode, when our assemblies deploy we can deploy our Sitecore website from our solution without having to worry about the website at all.
In order to do this, all you need to do is Attach Your Debugger to the IIS worker process for the Sitecore website. When you run your code the debugger will still hit. In Visual Studio, click Debug from the top menu and select 'Attach To Process'.

By default the IIS process won't appear in the debug list, so you will need to select 'Show Processes From All Users' and then find the w3wp.exe process.
I personally recommend installing ReAttach to make your life a lot easier when attaching. Now, when you set your Sitecore website up to use a rendering that has a controller, you can debug your work 😊
This guide doesn't cover how to write your code and configures Sitecore directly to get your code working in Sitecore. If you want to learn how to do that, I would recommend reading 'How To Make Sitecore Use a MVC Controller, Controller Renderings Explained'.
In today's guide, we've covered quite a lot. I've covered probably the most common way most companies set-up their web projects with Sitecore when not working with TDS. There are other alternatives that I will cover at a later date. We created a basic empty MVC project to add our custom code in that is completely seperate from your Sitecore website. This separation makes life a lot easier when you want to upgrade. To get the code into the Sitecore website we use a visual studio publish. In this seperate project we can still debug our code even though we are not directly working in the website folder by attaching the visual studio debugger to the IIS process