Within this article, you will learn many pro tips and tricks around using blocks within Umbraco 13 and above. An important aspect of any content modeling process is to provide content editors with a way to dynamically generate different page layouts. When a site is modeled using good content modeling principles, content editors should have the flexibility to create content without needing development resources AND they should also be prevented from breaking stuff.
When it comes to modeling blocks within Umbraco, you have several different types of properties that you can use:
- Blocks in text areas
- Block List
- Block Grid
- Nested content
So what we are going to do in this article, is look at how to create a block using each of these block-related properties and think about how and when each type is best used!
How To Model A Block Within Umbraco
The first part of any CMS project is content modeling. Content modeling is the process of taking your wireframes and designs and then figuring out what templates and blocks you need to create within Umbraco to allow content editors to create those types of pages.
Within Umbraco, this type of data/content modeling is done by creating something known as a document type. Regardless if you want to model a page or a block, creating a document type within Umbraco is pretty much identical. The other bit of Umbraco jargon that's useful to know is that pages are referred to as templates within the Umbraco backend and blocks are referred to as element types.
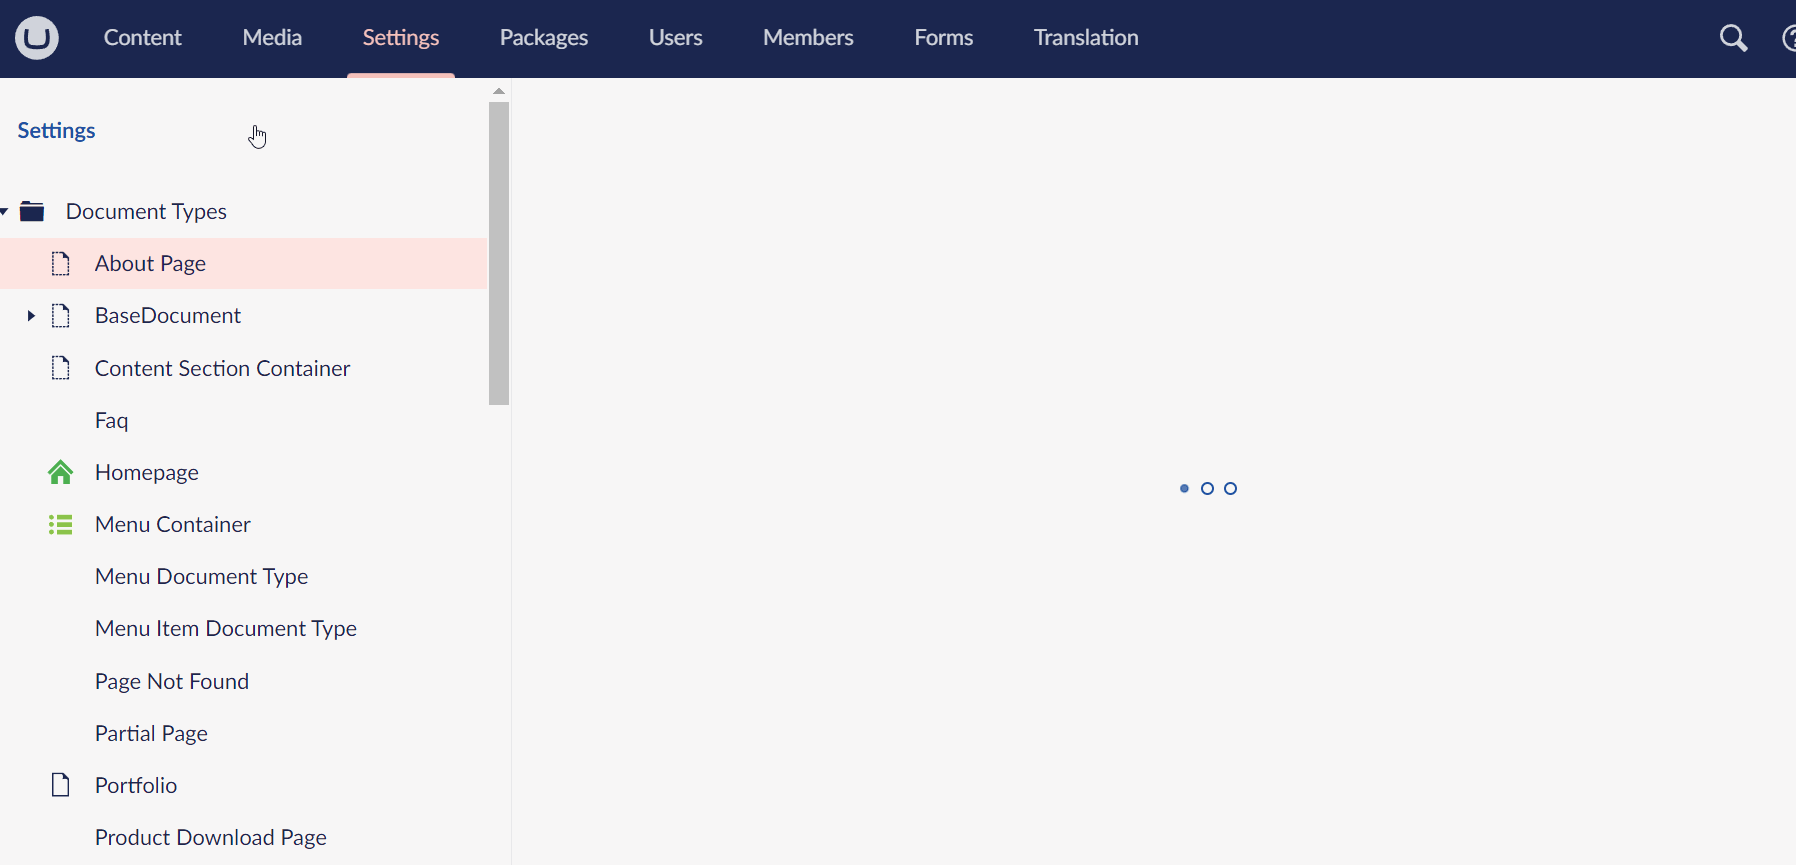
To create a block, your first task will be to log into the Umbraco back-end, go to Settings, and then Document-Types. From here you can create a Template and then set it to be a block, or, you can save yourself a click by creating an Element type. The only difference between a document type that you want to use for a page and one you want to use as a block is enabling a checkbox on that type named Is Element:
When content modeling a block, you are free to use all the out-of-the-box Umbraco properties. The only real difference between the two is the rendering process, templates will be referenced directly and elements will be referred to as items on a template. Simples!
Now that you have modeled one or more elements/blocks. The next step is to allow content editors the ability to use these blocks when they are adding content within CMS. When it comes to content modelling Umbraco provides you will several block-specific ways. Next, I will show you how you can set up each type as well as share my opinions on when and where you should use each type!
Adding Blocks Within the Rich Text Editor
We will start things off by considering the simplest way of providing blocks to content editors technically and this via the rich text property. This approach is fairly new to the Umbraco universe as it was only added within v13.
The Rich Text Editor (RTE) is the Umbraco property that allows editors to add rich content (think MS Word type of editor) onto a page/block. When you add an RTE to a document type, you can use the Available Blocks setting to configure which blocks an editor can add within that specific area:
With the config set, when creating a page that uses that property, editors will be able to add the white-listed blocks.
After a block has been added within a text area, the next step is to create the associated HTML. Adding HTML is done by creating a corresponding view and adding it within a folder called richtext. When Umbraco loads, the engine will automatically look within this folder and try to load a view based on the block's document-type alias. This is why you need to create your RTE block views here:
Views ➡️ Partials ➡️ richtext
The name of the view needs to match the block's document-type alias that you set within Umbraco and end with the .cshtml file extension. If the filename and location do not match the block, you will get a view not found error. With the routing set-up, you can start to write your HTML.
The hardest part of creating a view in my opinion is knowing what data type Umbraco will pass into the view so you know what you need to set as the backing model. In the example above, I am using Umbraco Models Builder, so the backing type model is based on the class generated by the model's builder for that block, which in this example is called RichTextBlockItem. By using @inherits I can use typing to access the correct model and properties within my view.
The two main reasons why I don't like adding blocks inside of an RTE property are limited HTML reuse and the potential code you will need to write within your view. Even though we are focusing on rendering a block in RTE, you will likely want to reuse that block and its HTML in some other place later on. Having to put the HTML within a folder called richtext limits its reuse. You could potentially share that view with other properties later, however, based on its file location it will not be intuitive that it's reused.
My second issue with blocks in RTE is that you are forced to pass the default Umbraco object into your view. If you want to follow a more typical MVC pattern, you will likely want to use view models. Using view models will lead to better unit tests and it will also mean you can lean on the compiler more to spot errors for you.
The sad news is that, unlike other properties, there is no easy way for you to change how models are injected into views that have gone via RTE. In my perfect world, I would opt to call a custom controller whenever Umbraco renders a block within RTE. It's this limitation on not being able to use the MVC paradigm properly that has always put me off adding blocks, widgets, macros, or whatever term the CMS vendor likes within an RTE. From my personal experience, I tend to find when you allow editors to create text, styling, HTML tweaks, and blocks within the same editor, things tend to get confusing and more content mistakes occur.
This is the main reason why I've always favored content modeling using a pure block-based approach. Instead of mixing content and text in one element, enforcing a clean separation between the different types of content and blocks using a slightly different implementation approach typically allows for easier content maintenance for editors, as well as cleaner code for the dev team. It's for this reason that I would avoid using this new v13 feature and instead favor using one of the more block-specific Umbraco properties instead.
Block List Editor
The block list editor is the first block-specific property that we will look at. This property creates an orderable list within the CMS where editors can add and arrange different blocks. You have full control to define which blocks the editors can pick adding on a per property basis:

To implement the same type of content modeling experience of being able to combine content and blocks using the block list property, all you need to do is create a custom-rich text block.
Creating a text-only block is dead easy, create an element type that has a type-rich text editor added to it. With your custom RTE block defined, editors can mix blocks and content easily within the list. Using this approach, the end page layout will be the same as using blocks within RTE, the only difference is better content and code separation.
Another code thing I like about the block list editor approach is that you can change the default view loading behavior easily. The out-of-the-box approach of how a view is mapped to a block is a similar process to wiring up blocks within RTE. You need to create a view specific to the blocklist editor block by creating a file with a matching document-type alias name here:
Views ➡️ Partials ➡️ blocklist
The name of the file also needs to match the document-type alias. Just like blocks in RTE, that view will be called directly by the pipeline and you can not inject a view model. In the view, you can get access to the Umbraco models builder object.
The big difference here is that you can change that behavior. The code that calls the view can be found within a file within the blocklist folder called default.cshtml. By tweaking this file, you can change the default behavior of loading a block as a partial view request to a view component instead.
Swapping the call to a view component will allow you to do some route hijacking and ensure the request routes via a custom controller. Within that controller, you can then instantiate view models, decide which view file you want to load, and then pass that view model into the view.
To do this, you will swap the HTML within default.html like this:
On line 14, you can change the code to call a view component. With this tweak made, you can then create custom controllers for each view model:
One important gotcha to understand about this code is the class name. In Umbraco, document-type aliases are lowercase. Notice that the start of my class name is in lowercase. If you do not exactly mirror the Umbraco document-type alias here, the default routing will not match! You can probably override this to ignore the case using some sort of custom routing rule, however, it's probably easier to just ensure you use the correct case!
With that done within the controllers InvokeAsync method, you can add whatever logic you want and then you can create an associated view within your view folder!
Block Grid
If you need to go even deeper with letting your editors define page layouts, this is where the Block Grid property comes into play. Where a block list will allow you to create a stack list of elements, a block grid will allow you to define a custom grid layout within the editor and on the page.
As part of that grid, you can define columns and rows. You might have a full-width row, a half-width row, and a quarter-width row. The editor can then create page layouts and have more granular control over how the page is laid out.
The process for creating blocks and HTML is the same as the other two approaches. The only big difference implementation-wise is defining the rules about the grid. The default grid HTML uses Bootstrap 3 for the styling. This means that if you use a different grid framework, you will need to re-write all the grid HTML yourself.
Just like the other properties, creating a view for the grid editor is done by creating a file within the blockgrid folder:
Views ➡️ Partials ➡️ blockgrid
The data model object that you will pass into the view will be the default Umbraco model and if you want to inject your own custom view models you can. To swap the call to load the view as a view component instead, within the blockgrid folder open up items.cshtml and you will see this code:
With this tweak made, you are free to inject custom view models into rows and columns!