In this tutorial, you will learn how to create strongly-typed models based on your document types within Umbraco V7 using a custom tool. There are multiple ways of generating models. This one is useful if you are using V7 and you want to use a third-party class library. In V8 there are better ways of doing the same thing! (If you need a little more information on why this is a good design approach, then I suggest you read this first).
Prerequisites For Generating Models
First, you will need to install the ModelsBuilder.API package into your solution. You can install it using the below command in your package console:
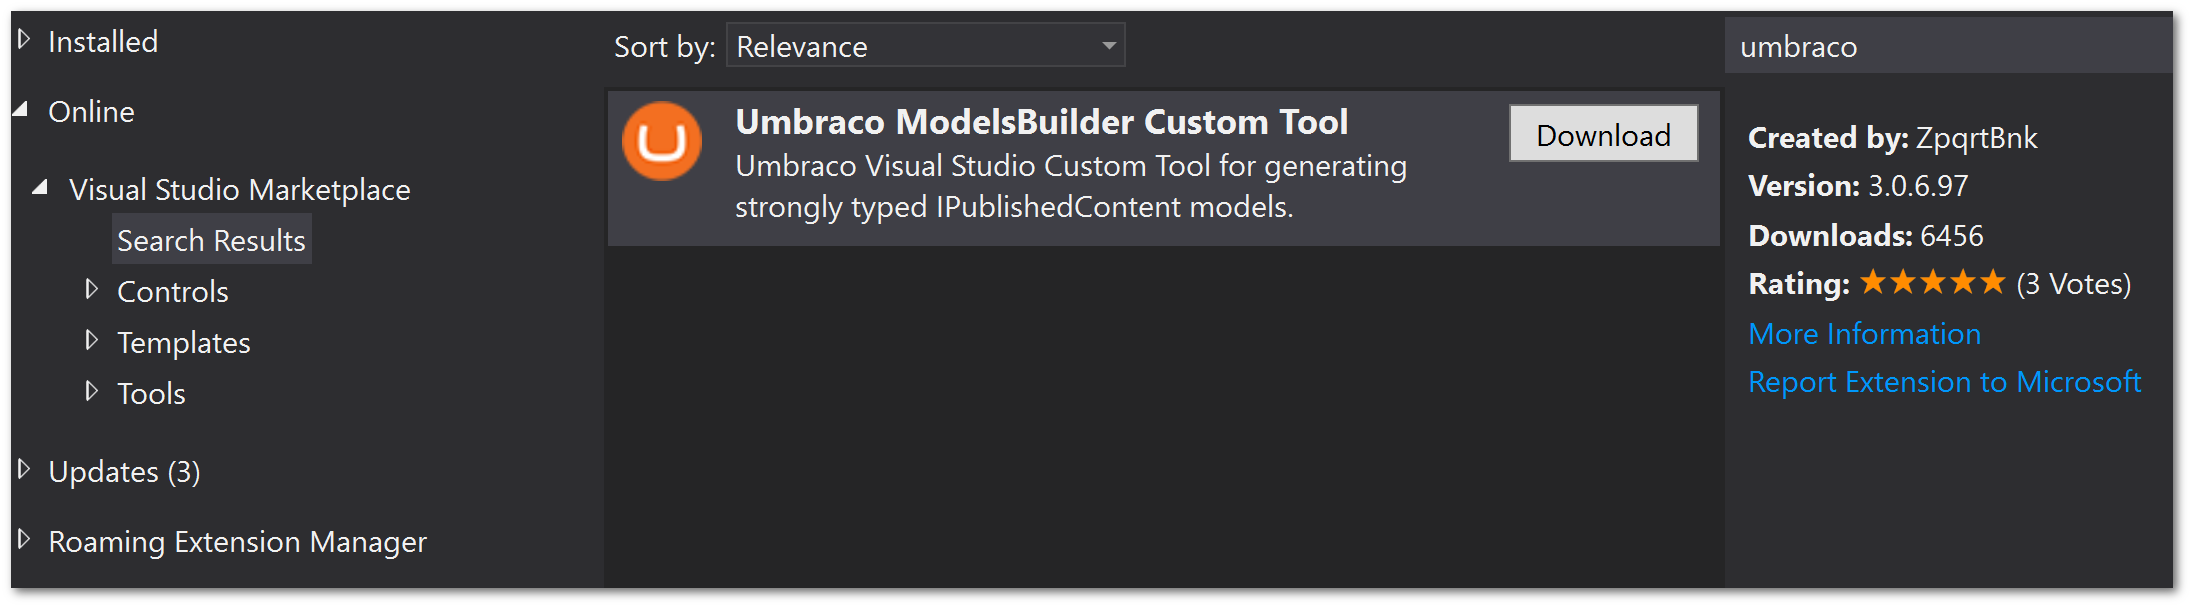
Next, you will need a model builder visual studio extension to call the API's and generate the classes. The visual studio extension is available from here Umbraco Models Builder Custom Tool. Or you can install it here:
Visual Studio ➡ Tools ➡ Extensions and features ➡ Online.
Configuring Your Solution
In your web.config you will need the following app settings:
Next, we need to configure the ModelBuilder custom tool. Within Visual Studio, go to:
Tools ➡ Options ➡ Umbraco:
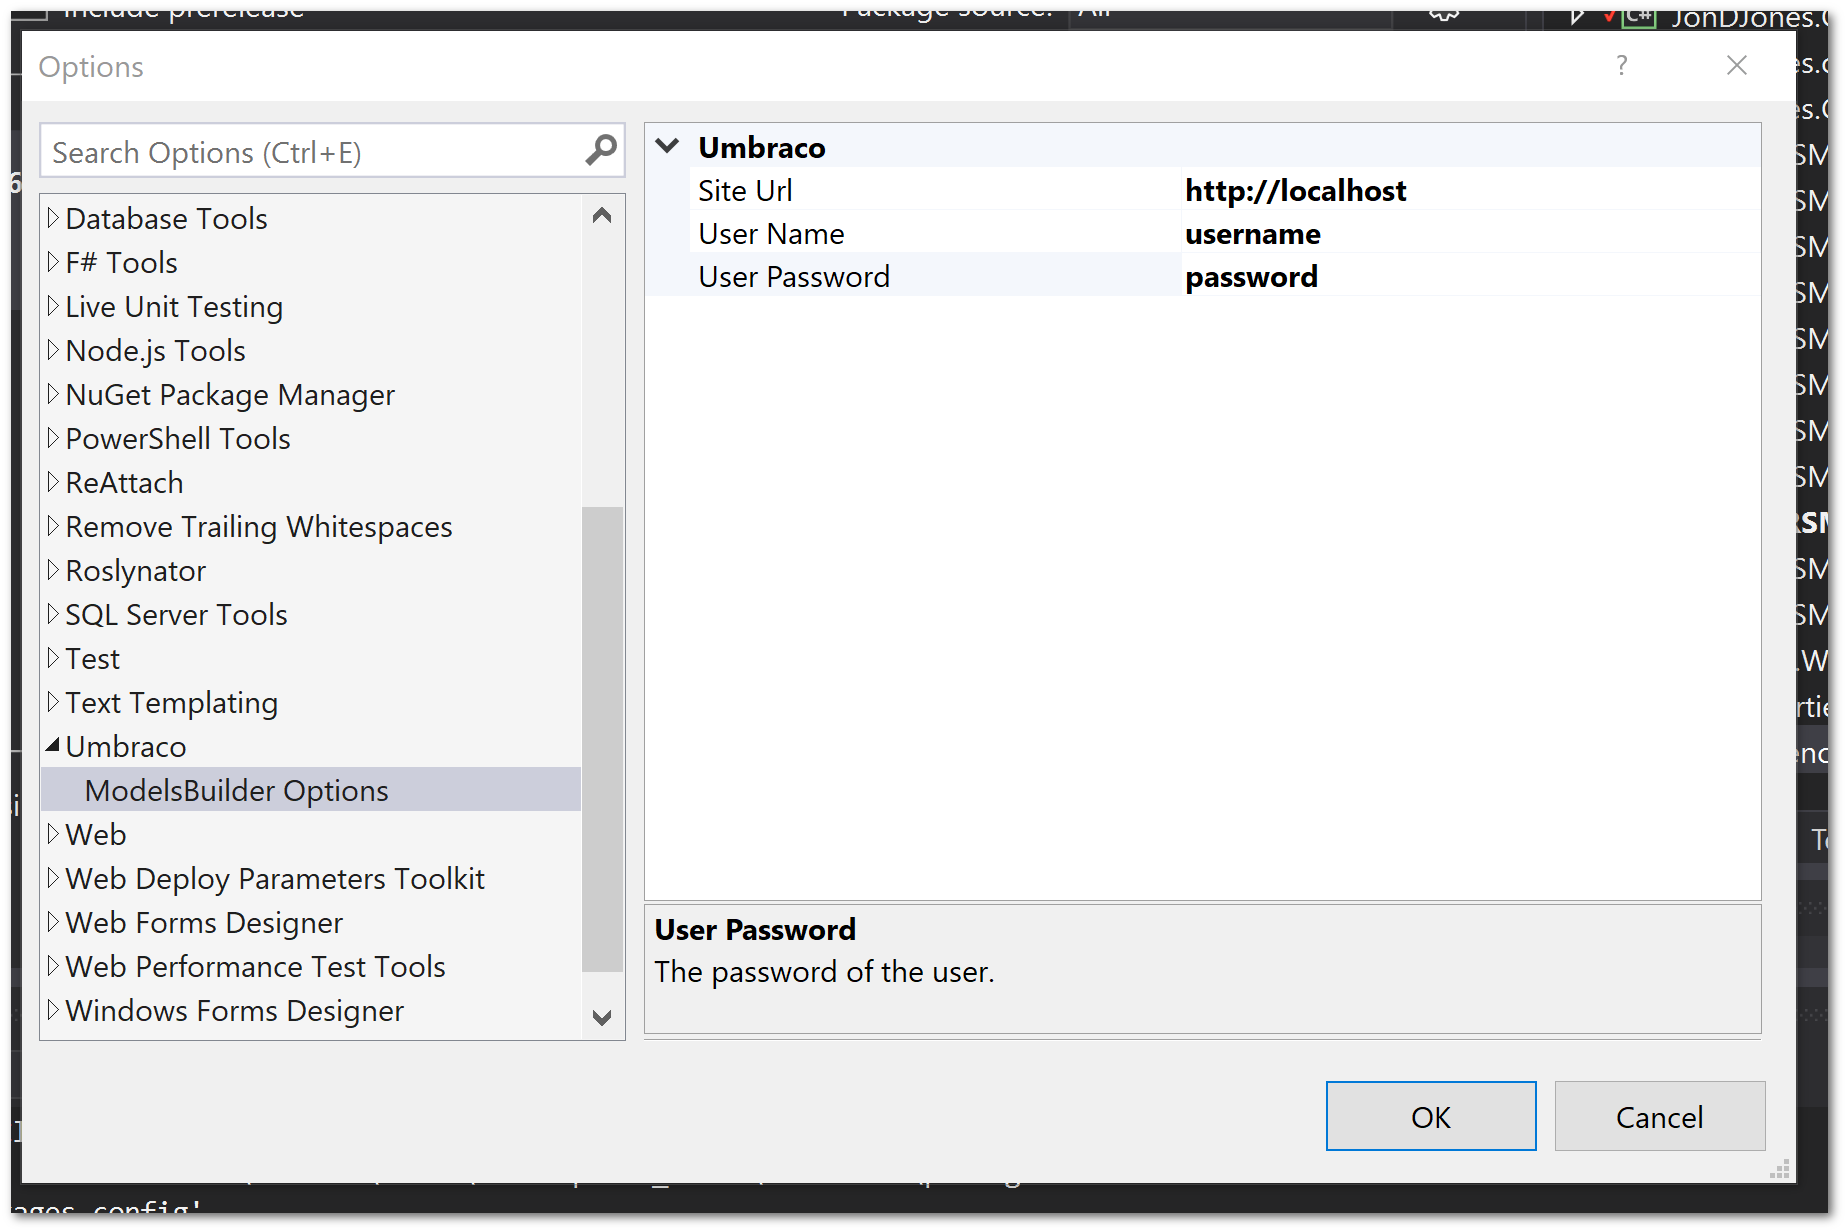
On this screen, you will need to add in the details that will allow the tool to access your Umbraco website. You will need to add your localhost website URL and a username and password that has admin access to the CMS. To generate your models, first, create an empty class library in your solution. Within this project, create an empty class and call it builder.cs. Right-click on it and select properties
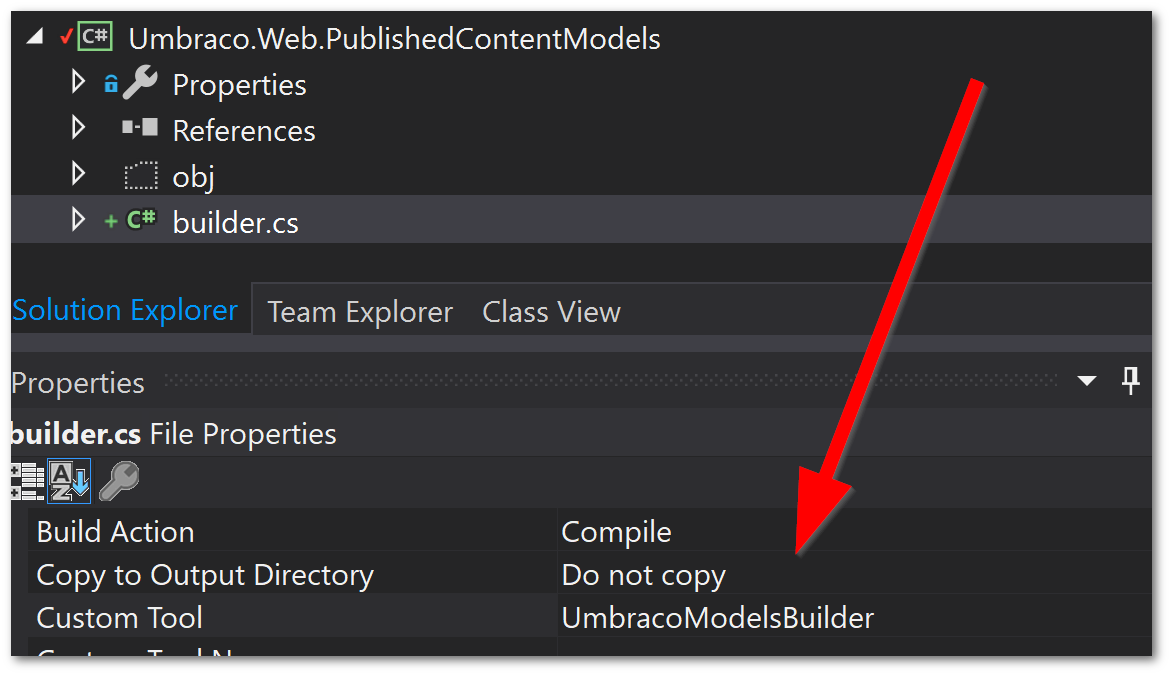
In the custom, tool field set it to _UmbracoModelsBuilder_, like this:
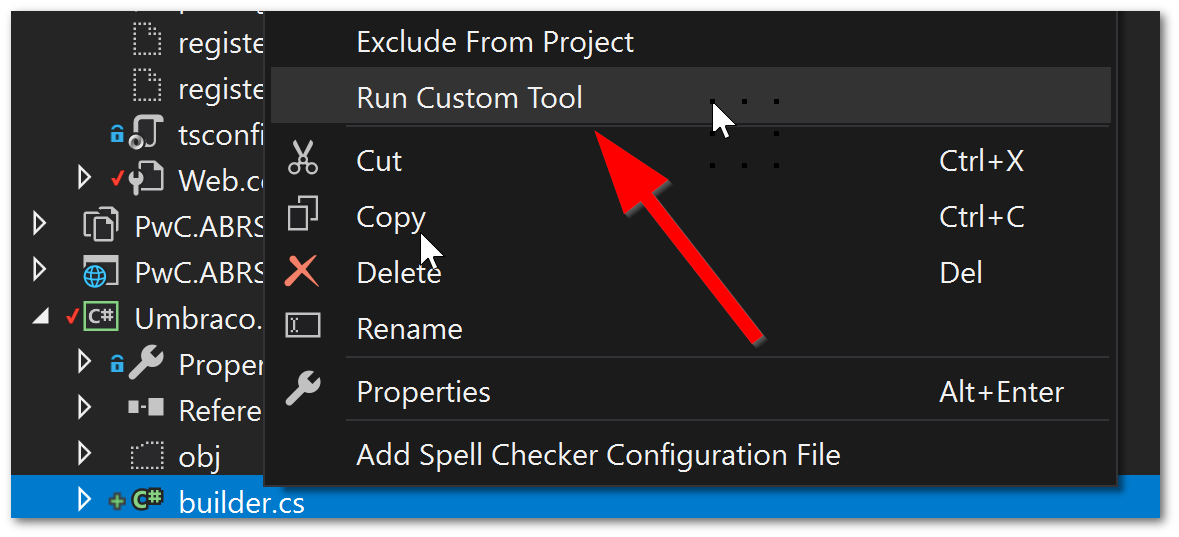
Models should now be automagically created! If they don't, you can right-click on the builder class and click run custom tool. This should generate the models for you. Compile your solution and you should be good to go. All the files will be generated as children under builder.cs. If you don't see them, you may need to enable the show hidden files setting on the class library and expand them! Happy Coding 🤘
