Most websites will have a section on the site that displays some form of a paginated list. Search, blog posts, news articles, the list could go on and on. If you find yourself wanting to create a paginated list in Umbraco then this tutorial is for you. This tutorial will focus on rendering a paginated list server-side using C#. Alternatively, you can create paginated or infinite scrolling lists using an API and some JavaScript. Creating a Umbraco API that renders data is simple enough. to learn how to do that read here.
My development philosophy is to avoid re-inventing the wheel where possible. As creating a paginated list is a well-solved problem, we can use a free framework to help us. I recommend using MVC.PagedList to help us on our paginated quest 🐵 . MVC.PagedList can be installed using NuGet, it deals with all the pagination logic for you, and it even ships with some CSS to make it look pretty ☁️🍯🧸✨ .
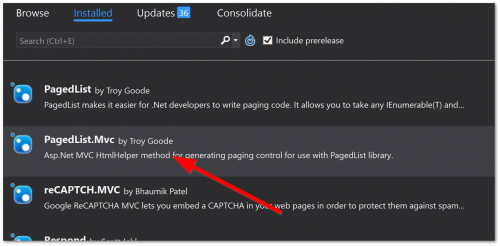
To install the package, in Visual Studio, right-click on your solution, select Manage NuGet Packages For Solution. Type in PagedList, the package will pop up, install the MVC version. TO create a paginated list you will need to create three files, a view, a view model and a controller. In this tutorial, I'm assuming you want to follow good practice techniques and you are using route-hijacking and building your own custom controller when rendering data within your Umbraco CMS powered website. If you are new to route hi-jacking and Umbraco, you can learn more about the topic here. To build this list in code let us start by looking at a very simple view model:
This view model represents the search result data. This is the class that will be passed from the controller to the view. Next, we need a controller:
Notice on Line5 that a parameter called page is being passed to the action. This argument is used to set the current page. The pagination magic happens on Line8. This is where the PageList class is used. This class takes a number of constructor arguments and will return the correct result set for you to display on the page. All you need to do is pass it a list of objects, the current page index, and the number of results you want to display per page. The class will do the rest 😁. Next, we need a view:
The important part of this view code happens on Line1 6, where the Html.PagedListPager is used. Html.PagedListPager is the thing that will display your pagination control. This will display the pagination options, the next page and the previous page and arrows. The list data is rendered by iterating through the SearchResults view model. The result should look like this:

When you run your website, as long as you reference the packages stylesheet in the layout correctly, you should see a pagination display that looks similar to the one above. You are free to style this list and create your own style. Referencing these in-built ones is super simple and super quick! The person who invented Nuget deserves massive props. Nuget has made all of our lives a lot easier. Back in the days when I used to work with web forms, implementing this type of functionality was very boring and painful. Being able to use MVC and use a package is a great step forward! Using a package means you will not need to worry about pagination, freeing you to concentrate on more important things. Happy Coding 🤘
