In this tutorial, you will learn how to add a captcha to your Umbraco website. Spam is annoying, wasting hours deleting spam is also annoying. If you want to make your life a little easier, read on. CAPTCHA was introduced in 2003 to try and stop robots from taking over the world... well your inbox at least. If you have ever administrated a WordPress site that has a comment form enabled, then you will be very familiar with garbage and junk comments. Buy viagra, meet the girl of your dreams.. the first few might be funny... comment number ten-thousand less so. At the time of writing, the most user-friendly CAPTCHA is one developed by Google, called Recaptcha. In this tutorial, I will cover the code to get Recaptcha to work within a Umbraco website 🔮 .
How To Implement ReCaptcha Within Umbraco
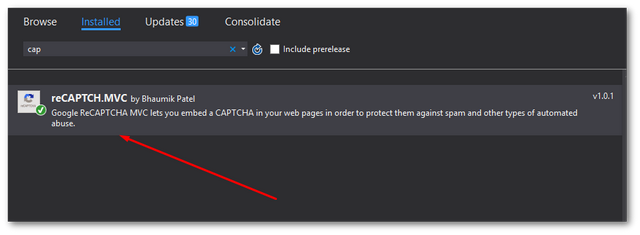
There are two ways of integrating RECAPTURE into your website. The quick and easy way by using a package, or the slightly more long-winded and complicated way of doing everything from scratch. Personally, I'm not a big fan of re-inventing the wheel, so I'm going quick and easy. As we are working with a .NET application, we can use Nuget to import all of the files and code we need. THe package we will be using is called reCAPTCH.MVC and can be installed like this:
After the package has been installed in your solution, you'll need to add in your ReCaptcha Token and password before it will work. If you haven't got one yet, you'll need to visit Google here to get one. All you need to do is create a new site, add in your domain (and don't forget localhost for dev).
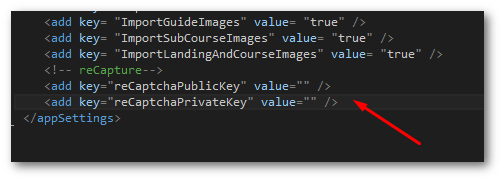
After getting the tokens. within the appsettings section within your web.config. you should see two new reCaptcha settings ReCaptachaPublicKey and ReCaptachaPrivateKey. Add the correct tokens in each one.. Next, we need to add the capture onto a form:
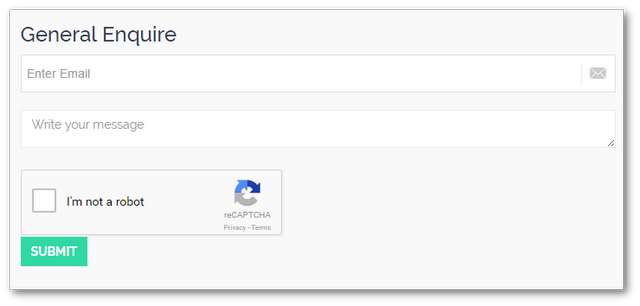
The code above is pretty simple. Create a form as you normally would, and then use the @Html.Recaptcha() HTML helper to render the capture. As we are using server-side C# to render things, you will need a controller for the form to post back to. I won't cover form postbacks here, you can learn more about the topic here. To enable Recaptcha validation on your controller, you will need to decorate the postback action method with an attribute called [CaptchaValidator] attribute:
To get the status of the captcha, you will also need to include a boolean input parameter to your action, as seen on Line3. Asides from that using the normal ModelState.IsValid will check the form works. The rest of the code within the action can be written as normal. That really is all there is to it! Obviously, you'll probably want to display an error message if the captcha fails to validate. Displaying an error in a view is exactly the same as a normal MVC form error, so I'll skip it as it's nearly home time 😊
If everything has gone according to plan, when you load your web page, you should be greeted with the Recaptcha form. If you're not keen on using a third-party package and want to integrate Captcha manually, I'd recommend starting here. Happy Coding 🤘
