
In this tutorial, you will learn how to create a members area within Umbraco V9. The great thing about Umbraco is that it ships with lots of features. When I'm working with a client in order to pick the right CMS to use for a client, Umbracos in-built membership capabilities has been the decision-maker on many projects. In this new world of best-of-breed SAAS headless CMS systems, many of the competitors only deal with content and leave things like membership to another system. Services like Auth0 are great, however, for clients who want to keep the budget down, this lack of membership ability fails to tick the box.
The good news is that the membership capability provided by Umbraco is strong. You can manage members and access the CMS all within the backend very easily. Umbraco ships with APIs to create log-in components and get profile information easily. Assuming your sold on the idea, if you want to build a members site using Umbraco V9, this is the tutorial for you 🔥🔥🔥
Creating Members Within Umbraco
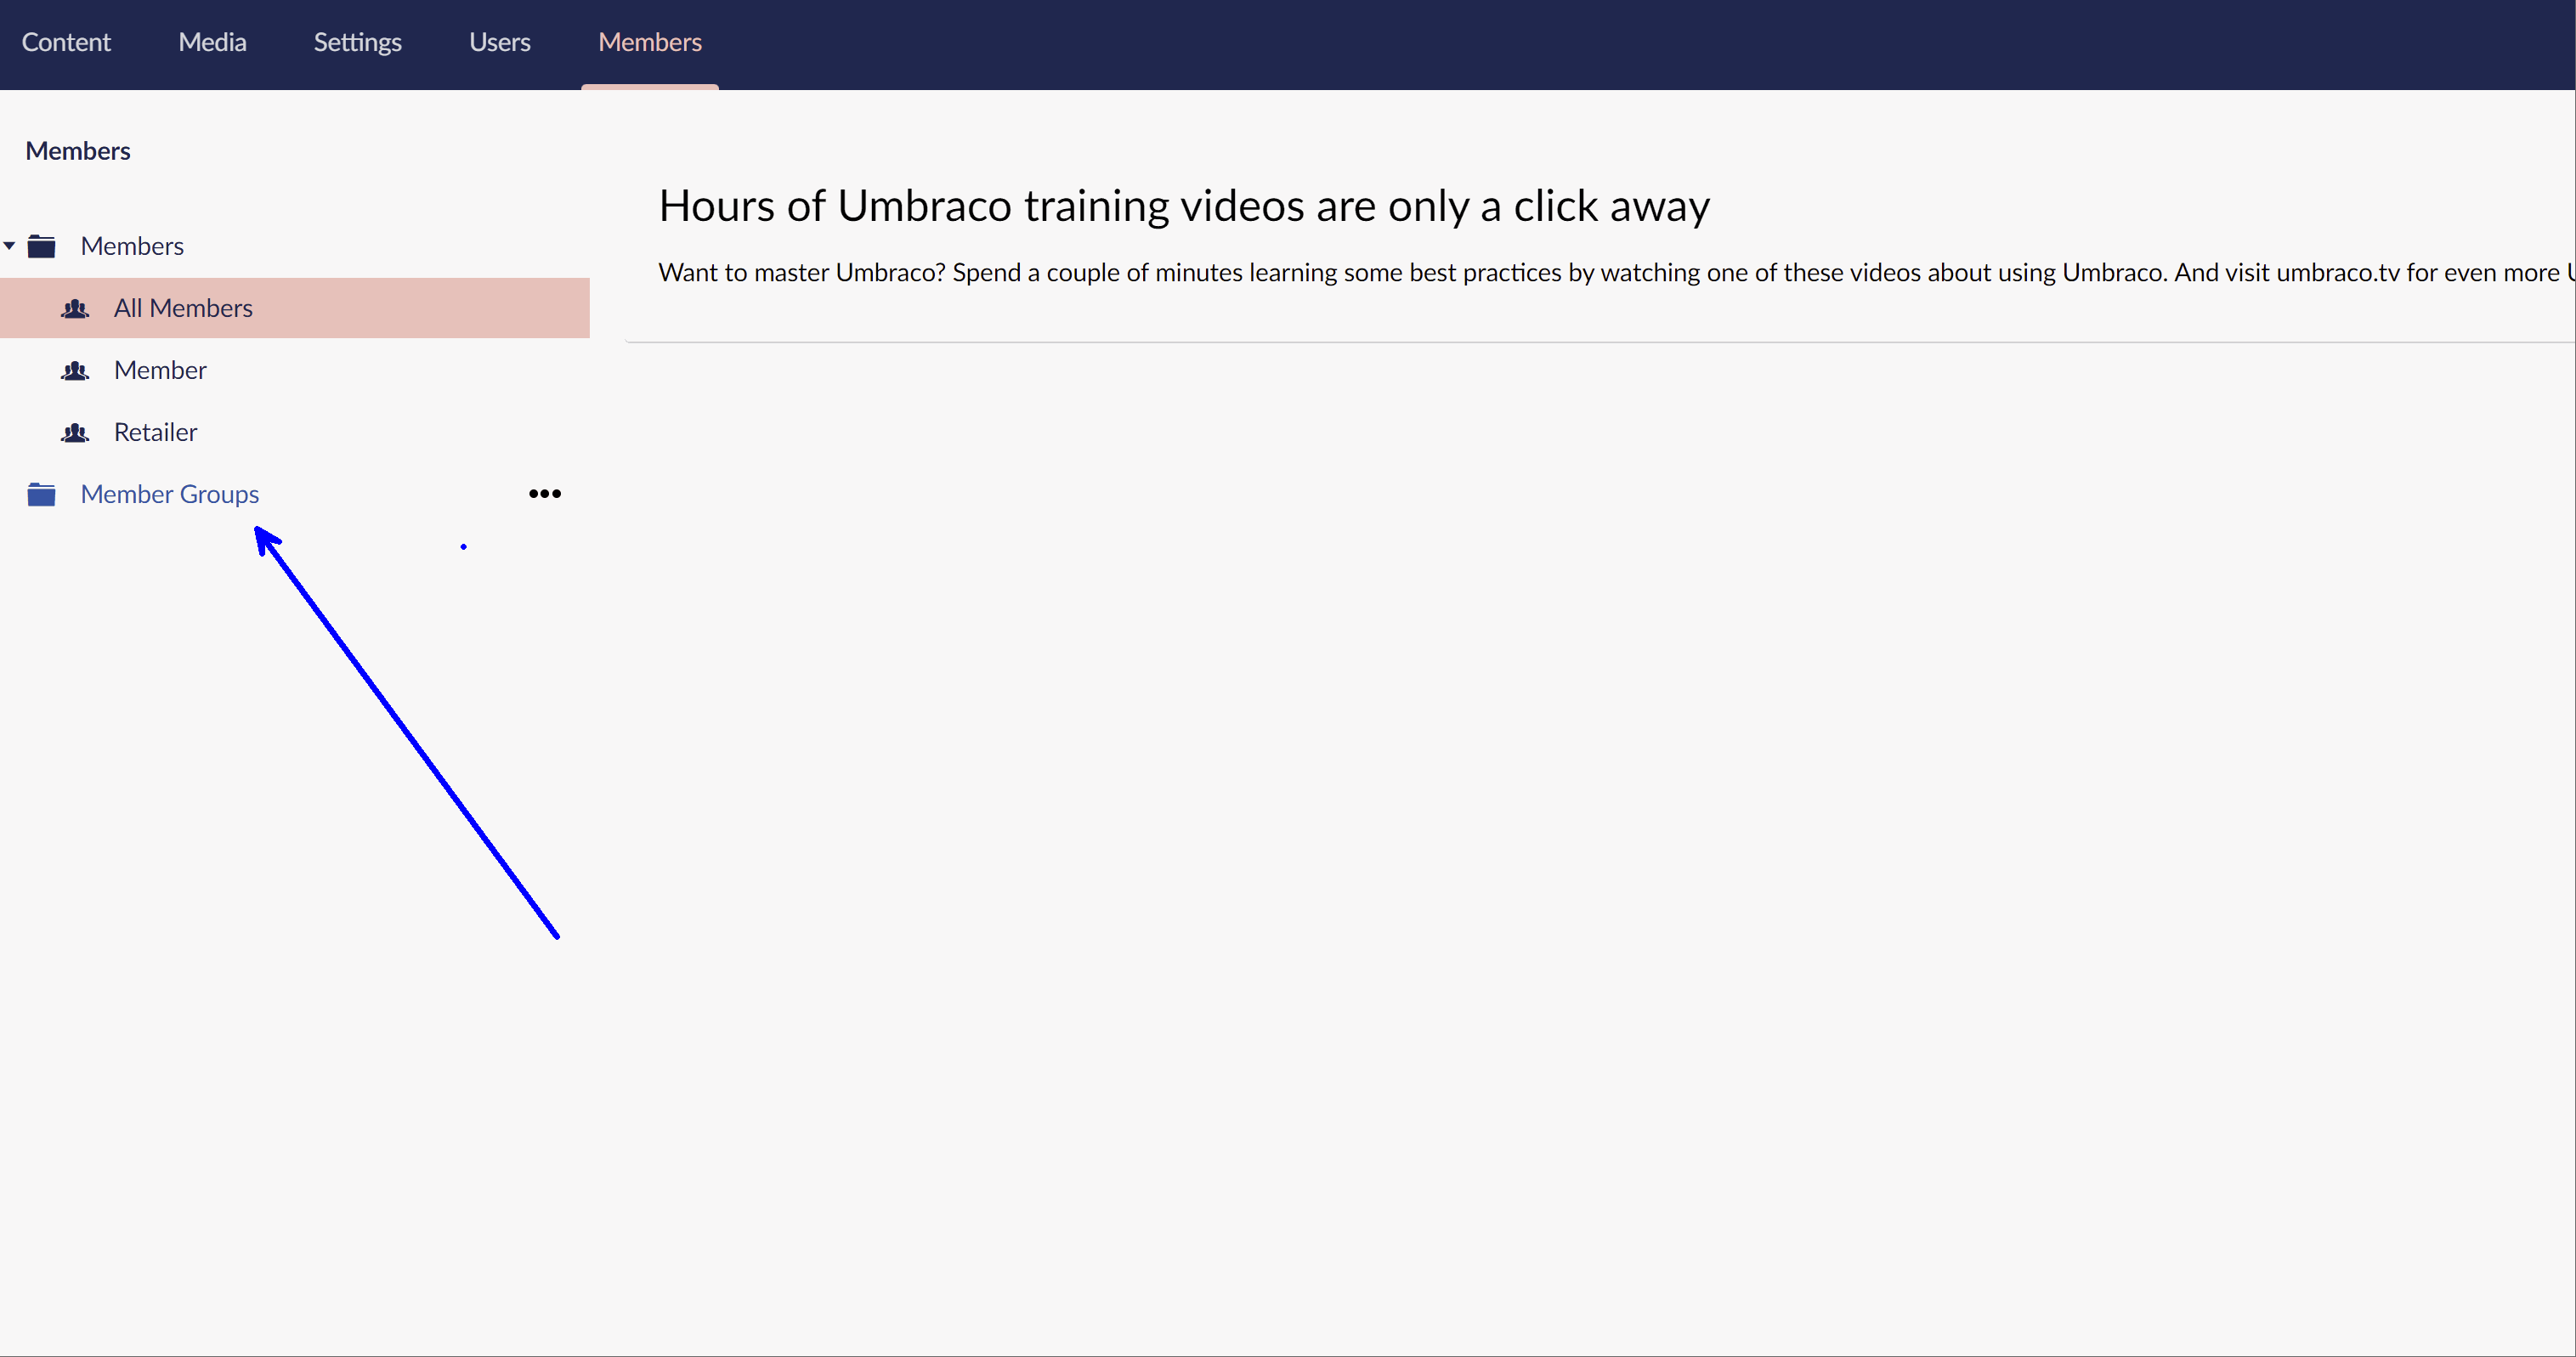
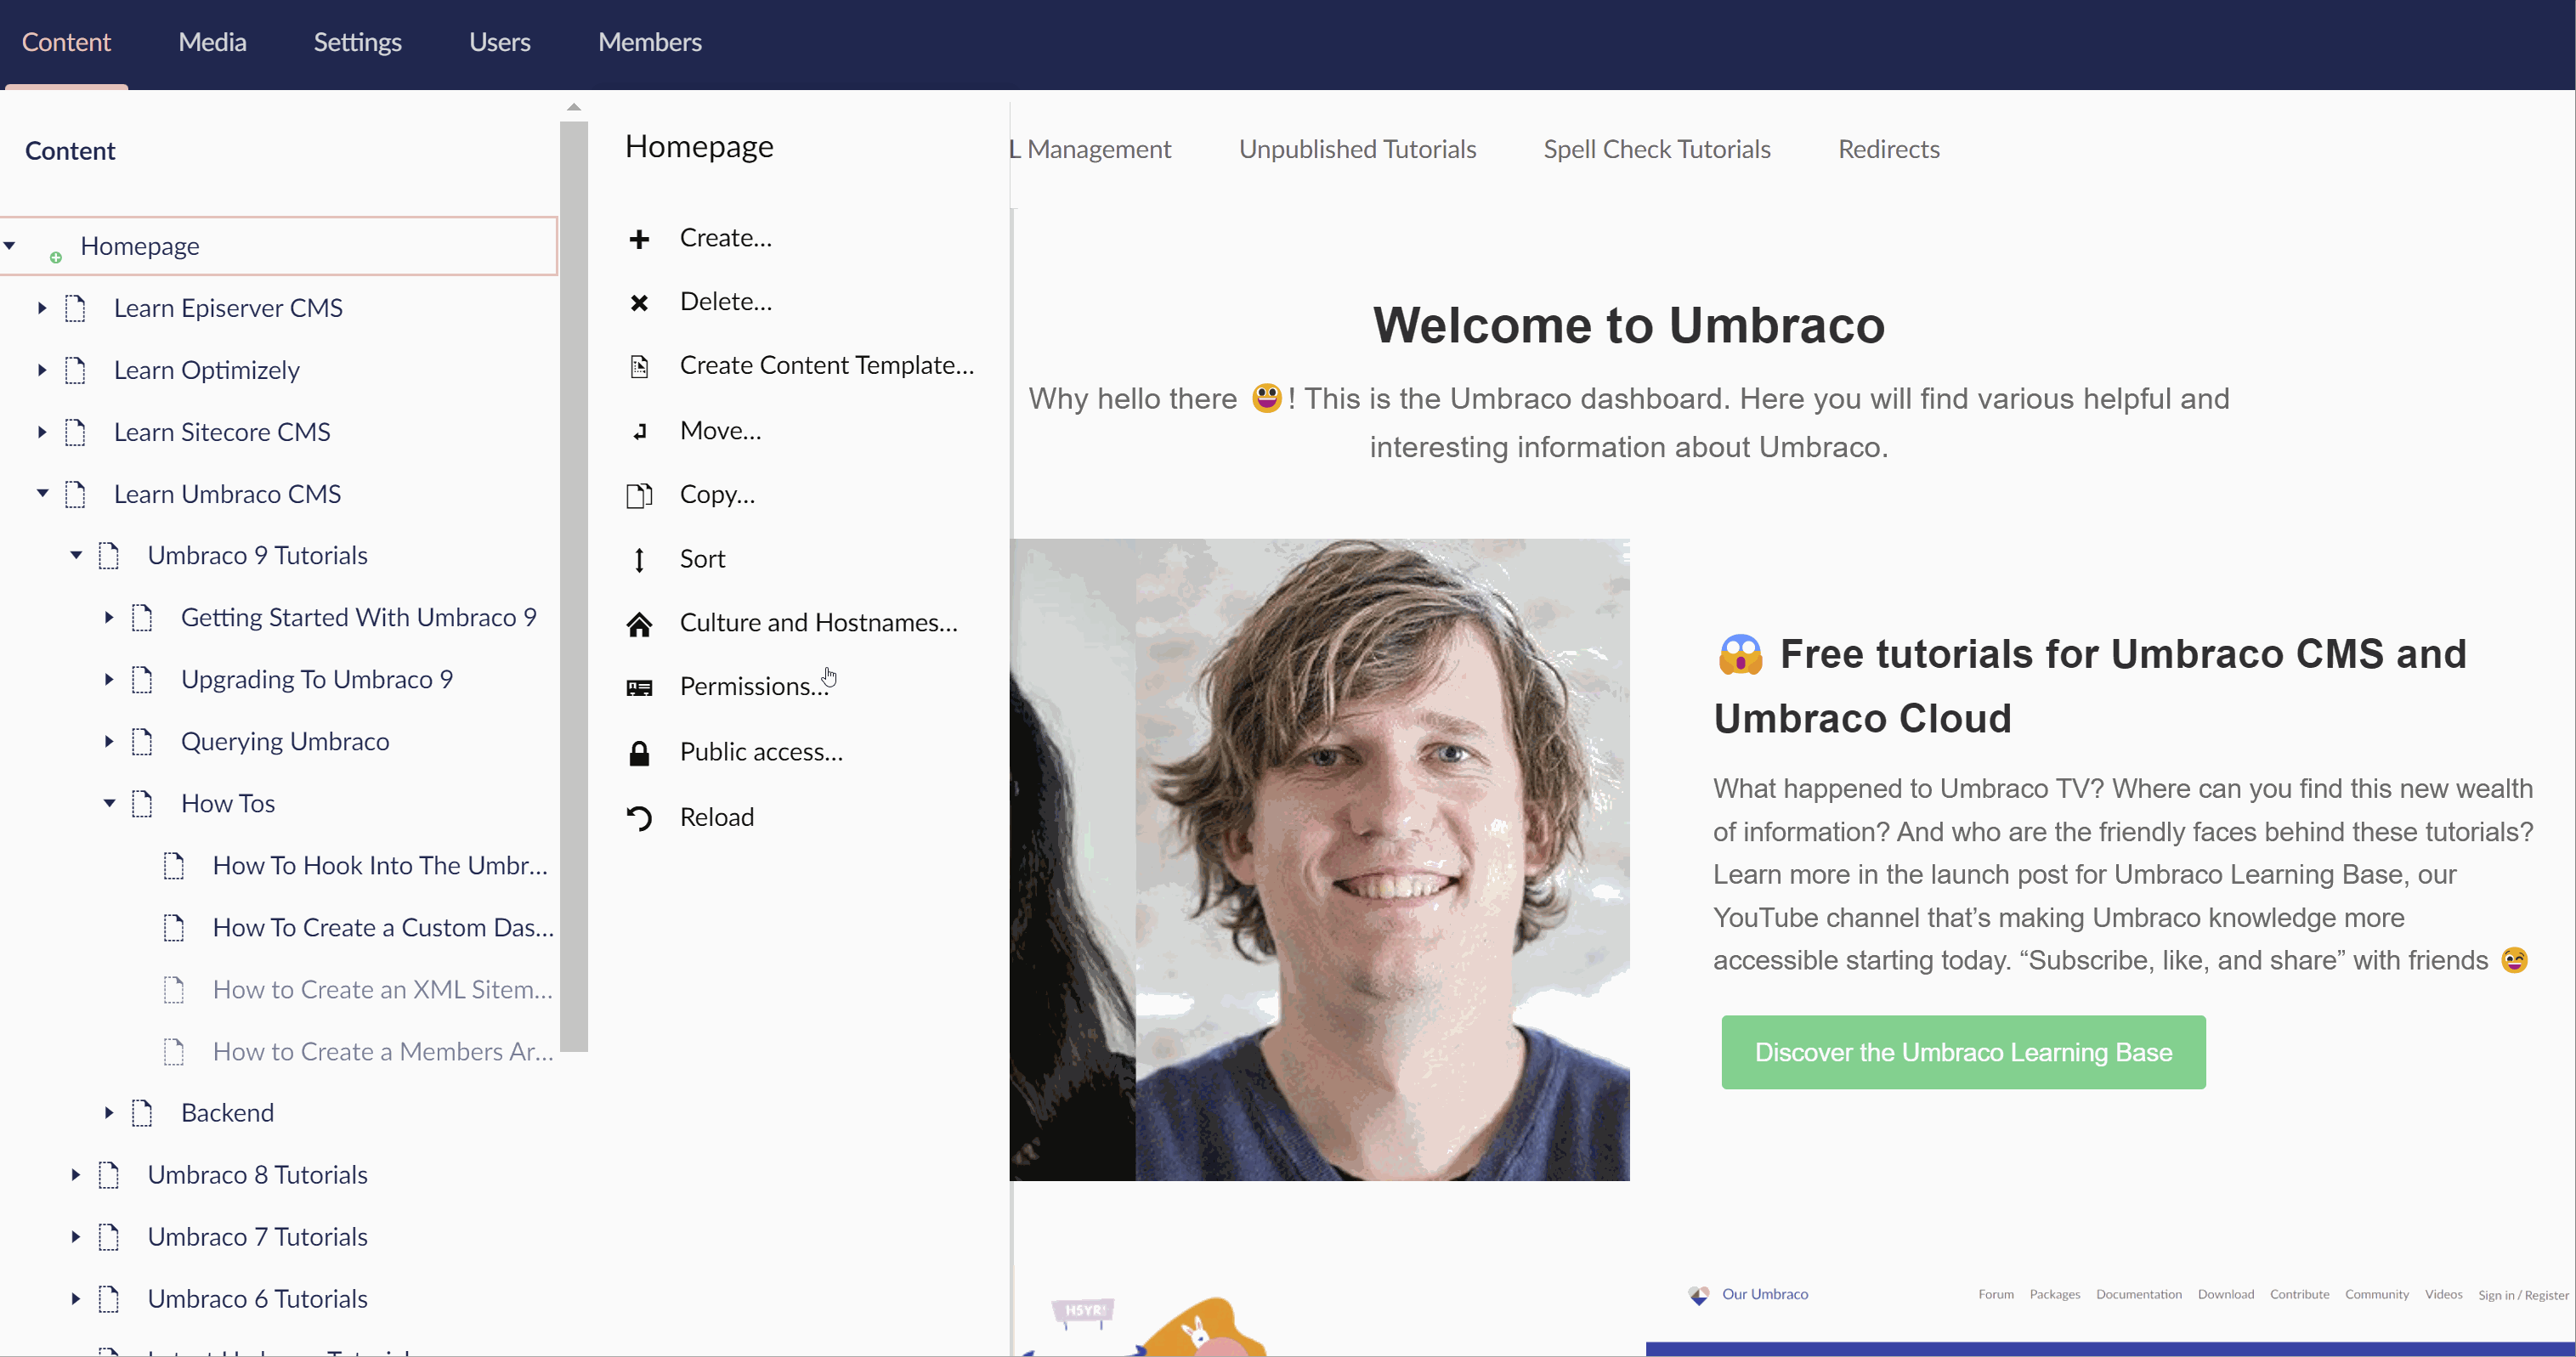
Umbraco ships with membership capabilities out the box, so for this tutorial no set-up is required. Creating members are assigning them roles can be done entirely within the Umbraco backend. To do that open up the backend and go to the Members section:
When working with a members area, I recommend that you always work on a role-level rather than a per-member basis. The process of creating roles and assigning members to them are equally as easy:
The final thing you will need to know about is how to restrict CMS pages to only be viewable to these groups. Find a page you want to restrict in the backend and follow this process:
Right-click on any page, select Public Access and then add the group you want to restrict by. You should also see the login page property. WHen this is set anyone who tries to access the page will be redirected to the login screen. That is everything you need to do within the backend. The next step is to write the code to allow people to log in 💥
How To Create a Login Component Within Umbraco V9
In order to create a login page, we need three things:
- A page to render the login page
- A view component to render the login component
- A view component to render logged-in content
- A surface controller to deal with the login posting data back to Umbraco
We will start the ball rolling with the page controller 😊
Login Page: The first step is to create the page to render the components. You will need to create a document type called LoginPage or something equally as imaginative. Creating document types is done within the Umbraco backend. I won't cover the steps to achieve that here. You will need to create a document type and allow it to be created under the homepage. If you are unsure how to do this, I recommend you check out this video.
For this tutorial, I will also assume you also have the Umbraco models builder configured and working. After creating your document type, remember to generate the corresponding model for the login document type. In this example, this object is called LoginPage. In order to render any page requests of type LoginPage correctly, will need a controller. This controller can be of type RenderController. The code to create it looks like this:
In terms of membership code, the interesting part of this code is the injection of IMemberManager on Line 12. IMemberManager is the API that allows you to do all sorts of cool member related things. On Line28, I use IMemberManager to get information about the current users logged in status by using the IsLoggedIn property.
If you are unsure about the ComposedPageViewModel used in the snippet above, don't be. This is something that I do as good practice within my projects. I like to pass a view model and the Umbraco models builder object down into the view. I like this approach as it means my custom logic is contained within one object and the default Umbraco stuff in another. You do not need to follow this pattern if you do not like it. All you need to do is pass a view model with the correct data down into the view. If you like the looks of this pattern, you can learn more about it here
The related view for this controller is also pretty standard. You need to create a view here:
Views ➡ LoginPage ➡ Index.cshtml
In this view, add this HTML:
Depending on the current users logged in status, I either render one of two view components. If they are logged in I render a component called AuthenicatedComponent. In this view, I simply render some profile information about that user. If the user is an anonymous site visitor, I render a component called AnonymousComponent. This component is used to render the login component that will allow someone to sign in..
AnonymousComponent: View components are the way to render components within ASP.NET 5. View components replaced the partial views of the ASP.NET Framework. You do not need to add any custom routing rules to create a view component. You simply need to create a controller and an associated view. This is the HTML I added to the view to render the login component:
It is possible to design your website so the member area section is rendered on an additional page instead. I'm doing everything on the same page in this tutorial to make it easier to follow rather than best practice. You could just as easily do a redirect to another page in the SurfaceController (we will get to that code shortly).
The corresponding view controller component is pretty simple and it doesn't really need to do anything clever:
AuthenicatedComponent: You will definitely need to create a login component. This component will need to render a form that posts any login submission data back to Umbraco for validation. This postback process is done by creating a SurfaceController. You will not need to do anything within the CMS to create this component or controller. The code to create the AuthenicatedComponent view controller is shown below:
This is the view:
Surface Controller: The last and most important part of this architecture is the SurfaceController. This is the connective tissue of how the form posts data back to Umbraco, how you validate login submissions and what to do with the request. The code to create this controller is shown below:
To check if a site visitor has entered a valid credential, you can use a combination of IMemberManager and IMemberSignInManager. You use the ValidateCredentialsAsync() method within IMemberManager to check if they have supplied valid details. If the credentials are valid, you can then use the PasswordSignInAsync() method within IMemberSignInManager to log them in.
When creating this controller, do not forget to decorate the authentication action with the ValidateAntiForgeryToken attribute. This will make sure naughty people can not do naughty things with your form. To make this work you need to make sure you have the @Html.AntiForgeryToken() within your form. Job done 🔥🔥🔥
With all these things combined you should now be able to provide a kickass membership site using Umbraco v9. It might look like it takes a lot of code to get it up and running, however, when you start coding it out you'll find that its not too much. Conceptually I think that as long as you understand you need a page, two components and the SurfaceController the rest is fairly easy. WHen I first tried building a site I thought the SurfaceController should be the page controller. This took me a good few hours to figure out 🤪 Remember, the SurfaceController is the thing that deals with data postback only. Happy Coding 🤘
