In this tutorial, you will learn how you can use the Umbraco ModelBuilder using DLL mode with multiple class libraries. Out of the box, the ModelsBuilder, when set in DLL mode will generate strongly-typed models within your web project (if you are not up-to-speed with ModelsBuilder I suggest you start here
Architecturally speaking, trying to use models builder without some proper thought can lead to a lot of future maintenance pain. It's a generally accepted principle that tight coupling and monoliths should be avoided. One way you can split your code up is by using class libraries. Instead of adding all your code within your web application project, your code is separated into one or more class libraries. There are many different patterns that you can follow when deciding on how you split your class libraries. If you favour a domain-driven design approach you may split your libraries using a reason to change principle. If you have a backend membership portal, with a domain-driven design you could put all your membership related code within its own member class library so it's grouped together. If you try this and you are also using the DLL mode, you will soon notice a circular dependency issue. In DLL mode the models generated by the model's builder will live within the webroot. The membership class library needs access to these models, so you add a project reference from the membership portal to your web application. If you ever want your membership code to appear on the website, the web application project will need to reference the membership library. If you try this, Visual Studio will complain because you are trying to cause a circular dependency. This will cause an infinite build loop, so what do you do?
One way around this is to configure the model builder to generate the models into their own class library. With the models split out, you can then reference the models in both web application and membership portal. Using a third library breaks the circular dependency issue and you can then access your strongly-typed models throughout your codebase. You will no longer be limited to only using your models within your web application and you will be able to create a more loosely coupled system. Hopefully, you understand the benefits by now. Let's get on with making it happen.
Create A Class Library
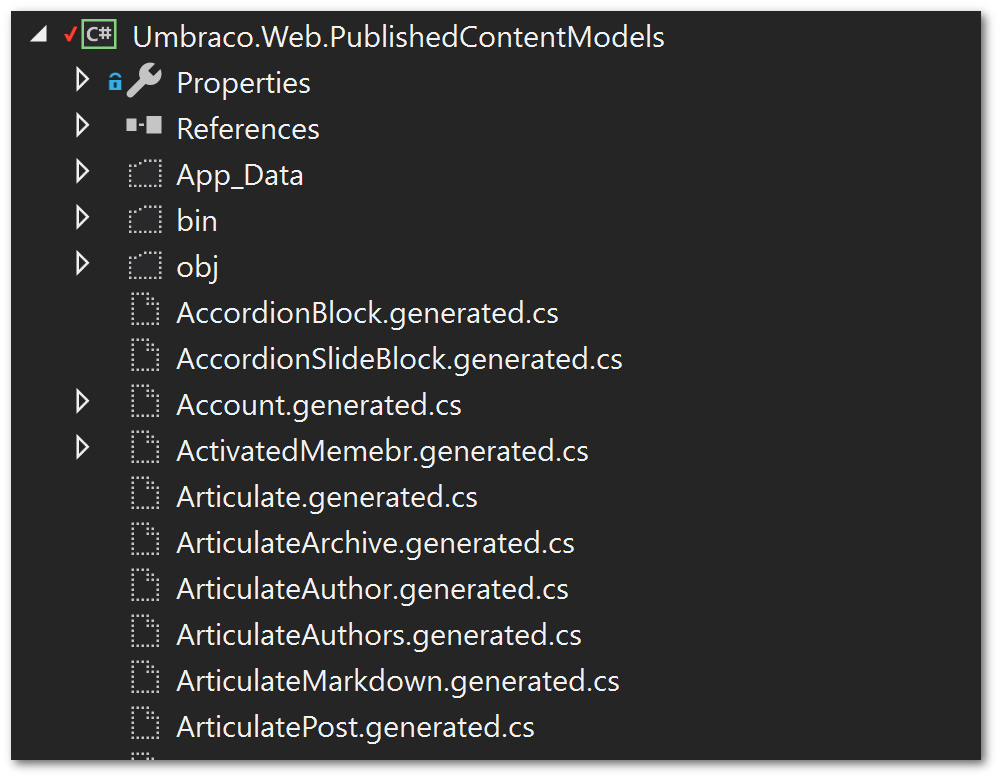
In your solution create an empty class library. You can call it whatever you want, however, I tend to call mine Umbraco.Web.PublishedContentModels to match the default namespace the model builder generates.
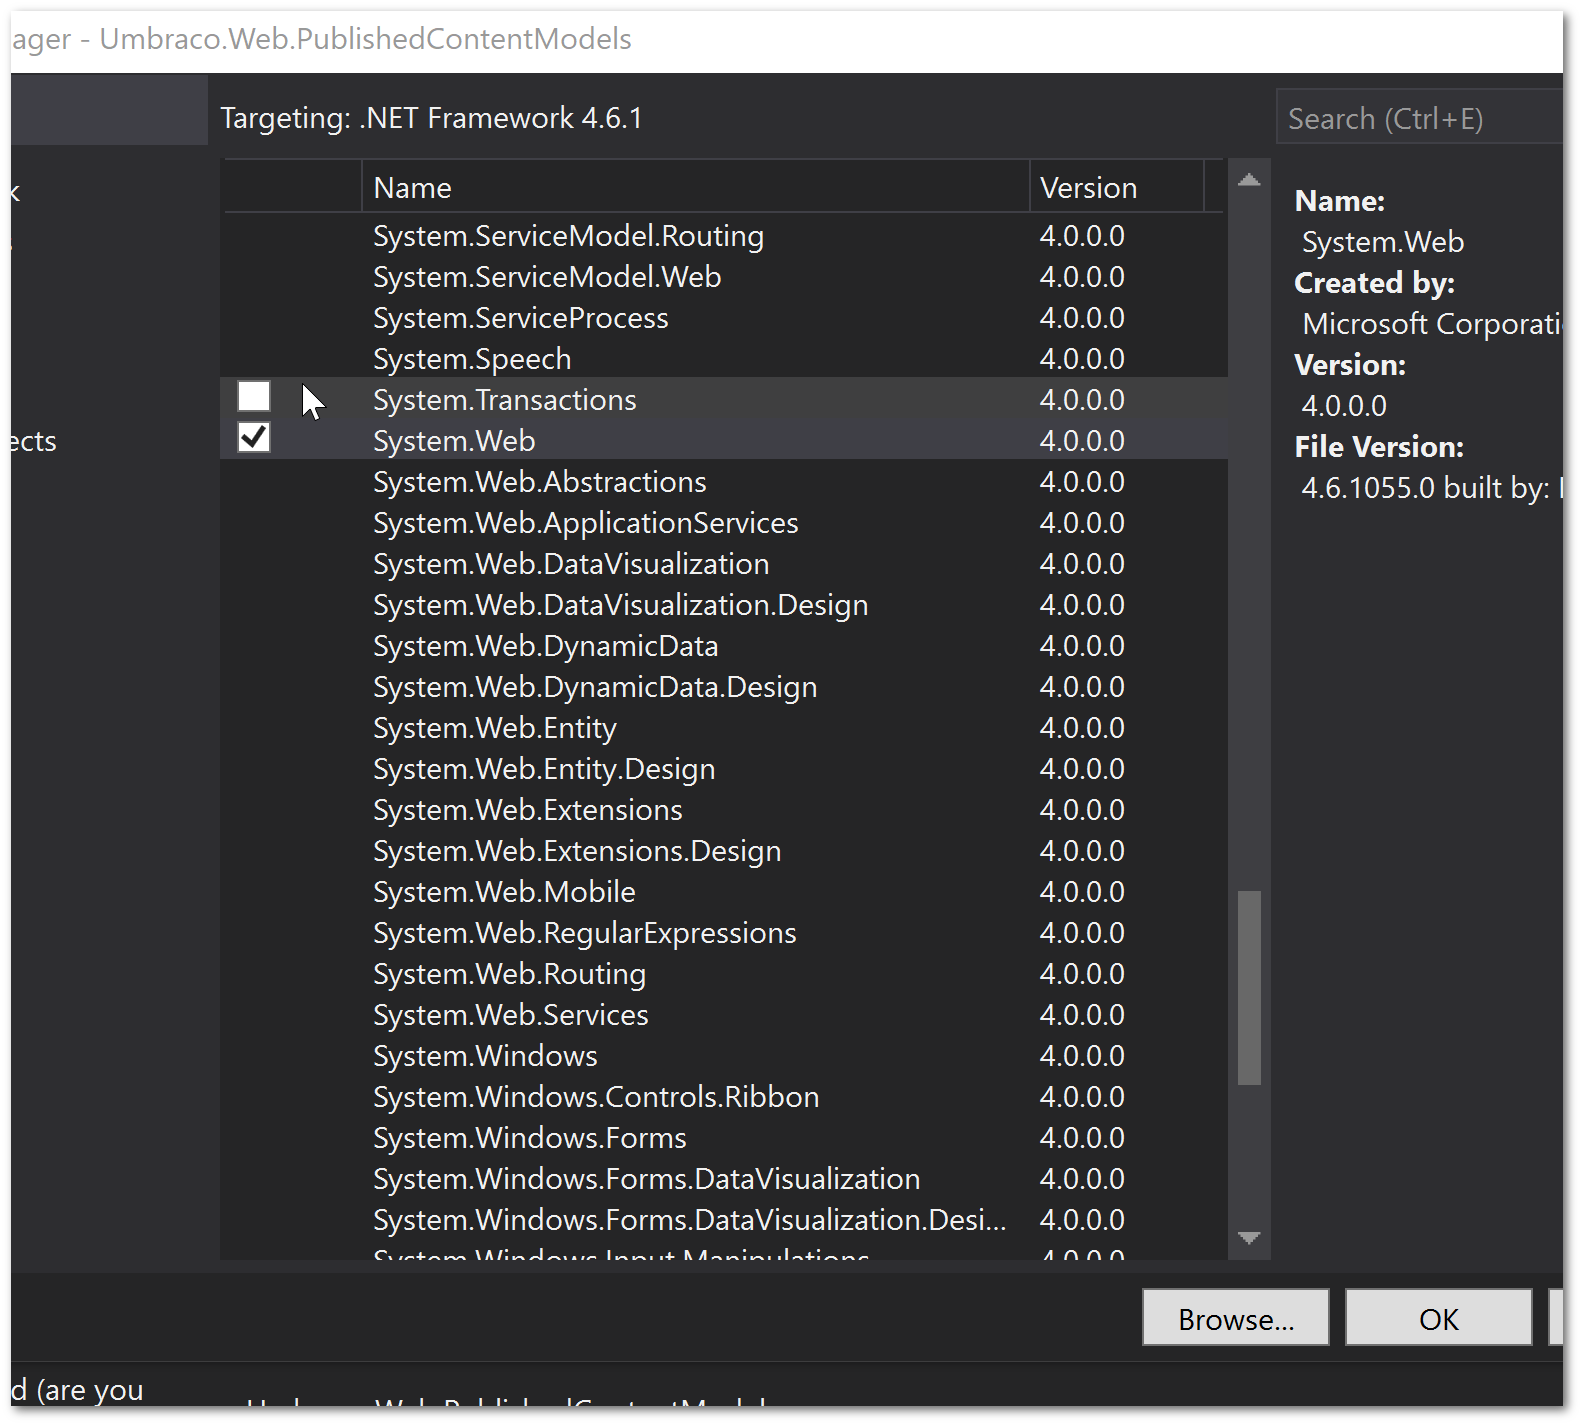
In order for the models to compile you will need to make sure you add a reference to System.web:
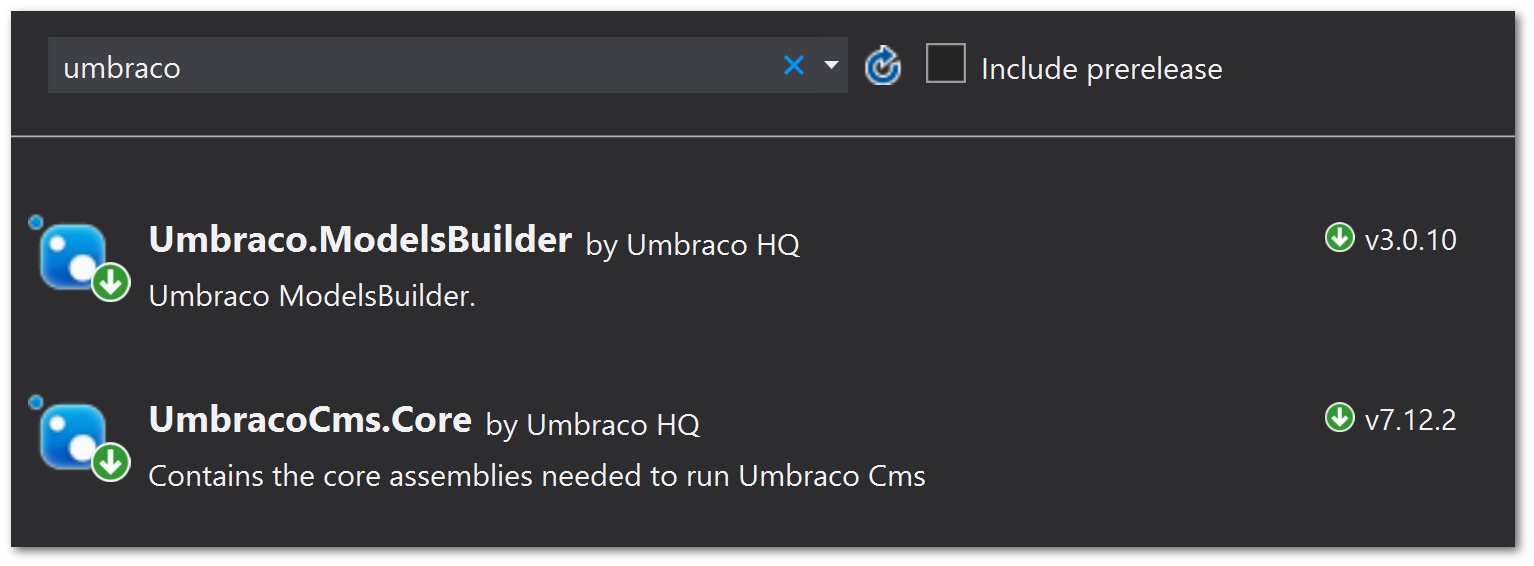
You will also need to make sure both of these Nuget packages are installed:
Umbraco.CoreUmbraco.ModelsBuilder
With the class library created, your next tasks will be to configure the model builder. You will do this within web.config. Remove the existing model builder settings which looks like this:
And replace it with this config:
That should be it!
Generate Models
Within your Umbraco backend, go to the developer section, click on the Models Builder tab.
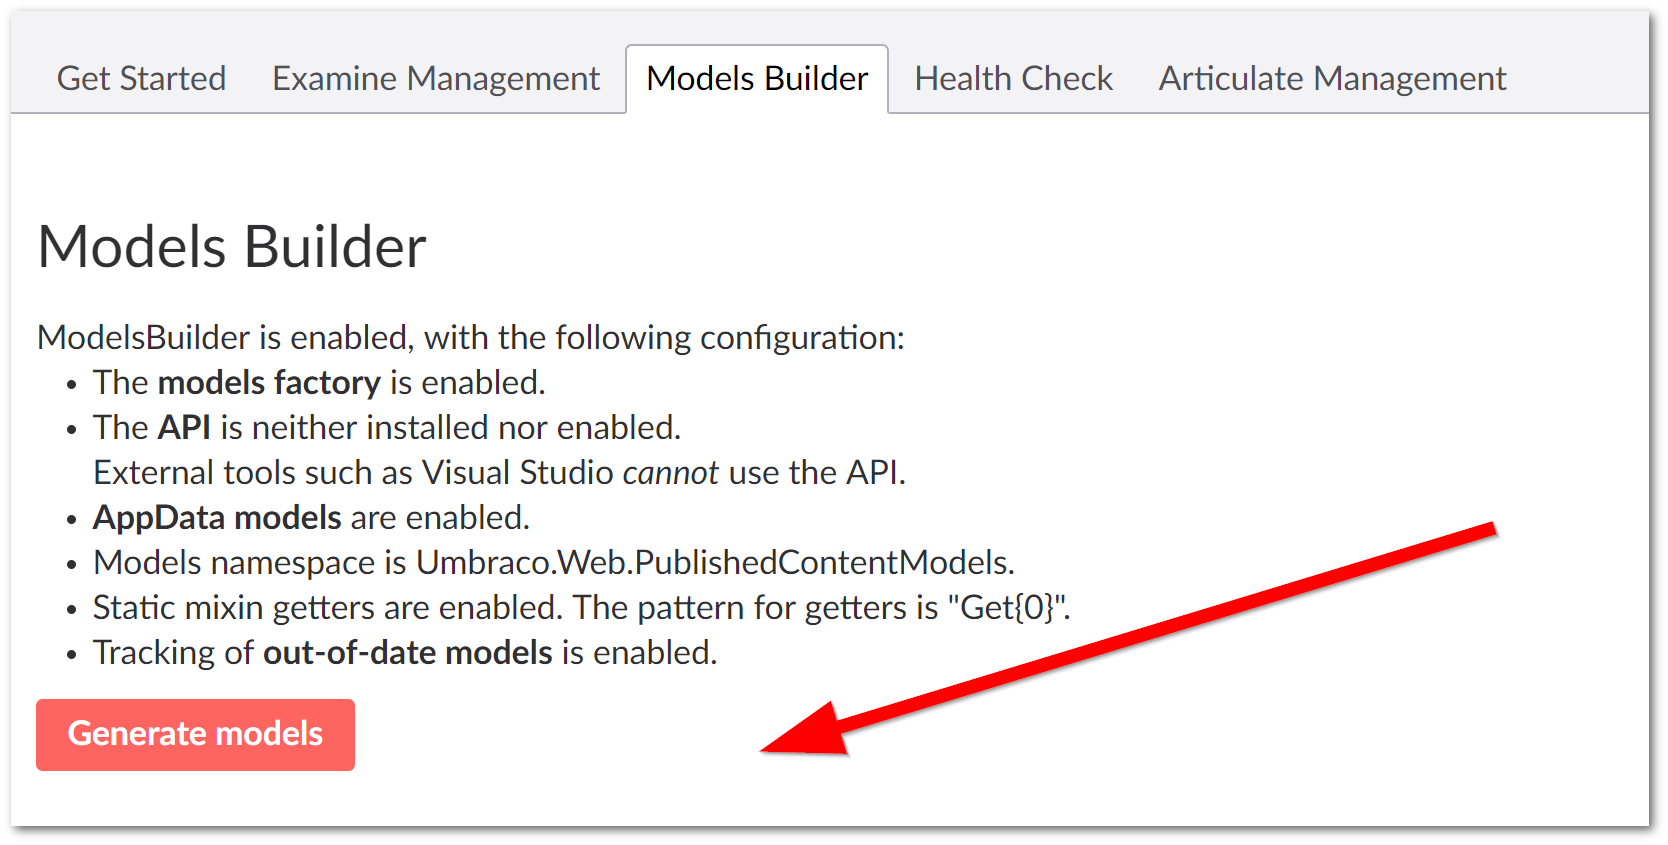
Click generate models. Next, within your models class library, ensure the show hidden file option is selected and then click the reload button. You should see a lot of files created with a .generated.cs extension. Add these to your project:
Within Visual Studio, select all these files, right-click and select 'Include in project'. If everything goes well you should now be able to build the project successfully. You can now reference this class library in your website project, your membership project and anywhere else you want to. Happy Coding 🤘
