If you work with APIs and you use Postman, this is a must read article for you. Below I cover 5 lesser known features within Postman that will make you more productive. Do you think you know all these tips?
Build Tests Directly Within Postman
Lets start with what I assume will be the most well known tip so we can then build upon it. Did you know that you can code tests directly within postman? When you set-up a new connection within Postman, if you head over to the Test tab you can write custom unit tests here:
Writing a test is pretty simple, as the Postman provides a fluent API that you can use to write tests:
One tip when coding and debugging these tests is to make use of the Postman console. The console will show not only the data that has been sent, it can contain errors and other helpful console stuff.
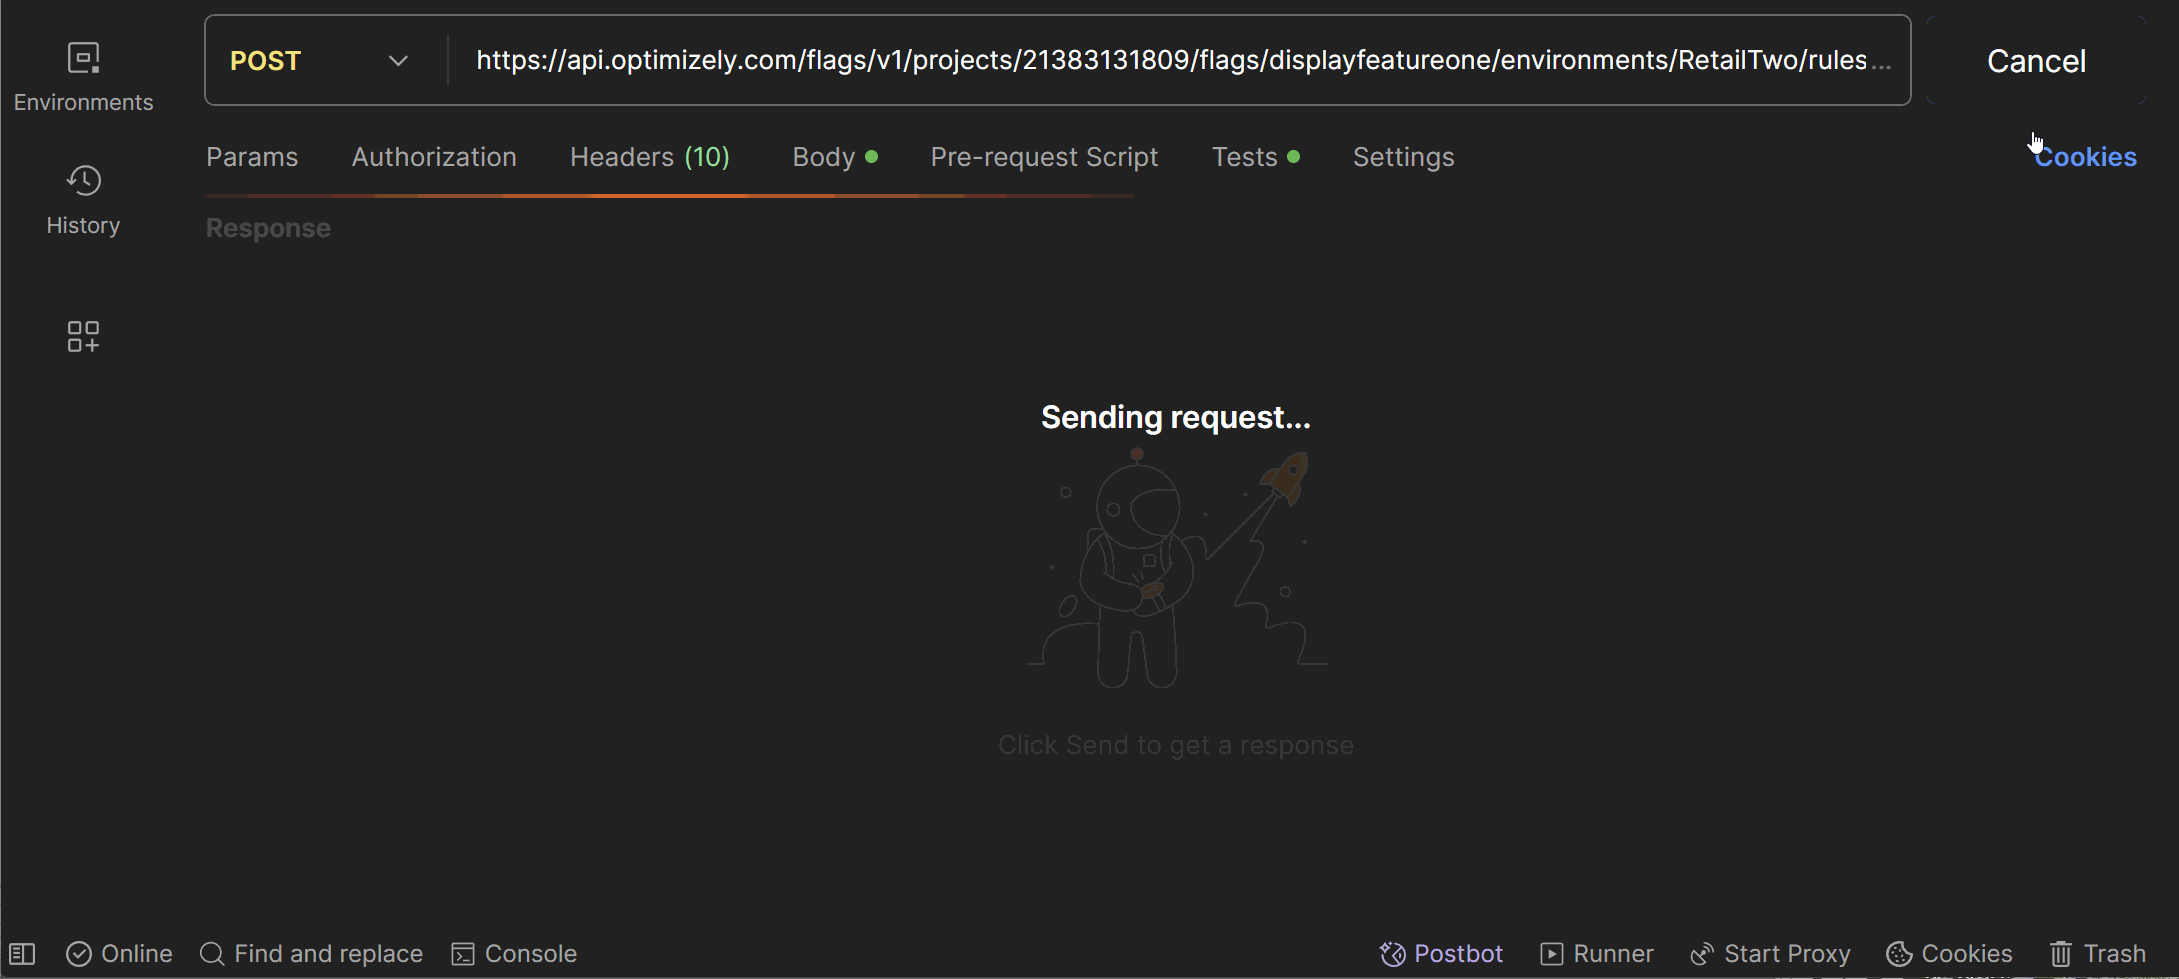
Another useful tip that is handy to know is around running all your tests in one go. If you right-click on any collection, and click on Run Collection, Postman will run all the tests in a batch!
Auto Generate Dummy Data
When you are coding your tests, coming up with fake dummy data to pass to your APIs is tedious. What's worse is that when you hardcode data, you are also limiting the reach of your tests. Instead of coming up with your own data, instead you can use some Postman helpers to generate random data for you. Under the hood Postman makes use of an excellent library called Faker. Fakers supports about 50 different types of data generation formats, for example:
$randomCity$randomStreetName$randomStreetAddress$randomCountry$randomCountryCode$randomLatitude$randomLongitude$randomColor$randomPrice$randomJobTitle
You can't just simply copy these variables directly within your tests, otherwise you will receive a ReferenceError: {} is not defined error. Instead, you need to wrap these variable calls using Postman replace helper like this:
If you want the complete list of data types that you can generate, have a look at this page.
Auto Documentation
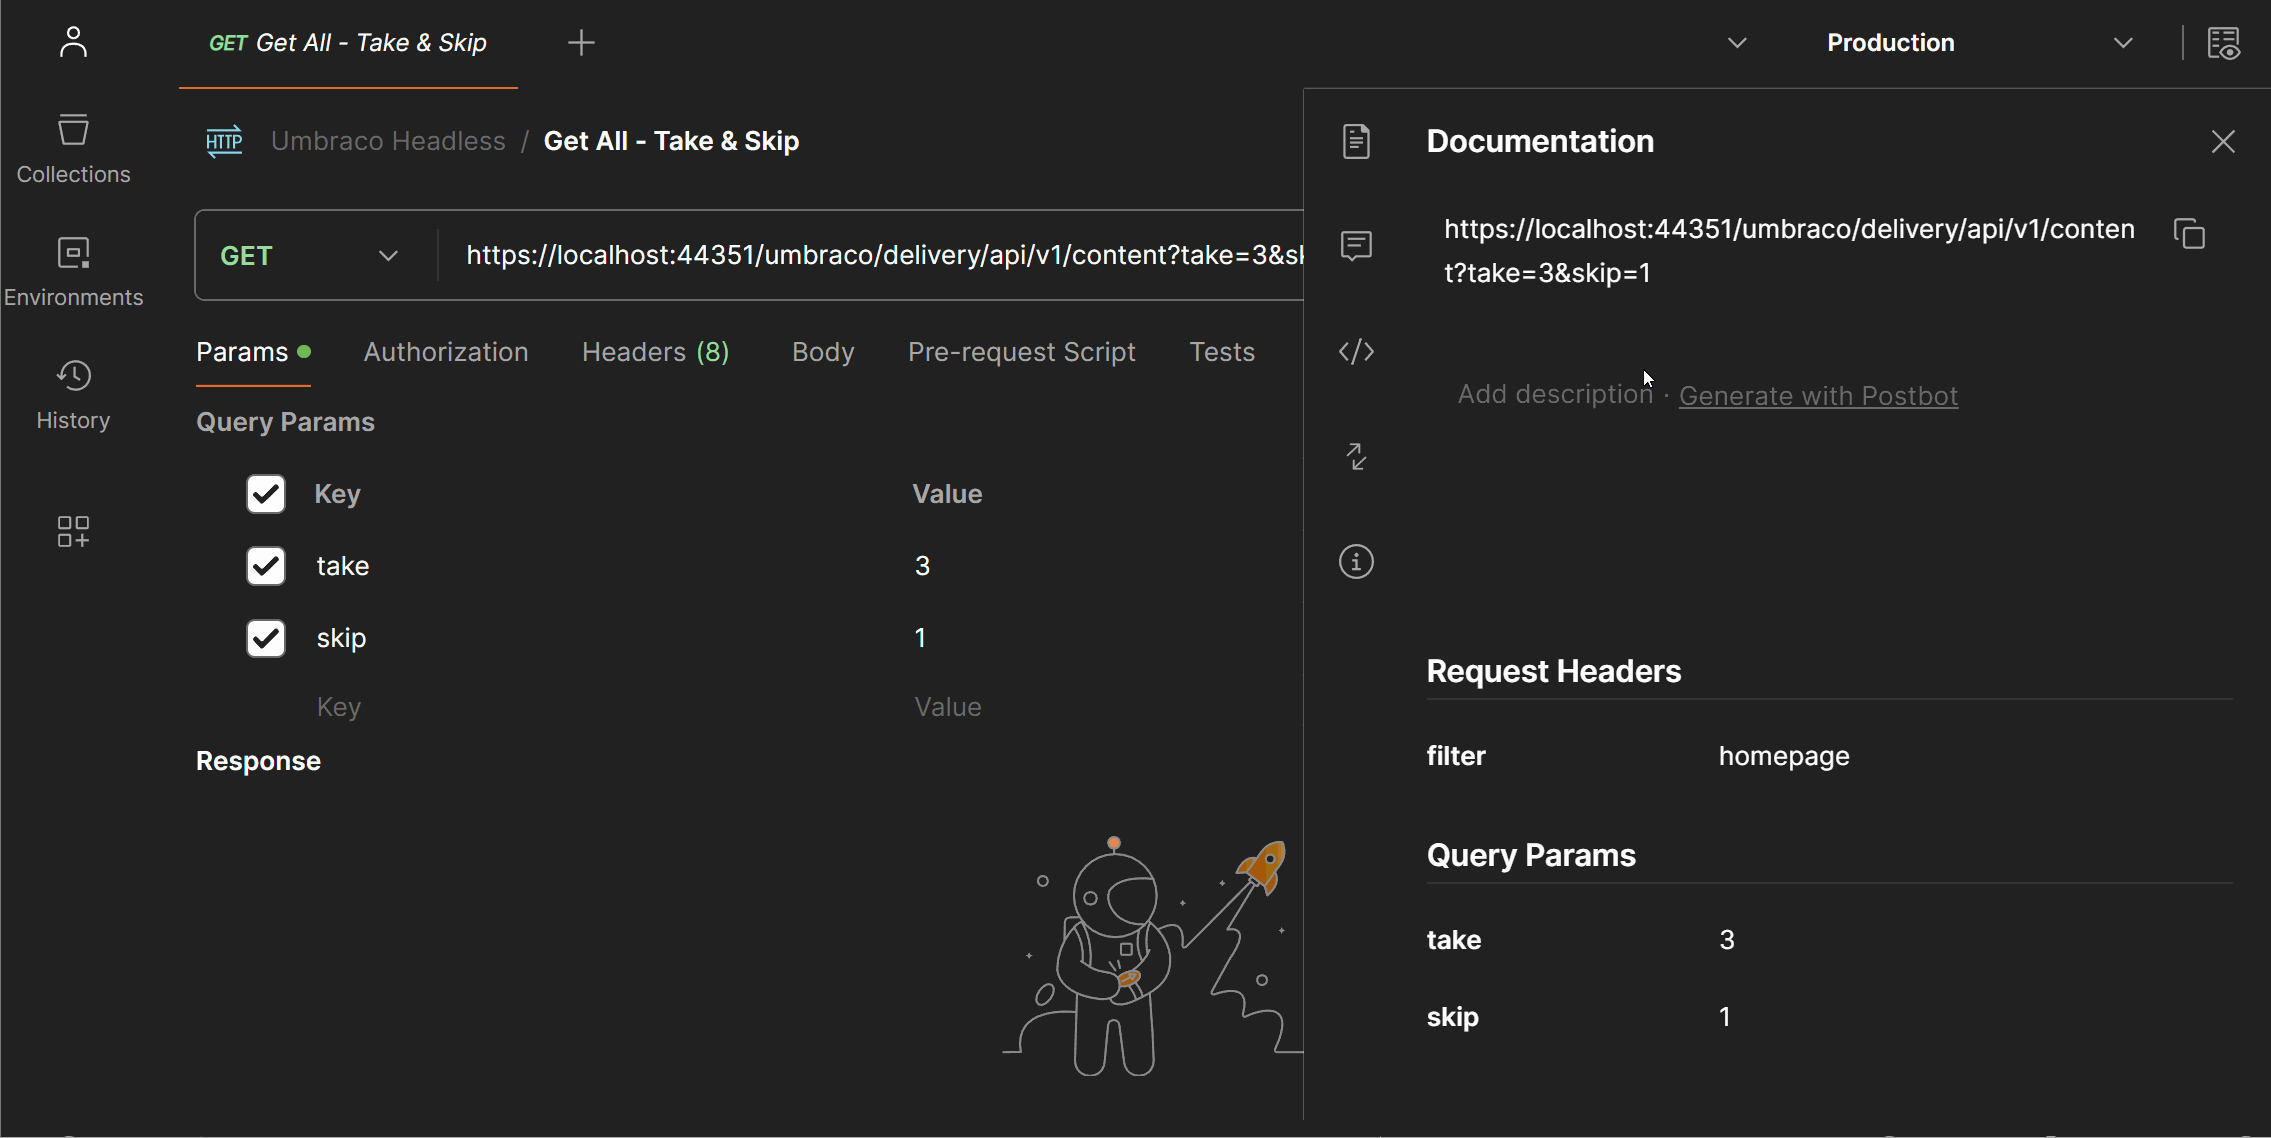
Now you have your unit tests, the next thing to do is document your API for consumers to use. Instead of writing documentation manually yourself, instead you can automatically generate API documentation using the documentation icon in the right panel of the Postman workspace:
Bulk Apply Changes
Most APIs that you will need to work with will require validation and authentication tokens to be provided. Even though you can make use of variables to share an access token value between tests quickly, setting up the auth header on each test wastes time. Instead of doing this, did you know you can bulk apply settings at a collection level?
After setting up a collection level header, any API request you make within the collection will automatically have that global level header added to it. This means you can authenticate without needing to go over everything multiple times!
Mock Server
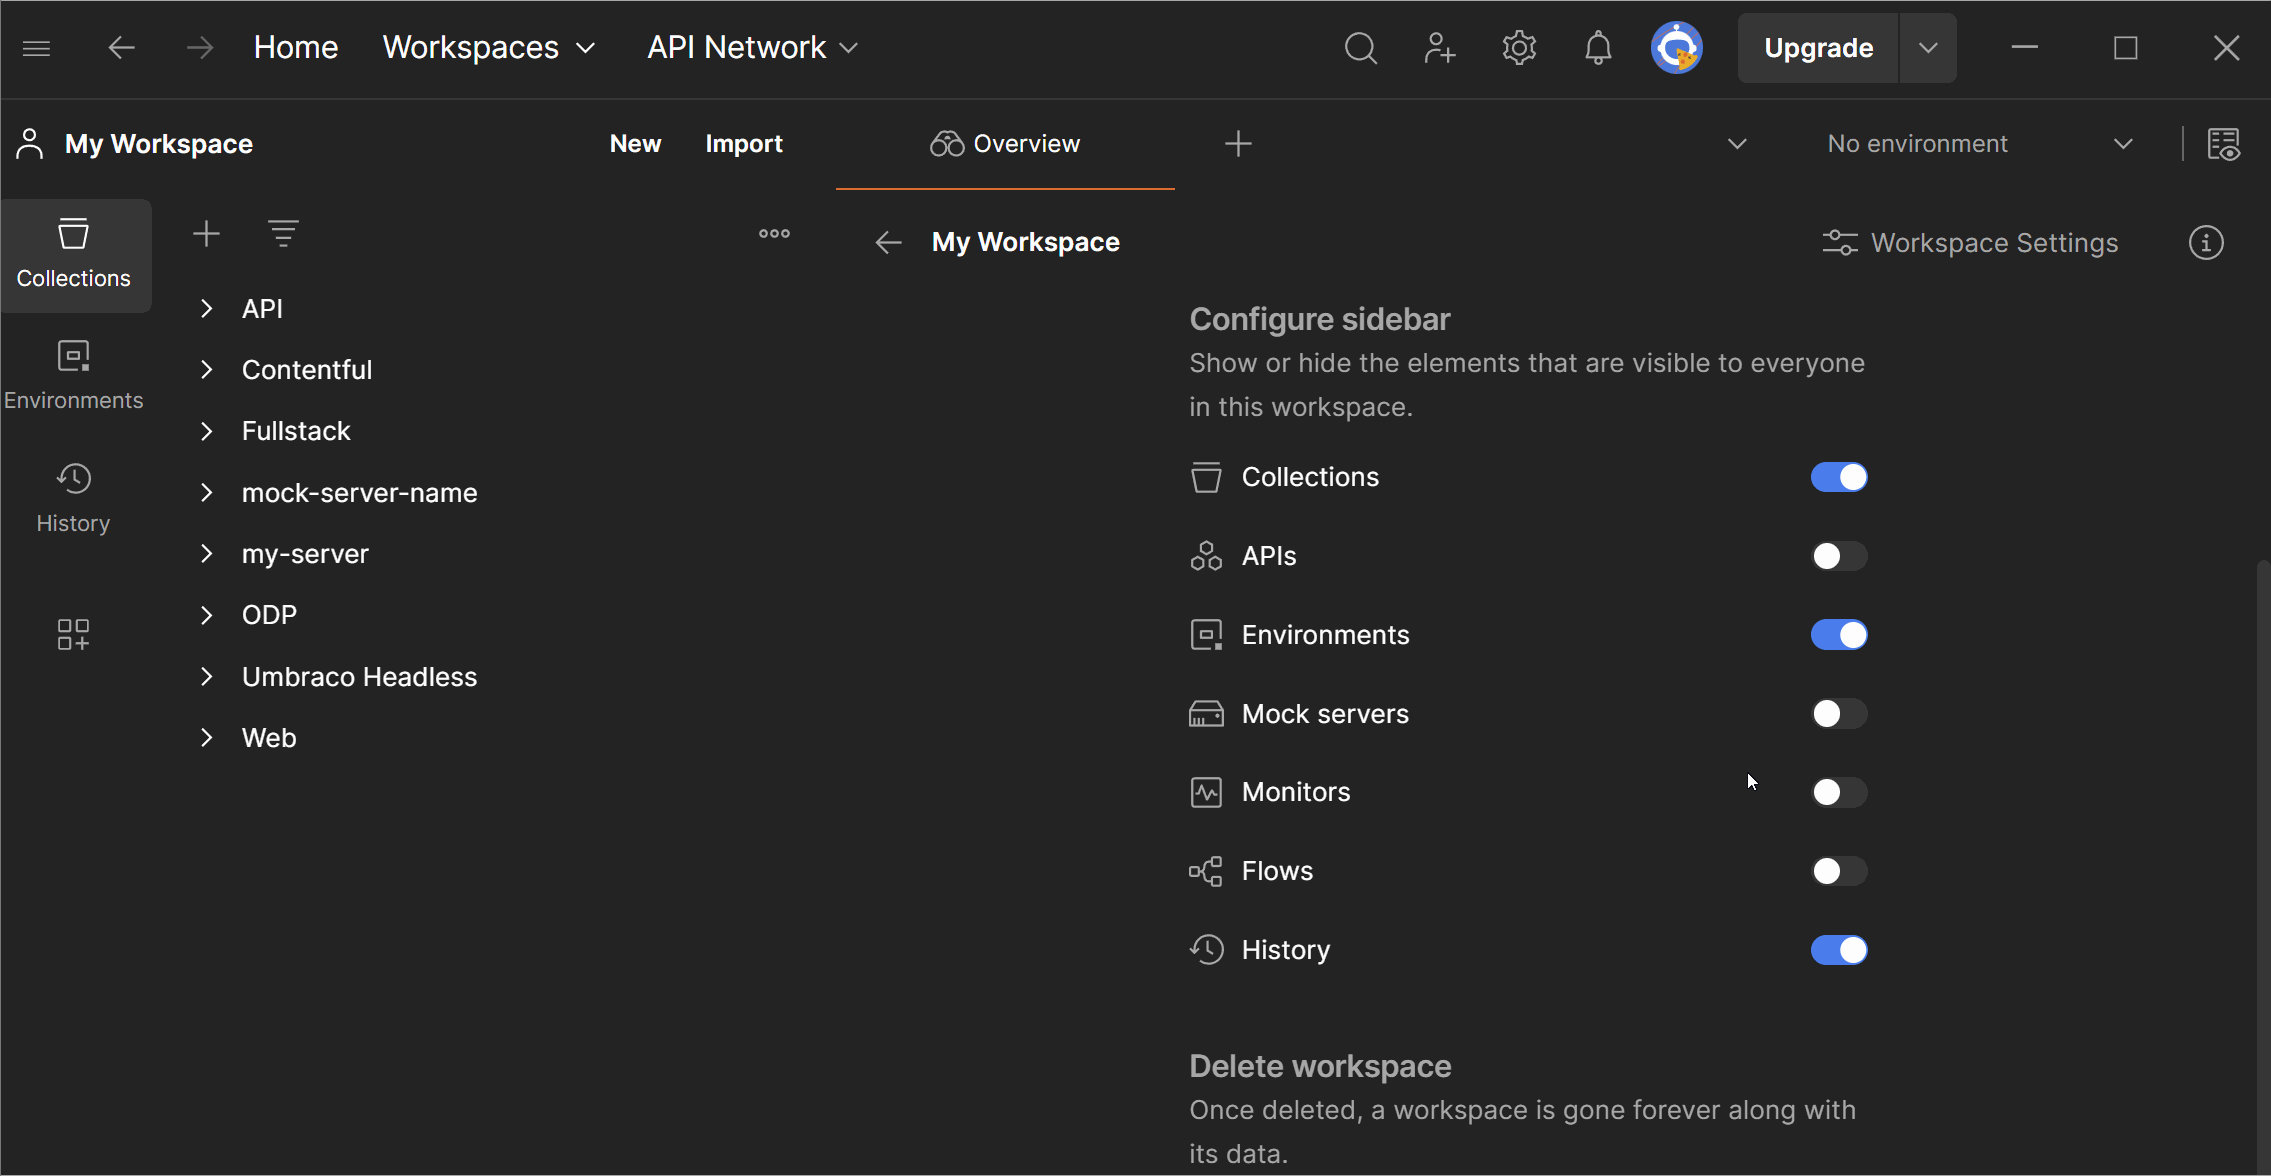
Have you ever tried to start building an app or website and the page or screen needs to be powered by an API, however, the API has no been built yet? One option is to create a JSON file with the expected response data shape, however, a quicker alternative is to use the Postman mock server feature. This feature is hidden by default, but you can enable it via the sidebar like this:
Once you enabled the Mock Server tab, you can create a new mock server. During set-up you will need to define your endpoints as well as the data you want returned. If you forget to add an end-point during set-up, you will need to create a new mock server. Additionally, as part of the set-up Postman will generate a server URL that you can use. In terms of set-up you have a few options, like making the server private, adding mock network delays, as well as adding additional request body and response headers.
When you create a mock server, Postman will also create a new collection automatically for you based on the name you call your mock server. This collection will contain the end-points you defined during set-up.
Did you learn any new tips, let me know within the comments of my YouTube video. Happy Coding 🤘