In this tutorial, you will learn about React Styleguidist. Manually writing documentation has several downsides, first, it's boring and second, it's very time consuming trying to keep it up-to-date. Every time someone updates the code you have to hope that they also update the documentation. As documentation becomes obsolete, people trust it less. When that happens it gets used less frequently. A better way to create documentation is to use tools. React Styleguidist is a useful tool that you can use with your React.js application in order to auto-generate documentation.
Setting up React Styleguidist
First, you will need to use web-pack if you want to use React Styleguidist. Installing and configuring web-pack is outside the scope of this project, however, if you want to learn more go here. To install React-Styleguidist run this command within your project:
Next, create a styleguide.config.js in the root folder of the project to configure it as you need to. The purpose of this file is to export an object containing all of the information needed to configure React Styleguidist for web-pack to use. Let us say that all your React components are stored within a folder called components, you could use a config similar to this one:
How To Generate Documentation
Styleguidist provides two ways to view the documentation. You can either generate a static website so you can commit your style guide within source control as a point in time reference. The other option is to dynamically create the documentation and render it using a self-hosted node server. I typically tend to use the static HTML version, however, the self-hosted server can be useful when you're writing code to check that the documentation is updating as you write new code. To get going with a self-hosted server, run this command:
If everything runs correctly, you should be able to view the guide on localhost port 6060, like so:
If you want to create your documentation as static HTML files so you can ship it with your code, you use this command instead:
After successfully running, the documentation should get generated within a folder called style-guide. Open the index.html and you should be presented with something similar to this:
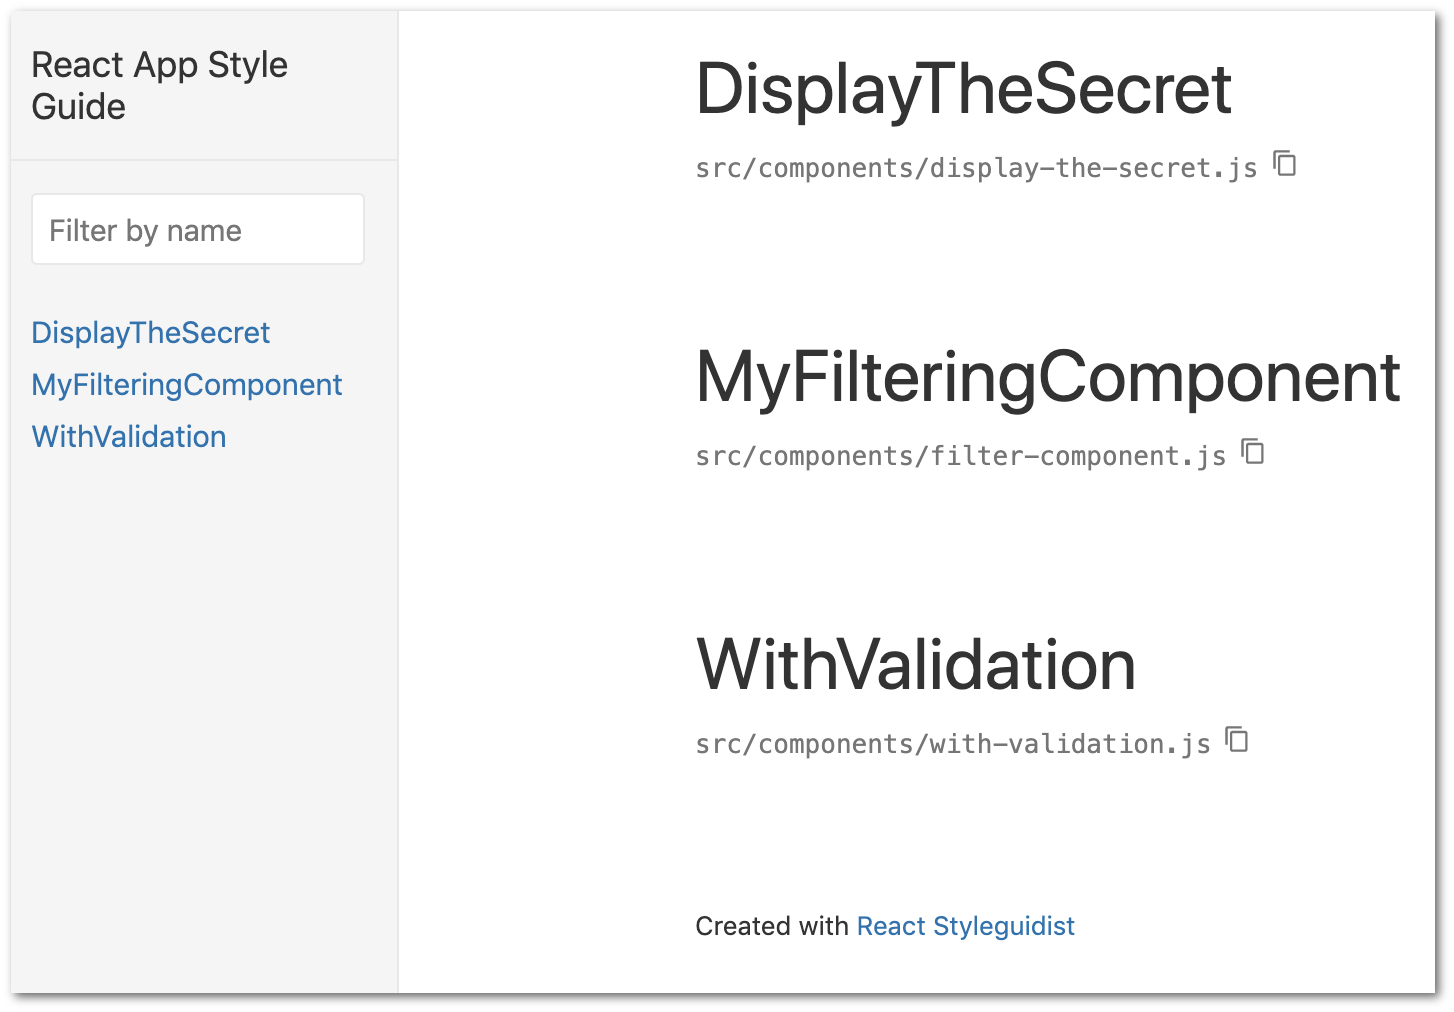
As you can see above, in the left-hand panel, you will see a list of all the components. After you click on a component, you will be able to see its associated documentation within the main panel.
Pro Tips
You can make the documentation within your Style-guide a lot more useful if you also use React PropTypes. prop-types are really handy and I suggest you take some time learning about them (or TypeScript). See this guide for more information.
Style guides are great for new team members. Developers who are new to your codebase can have an easy way to look at a component and get a basic understanding of how it works and what it does. Happy Coding 🤘