Whenever you are working on a custom CMS build, you will often need to model something within the CMS that does not exist out-the-box. Whenever you find yourself within this situation, your two options are either to try and find a workaround, or, to create a custom CMS extension in order to build the missing functionally yourself .
The good news for people using Contentful CMS, is that creating a custom extension is pretty easy. Contentful provides you with everything you will need to create pretty complex backend extensions, so if you want to learn how to build one of these extensions yourself, you are in the right place!
Within this tutorial, I will walk you through the end-to-end journey of creating a custom extension. Within 20 minutes you will have a fully working package, that you know how to install and debug, and that also contains global settings. If this sounds good to you, read on 🔥🔥🔥
Contentful App Framework Prerequisites
In order to create a custom extension, you will need to make use of a few things:
To install an app within Contentful you will need a Contentful account. To create an app definition will require that account to have admin powers.
Forma 36: Forma 36 is a free design library of components that you can use within the Contentful backend. Using these components will reduce the amount of time it will take you to build an app because these components have all been styled to look like they belong in Contentful. Each component takes a number of props so its easy for you to get and set data within the CMS.
create-contentful-app: This framework will generate the solution and the scaffold code required to build an extension. This tool makes life pretty easy to create an extension because you can start off having all the correct dependencies and configuration using a single command line instruction.
Project Structure Explained
To get start building your extension, the first step is to install create-contentful-app and then use it to generate your solution. To install this package, you can use this command:
When you run the installer you will be asked to provide the name of your app. Next, you can choose if you want to start using an example template, or, a blank slate. In terms of templates there's about 10-15 you can choose from. Templates include validators, asset uploader, an action, and a dam app.
After the project has been generated, open the solution within your IDE. Within your app folder, you will find a bunch of files that are used to render and configure your app within Contentful. You should pay particular interest to these files:
index.tsx: This file tells the app where it will appear within the Contentful UI. The default configuration allows the app to be used everywhere. It will be up to you to delete the code for any area you don't want the app to be used. For reference, these locations are:Comparison
- Field extensions
- Entry extensions
- Sidebar extensions
- Dialog extensions
- Page extensions
- Development best practices
Install your app within Contentful
After you have your app framework project, the next thing is to install it within the CMS. You can do this from within the Apps dropdown within your project.
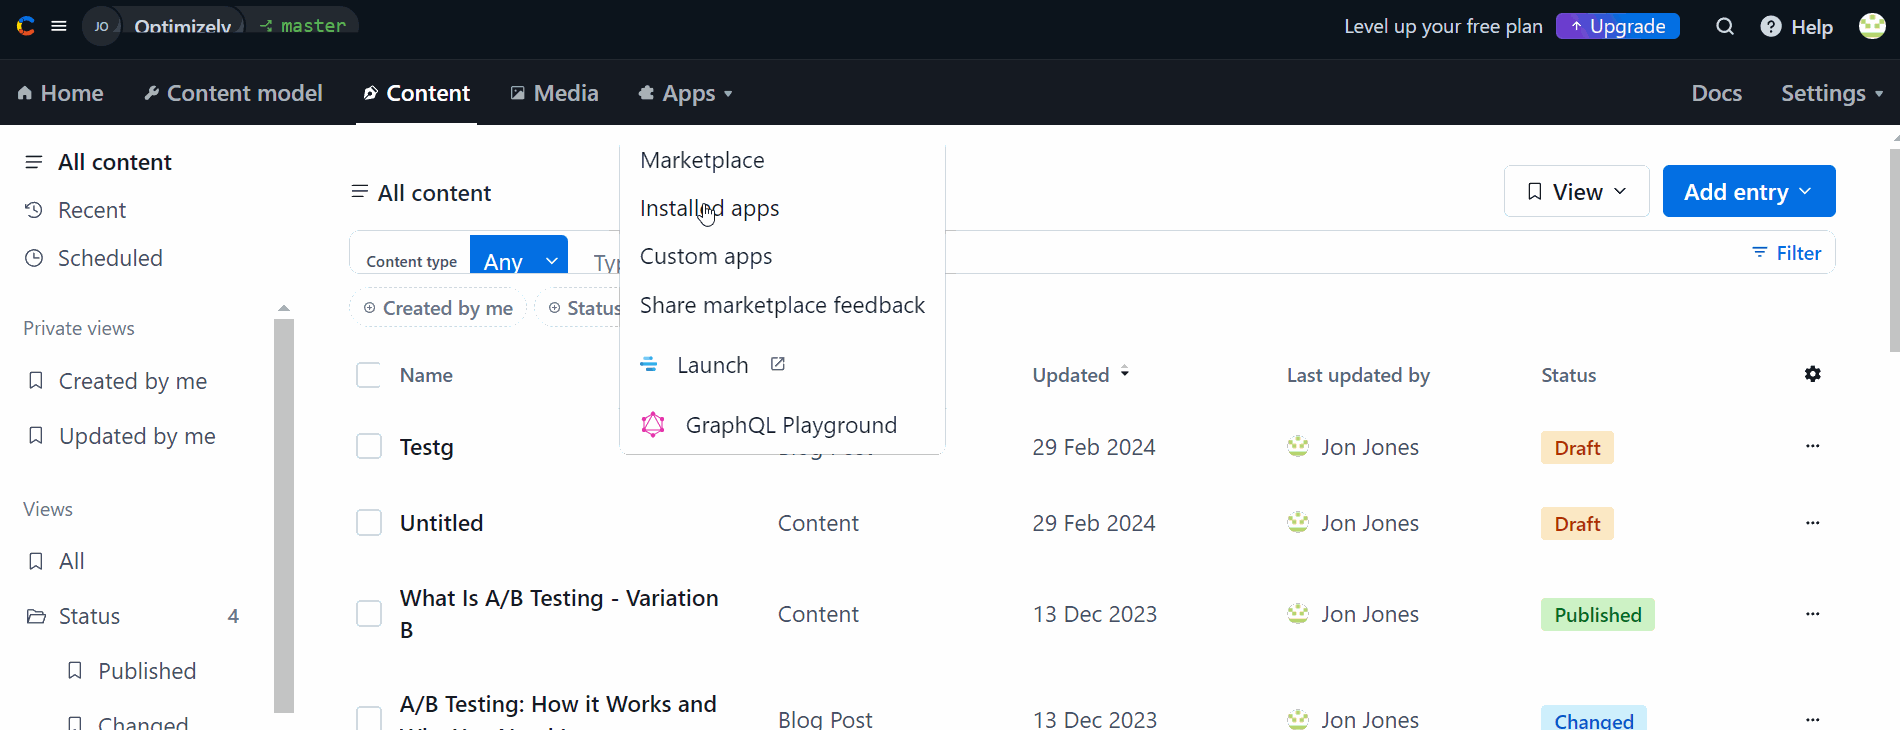
To access the installation screen, navigate to this page within the UI:
Apps ➜ 'Custom Apps' ➜ Manage app definitions ➜ Create App
When adding your app, you will need to define the URL that Contentful will use to access it. For development purposes, you can add localhost so you can build and test your app locally. For reference the default port is usually 3000.
From creation app installer screen within the CMS, you can also define things like:
- Locations
- Host the app framework project
- Add settings and security tokens
- Add events
- Add actions
- Add functions
When you are happy with your settings click save. After installing your app within the CMS, the next step is to create a specific instance of the app within the relevant Contentful spaces. To do this, open the space, e.g. master, click on the app setting again. This time you should see an installation message. Install the app and roll on! You are now ready to start building your extension 😊
Using The App Framework SDK
After you have set-up your new extension, the next thing you will likely want to do is add some components so editors can input and edit data. For this tutorial, I am building a UI improved for editors adding in the page. In this guide, I want to show the final URL, as well as render a button to call the Bitly API and generate a short code.
The easiest way to make your custom app look like it belongs within Contentful app is to use the Forma36 components, however, its worth mentioning that you can add any React component here that you want. For this app, I need to create a new component called Field here:
src ➜ locations ➜ Field.tsx
Field is related to the thing we want to override within Contentful. Depending on what you might want to do, you will need to create/override a different file. Read the docs here to learn more.
When it comes to using F36 components, within your custom component, you can import them like this:
After you add the F36 components to your component, you will need to hook everything up to the current fields context. In order to access state and read/write data from the CMS you will need to use the app framework SDK function. Using this sdk helper, you can access useful Contentful admin related functions and helpers. The code to import and access this helper, is shown below:
After you have access to the SDK, you can use the various helpers and start building your custom app.
One useful tip is that you can use this helper to refresh the UI in order to make sure your app fits correctly within the area it has been assigned. You can do that using startAutoResizer() and updateHeight()
When you create a custom field, you can access its related data from context using the SDK. You can use these two commands to read and write data:
sdk.field.getValue(): This will get you the underlining data.- `sdk.field.setValue()**: If you want to update the field data, you can by passing in the value to
Asides from manually updating a value, you can also hook into different event listeners like onValueChanged.
The final thing worth mentioning here, is that asides from the F36 components, Contentful have also built a bunch of additional field editors that you can make use of. These editors include things like:
- Single line editor
- Multi line editor
- Dropdown
- JSON
- Location
- Markdown
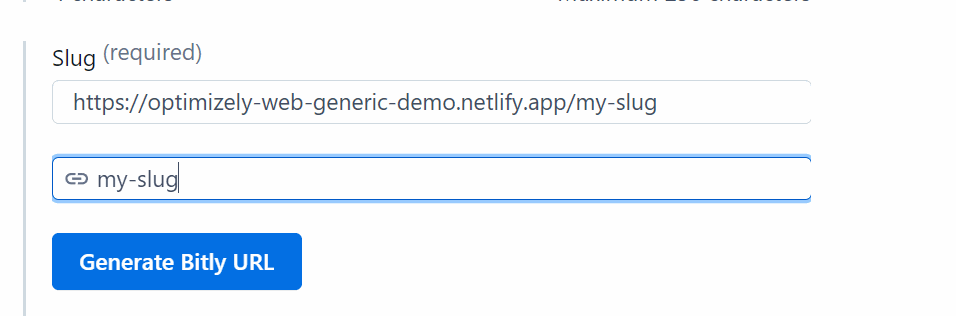
- Slug
- Entry reference / Media
- Rich Text
You can learn how to install these components here, however, these all work by passing in the fields prop from the sdk object. To use the Slug component for example, you would add this code:
Based on all that, my final component looked like this:
Configuration Screen
When creating a custom app, you may need access to additional properties and data. For the Bitly app we're building within this tutorial, we will need a way to access the Bitly API/access token within the app. You can see me accessing these values within Field.tsx on this line:
In order to build the form required to access the global data you need, you will need to create a custom ConfigScreen component. Within this component you can still use the F36 components. This config screen component will be shown to editors when they first install your custom app. To create this custom screen, create a new file here:
src ➜ locations ➜ ConfigScreen.tsx
Within your config screen component, you will need access to the app state again:
Lets review this code. We access the SDK helper using useSDK(); Next, you can use sdk to access the app state using sdk.app.getCurrentState(), you can also access any saved values for any of the global parameters you define, using sdk.app.getParameters().
For this example I need to define two properties. The first one will be used to store the Bitly access token, the second will be used to store the website domain. Adding this altogether, you can build a ConfigScreen.tsx with two properties like this:
Obviously, there are far too many configuration and options within the app framework SDK and the F36 library to fit into a single blog post, however, I hope this guide will give you the basics to get up and running without too much pain. Happy Coding 🤘