In this tutorial, you will learn how to apply your own custom CSS stylesheet within the Episerver editor. This can be useful if you want to change how the default editor looks. The Episerver editor looks great, howevever, sometimes you want to add your own flair into the mix ✨✨✨. With a bit of imagination, you can easily enhance the editor to make for a better UI experience for your content editors and do some pretty innovative stuff:
- Change the properties tooltip icon into an always visible description
- Add extra colouring or boldness to property titles to make certain labels stand out more?
- Make the properties wider to give editors more space to write prose!
If you want to learn how to do any of these things, then read on 🔥🔥🔥
Module.config
To get started you need to configure modules.config. You can find this file in your webroot. If you haven't come across module.config file before, this is the configuration file that allows you to register custom files into Episerver. If you want to create a widget or register your own custom style-sheet within the editor this is the file you need to create/update. One useful thing to know is that module.config points to theClientResources folder by default. To add a custom stylesheet, you will need to add it within that folder!
Custom Episerver Stylesheet in Episerver V7
In the ClientResources folder create a folder called Styles and create a file called editor.css file:
Within the newly created editor.css file, add the following styles:
Custom Episerver Stylesheet in Episerver V9
in Episerver v9, things changed slightly and you need to use this CSS instead:
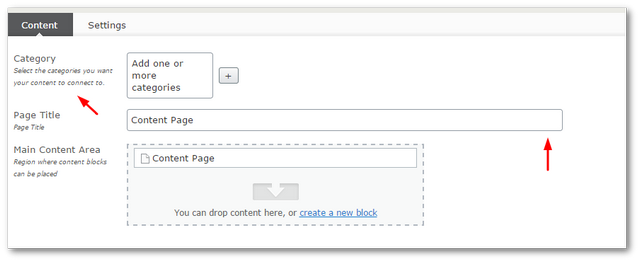
The first style in the list is probably my favourite Editor hack. When you define a property in Episerver, you can include a description to help the content editor understands its purpose. The description only appears when the user hovers their mouse over the property as an overlay. Personally, I find this really annoying and not that usable for content editors. From my experiences, I find content editors prefer having the description as an overlay. Using custom CSS we can change this easily:
Epsierver CSS Crash Course
If you are not great with CSS and you don't know how to find the editor styles you need to use, I'll quickly give you a CSS crash course. Open the editor up in Chrome and hover the mouse over the element that you want to change. Right-click on the element and select Inspect Element from the context menu. This will bring up Chome dev tools, which will show you all the styles that are being applied to that element.
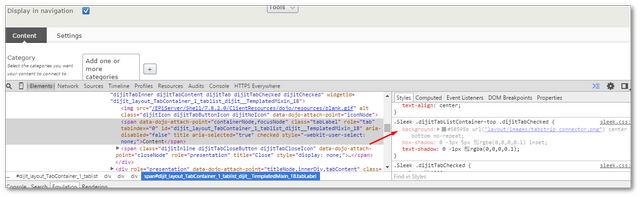
Here you can see the CSS being applied and add your own. You can then add your custom CSS and debug it. When you are happy, copy this CSS into your stylesheet. Job Done! All the above code can be downloaded from my Episerver starter kit here. Happy Coding 🤘
