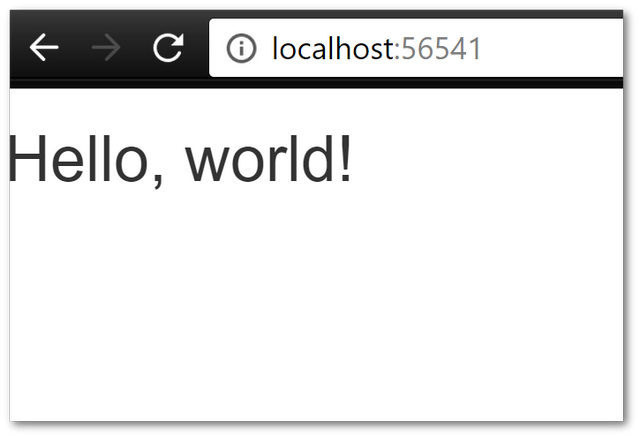
In this tutorial, you will learn how to create a header and footer using partial views within a website powered by Umbraco v7. This is the third post in a series that explain hows to create a page in Umbraco. In the first article, we converted a static HTML file into a simple document-type. In the second post, we created a very simple master layout and a template, as seen below:
In this post, you will learn how to create a header and footer. You will learn how to update the master layout to display the header and footer. To prevent code duplication we will create the header and footer controls as partial views. Partial views are not Umbraco specific components, they are part of the core .NET framework.
For those of you new to.NET, a partial view is a reusable portion of a web page. It is created using a .cshtml that contains HTML and code. Partial views can be used to represent reusable components on a page. Even though the header and footer are only used once, being able to compose both of them onto a page will result in a clean architecture. You can create a partial view in Visual Studio, or, within the CMS itself. For this tutorial and ease of comprehension, we will create the partial view via the CMS:
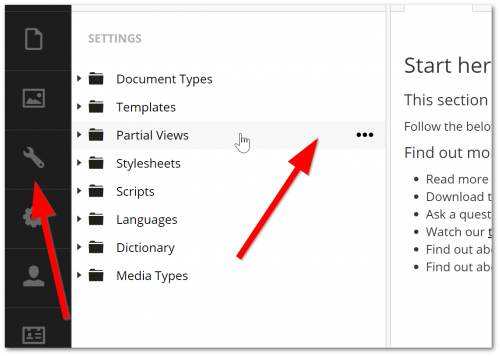
Open your Umbraco backend and go to the Settings section. On the main left-hand menu, you should see an option called Partial View (as seen above). This is where you can a new partial view:
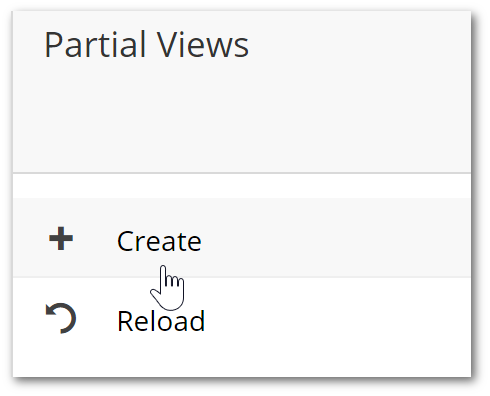
Right-click on Partial Views, click Create:
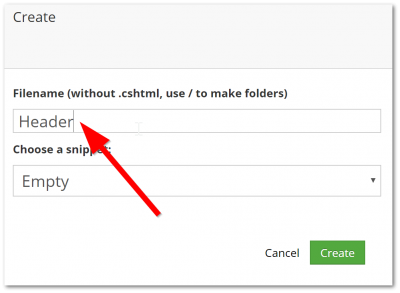
Add the name of your component, in this example call it Header then click Create:
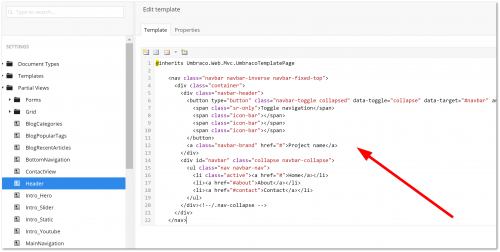
When the page reloads, you should see an empty view. The view can be edited from the 'Templates' tab. To create the header, you will need to add some HTML to this view. For this guide, I will use some example HTML copied from the bootstrap website, here. In the next guide, we will make the content dynamic. For now, it is simply a case of copying the HTML and saving the view:
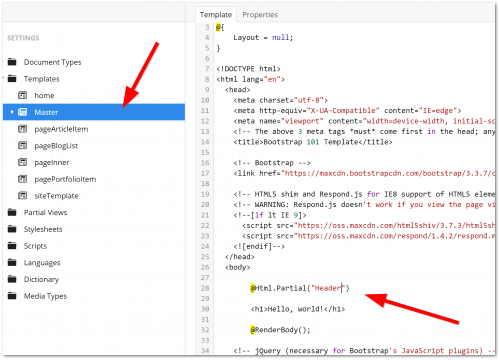
Now we have a partial view with some HTML, we need to add it to our master page. In the Settings section, go to 'Templates' area. Find the master template. To render a partial from the master layout, you need to use this Razor helper @HTML.RenderPartial:
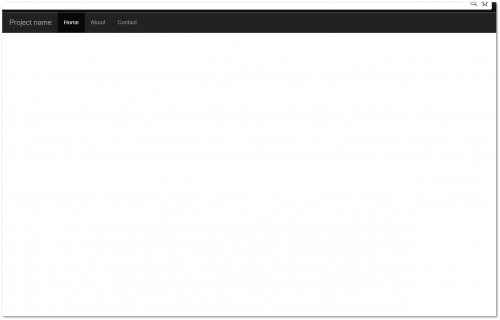
After referencing the partial view, save the file. It is not time to view the homepage. The homepage should be using the master layout). When the page loads you will now see the header. To create a footer, simply follow the steps above. We have now created all the major building blocks to render a page on your site. A master layout, a header, footer, and a document type. Admittedly, everything is pretty boring as the page renders static HTML. In the next article, we change that 😲 😲 😲!
We will start adding dynamic properties to allow content editors to add and manage content within the page (here). Happy Coding 🤘
