In this tutorial, you will learn how to display images added by content editors within Umbraco CMS. It is very easy for content editors to attach images to pages within Umbraco. This is handy as web pages without images can be pretty dull 😒. Umbraco provides a pretty easy to use API that will allow you to render these images within your views. In this tutorial, you will learn more about this API and by the end, you will be an image master🔥🔥🔥
Media Picker
Let us start at the beginning. To add images to a page you can add a property onto a document type of media picker. You can do this within the backend by going to the document type screen:
Settings ➡ Document Type
Pick the document type you want to modify, click on it and then select the Generic Properties tab, and select Add New Property, like this:
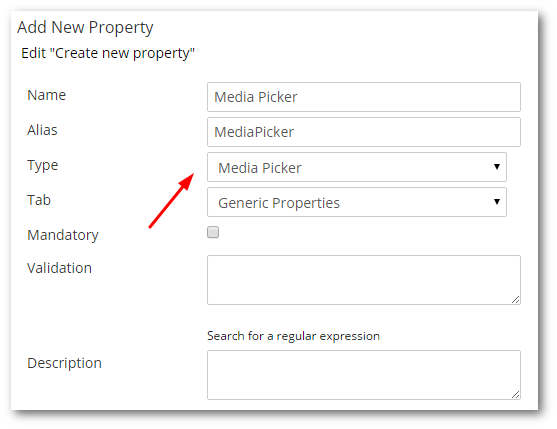
From the Add Properties dialogue, call the property whatever you want and set the type as MediaPicker. After saving this change, when a content editor tries to create a page of that type within the CMS, they will be presented with this property editor:

Using this property they can now upload an image. The next step is to render that image 🖼️
How To Render Umbraco Content In A View
There are two ways to render images in Umbraco. You can use MediaById method found in the Umbraco Library:
Assuming you're using a strongly-typed view model, then 'MediaPicker' will be a property that relates to the property we defined above.
This method will likely be obsolete soon. A more future proof method that I recommend you use instead is the Umbraco HTML helper. This can be used like this:
Both approaches are pretty light-weight, so pick the version that makes you happy 😊
Happy Coding 🤘
