In this tutorial, you will learn how to configure a .NET 6 application to work with either environment-specific settings, or, developer-specific settings. The technique you are about to learn will work with source control and the settings will be applied auto-magically without any manual steps! By the end of this guide, you will no longer become annoyed by your co-workers accidentally breaking your build by checking in the wrong application settings 🤬 🤬🤬
In order to read developer or environment-specific settings within your application, you will need to change the default behaviour of your application. Do not worry, the code to do this is not complex, you simply need to know the right code to write. If you are looking to write code in a team with less stress, read on 🔥🔥🔥
How does .NET Core read environment variables
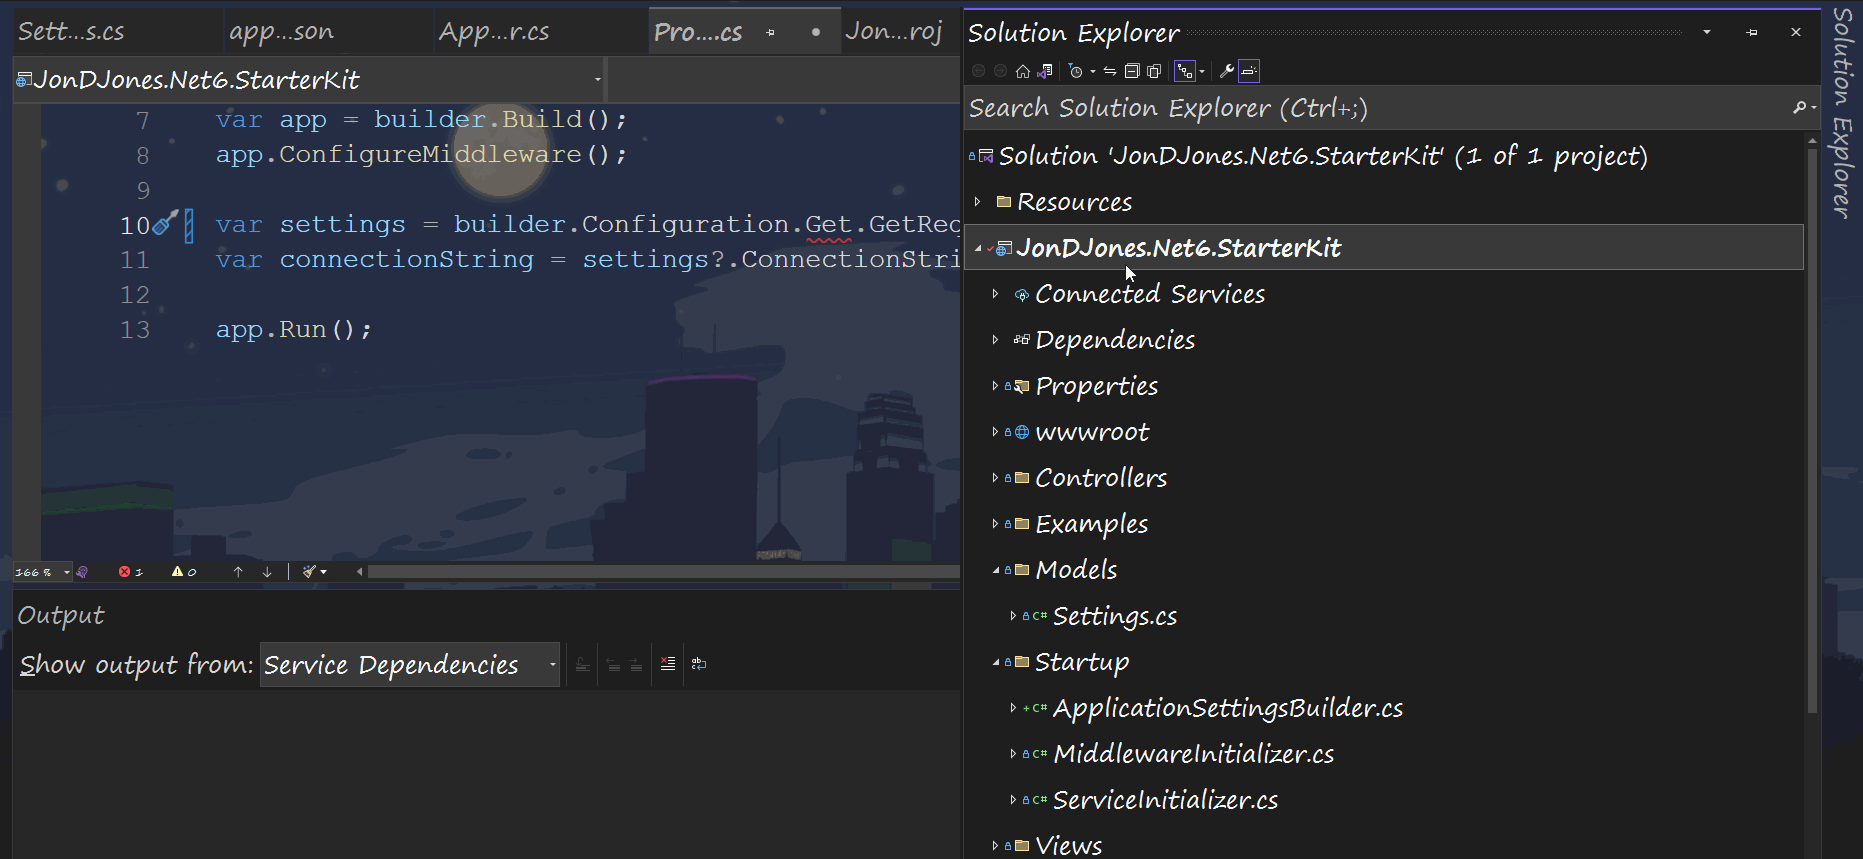
Within .NET 6, Statup.cs is no longer a mandatory file. Nowadays, it is recommended to add all of your website's boot-strapping and configuration code solely inside of Program. cs.
Combining both of these files is great, however, it poses a new problem. How do you ensure that your code within Program.cs stays simple and easy to use and does not become an unwieldy jumbled mess?
In order to keep your code lean and mean, I recommend that you abstract each key responsibility that you need to add within your Program.cs into a separate class. Abstracting code into different classes will mean that you can prevent your Program.cs from turning into a god class and rotting over time.
When it comes to setting and reading different settings from different configuration files, I recommend adding all the code into a specific app settings related class. To follow this pattern, I tend to create a folder within my application called Startup. Within Startup, I add a class called ApplicationSettingsBuilder.cs, or, something similar. Within this class, I add all the code to read values from appsettings.json as well as any additional data sources. I find the nicest way to reference this class from Program.cs is to create it as an extension method.
Creating this class as an extension method also follows the appraoch of how a lot of the default Microsoft middleware and service registration code is structured, so we know we are onto a winner 🏇🏇🏇
In order to create an extension method that works with the part of the framework that deals with parsing settings, you will be working with the type IHostBuilder. To make something an extension method, you will need to set your new class as static. You will also need to use the this operator with IHostBuilder in your method signature. In this example, I create a class called ConfigurationInitializer whose structure looks like this:
In order to call this extension method from Program.cs, you will reference the method like this:
With our new class up and running, it is time to add our settings-related code. As mentioned, within a .NET Core website/application, settings are stored in the root project directory within a file called appsettings.json. In order to read the settings from disk you can make use of the in-built Microsoft ConfigureAppConfiguration() method which looks like this:
It is within the ConfigureAppConfiguration() method that you will write the code to read in the settings from appsettings.json and then add them into memory so they can then be accessed. Whenever you use this method it is recommended to make a call to AddEnvironmentVariables(). AddEnvironmentVariables() reads configuration values from any environment variables set.
As the aim of this tutorial is knowledge sharing, it is probably worth pointing out that it is also possible to manually trigger this code yourself, without relying on the builder context. This is possible by manually new'ing up an object of type ConfigurationBuilder. The code to do this is shown below:
The only main difference in this code compared to the previous example is the need to manually called Build(). After successfully reading the settings, the next step is to access those settings. Again, you can access settings manually, or, via the web application builder. The manual way is to make use the ConfigurationManager class like this:
The more recommended approach is to use the Configuration property within the builder object as its simpler:
Regardless of how we access the configuration manager, you can use methods like GetValue(), or, GetRequiredSection() to access settings from within appsettings.json.
In this example, I am reading settings from a section called Settings. This section is something I have manually defined within my appsettings.json. You are obviously free to add whatever section and properties that take your fancy within your projects appsettings.json. For reference, the config to define a section called settings within appsettings.json is shown below:
Hopefully, this demonstrates how the structure of your settings file corresponds to how you access settings in code. There is one bit of code from the example above that we have yet to cover...
In .NET it is considered good practice to use strongly-typed objects to access data. This is why I manually created a class called Setting that mirrors the settings that I will want to access from my appsetting.json file. This class is nothing fancy, its a POCO with getters and setters:
When building out your own settings it is recommended that you follow this pattern of creating classes that mirrors ther structure of your appsettings.json and then using those classes with .Get<T>() to read in the values.
Reading environment-specific app settings in .NET Core
We have all the code required to read and access default settings. The next step is to think about environments. When building production applications, you will likely have a development server, a QA server and a production server. Each server may have slightly different settings. To cater for different settings you will need to create a appsetting.json file per environment.
To prevent violating the DRY principle, you do not need to mirror all the config contained within appsettings.json in each file. Instead, you only need to add in the settings that you would like to override from the main settings file. This approach will make your environment configuration files a lot more lean and easy to maintain.
Using an environment variable, at run-time, we can then decide which settings file we want the application to read. To start implementing this pattern, duplicate your appsetings.json and rename it so it includes the environment you want to target. Here are some example of common settings file I have previously created:
- appsetings.development.json
- appsetings.test.json
- appsetings.staging.json
- appsetings.production.json
Within each file, remove any config that will not change compared to the default appsettings.json. Override any settings where you want to add environment-specific settings. To set which environment the application should load, you can make use of the ASPNETCORE_ENVIRONMENT variable. Accessing the value of ASPNETCORE_ENVIRONMENT is possible using the Environment helper. You can use the GetEnvironmentVariable() method to access a value that will represent the current environment. The value of this method call could be development,production, etc... Armed with this data, you can then extend the code withinConfigureAppConfiguration()` to read in the environment-specific config and override any settings that have been previously parsed.
If you are wondering how this environment value gets set, the answer is that it is up to you. You are free to set this variable as a build parameter to the CLI. You could set a system environment variable, or for locally testing, you could set it within Visual Studio itself:
Let us now see what the code looks like when all these parts are added together. The code blow first reads in all the settings contained within appsettings.json and this is set as mandatory. If appsettings.json is missing in action, the application will throw an exception ad crash and burn.
The reason why the call to appsettings.json is mandatory is based on an overload that I am passing in. On line 7, notice that within AddJsonFile() there are two additional overloads being set. The configuration that is making the call mandatory is first boolean. Note on Line 7 it is set to false. When this isOptional flag is set to `false, if the file does not exist the application will throw an exception.
Next, on Line 8, I try to read in the environment-specific file, called appsettings.{enviroment}.json. As I pass in true to isOptional, if this file does not exist, no worries. However, if the environment-specific file exists, the builder will read in any settings and then override the values of anything previously defined by the default appsettings.json.
Reading developer-specific app settings in .NET Core
The final and probably most important settings are your local settings. When it comes to running a website locally, you may need to define your own database connection string, hostnames, port numbers etc... Reading in a developer-specific settings file is very similar to reading environment-specific settings. The only difference is that we want this config transformation to be automatic at build time.
This means we need to create a config file that contains an identifier that is unique on a per developer machine basis. Over the years I have found that using the PC machine name for this unique value works really well. You can access the current machine name using Environment.MachineName. To alter the code above to work with environment AND developer-specific config files, you simply need to update it like this:
To read in local/developer-specific settings, simply clone your appsettings.json and rename it to include a machine name. Let say my PC name is UNIR-345, I would create a config file called appsetings.UNIR-345.json, add my local settings into it and check it into source-control. With the code above added within your Program.cs, whenever you build your solution, the application will now use your local settings 💥
Configuring a .NET 6/.NET 7 application to use environment or developer-specific settings is pretty simple as long as you know what you need to do. Copy the code above and get started now. Happy Coding 🤘