In this tutorial, you will learn how to install and set up Optimizely CMS 12. This guide will list all the steps required to install the CMS and configure your PC so that you can start building cool websites. The thing that makes me really happy about Optimizely CMS 12 (formally known as Episerver CMS for the old skool) is that it fully runs on .NET core. Finally, the days of ASP.NET framework are gone 😲. Long live modern CMS development!
Obviously, you can head on over to the official Optimizely developer documents to find some instructions on how to install Optimizely CMS, so why read this guide? This guide is written for developers. In it, you will not only learn how to install the CMS and learn about all the hidden gotchas. You will also learn how to configure your PC so you can code websites efficiently. As Optimizely CMS 12 fully supports .NET Core, it is now possible to use a MAC for .NET development. I'm assuming most people who are reading this are Microsoft users at heart, so this tutorial is Windows only (If you want a MAC-based tutorial leave me a comment!)
The steps to set up a development environment can be broken into these six steps:
- Install and configure SQL server
- Create and configure a hostname
- Set up IIS and the required modules
- Create a website in IIS and make sure the application pool is set to use the correct CLI version
- Install the CMS and its database via the terminal
- Write some code to create an admin account
If you follow the steps in this guide, within about 20 minutes you will have a working blank CMS 12 website up and running. Sound good, then read on 🔥🔥🔥
Installing SQL
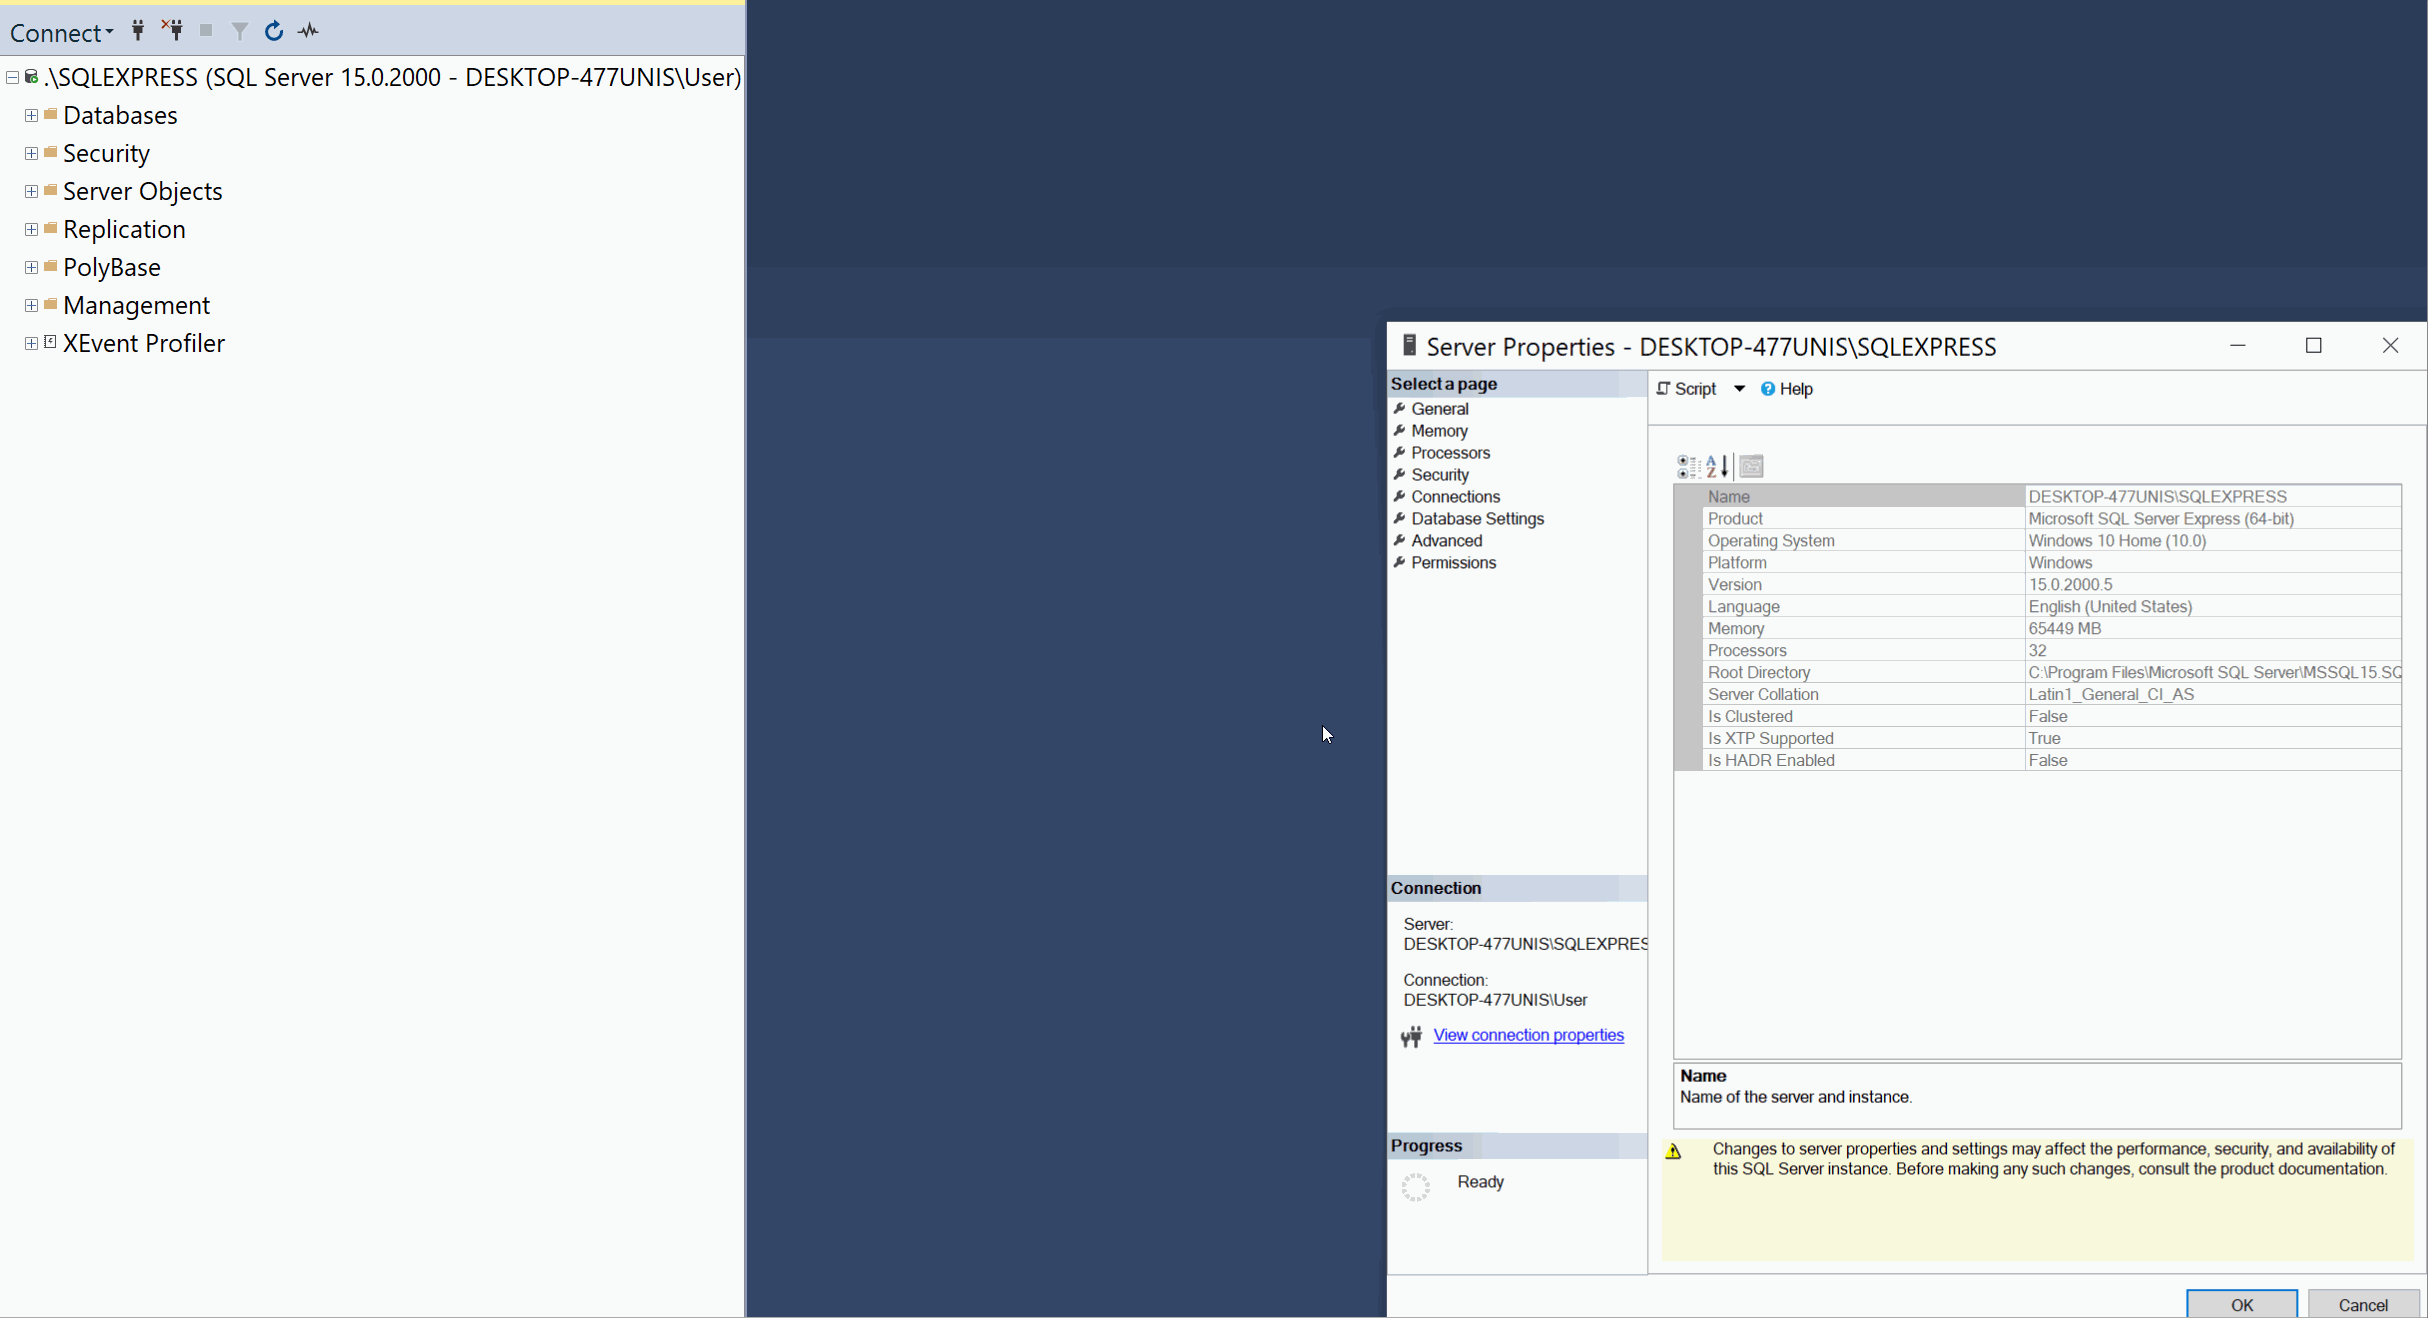
It is possible for the CMS to use a database stored as a file on your PC, however, this isn't ideal. A database stored and accessed as a file rather than from within SQL server will be slower, harder to make back-ups, and harder to query. When building sites with Cms 12 I recommend you use SQL Server or SQL Express with Management Studio.
When setting up SQL from scratch, you need to configure a few things as Microsoft locks a lot of the settings down by default.
- First, you need to enable SQL and Windows authentication mode
- Second, you need to create a database account. This account will be used in the websites connection string to access the CMS database. I recommend using the default
saaccount to ensure minimal installation hassle. Security-wise this is not ideal, however, you can always change it after you have successfully got the CMS up and running. - Finally, for any database account that you create you enabled remote access as well as ensuring the account is enabled
Setting Up A Hostname
It is possible to run an Optimiziely CMS 12 site completely via the terminal using the dotnet run command. It's very quick and easy to launch the site using dotnet run, however, having to open a terminal and run this command each time you want to view the site is a bit of a pain in the bum. Using the terminal alone to access your site will mean that your workflow will not be as efficient as it can be. Like most .NET development, in order to be really productive, you will want to access your site from a local web server, e.g. in IIS. This means you will need to configure IIS and you will need to set up a hostname. The hostname will be the URL that you access the site from within a browser.
Typically when you type a URL into a web browser, the request will be forwarded onto the internet. When you want to run a site on a local web server, you want the browsers request to map to your local webserver instead. This magic is achieved by creating an entry within your PCs hosts file. Creating a mapping within your hosts file will prevent your browser from talking to the internet and instead redirect the request to your local webserver. On Windows, the host file is located here:
C ➡ Windows ➡ System32 ➡ etc ➡ drivers
You will only be able to modify the host file in a text editor, or, IDE that has been opened with administrator privileges. Without admin privileges, you will get an error when you try to save the file 😞.
Within the host file, you need to create a map between your chosen hostname to the localhost IP address which is 127.0.0.1. Creating this mapping will mean that when someone types in the hostname in a browser, the request will be redirected to the local web server, instead of the internet. The hostname will be used to route the request to the correct website in IIS. To create this mapping is simple, add the IP address 127.0.0.1 first, add a tab and then add your chosen hostname, like this:
With the mapping created, when you type http://myWebsiteUrl into a browser, the request should load your local Optimizely 12 website (after we create it!). As you have yet to install Optimizely you will know it has worked if you see the IIS error page. If this process has not worked, you will be redirected to Google (assuming you use Chrome).
Setting Up IIS
At this point, I like to make sure IIS is working and configured correctly. Doing this set-up task now means when I get to the CMS installation t is quick and easy to hook everything up after I have installed the website. As we haven't installed the CMS you will;l not be able to fully test this part until;l the end., however, yet you can not amae You can check IIS is installed from the Windows Turn On or Off screen.
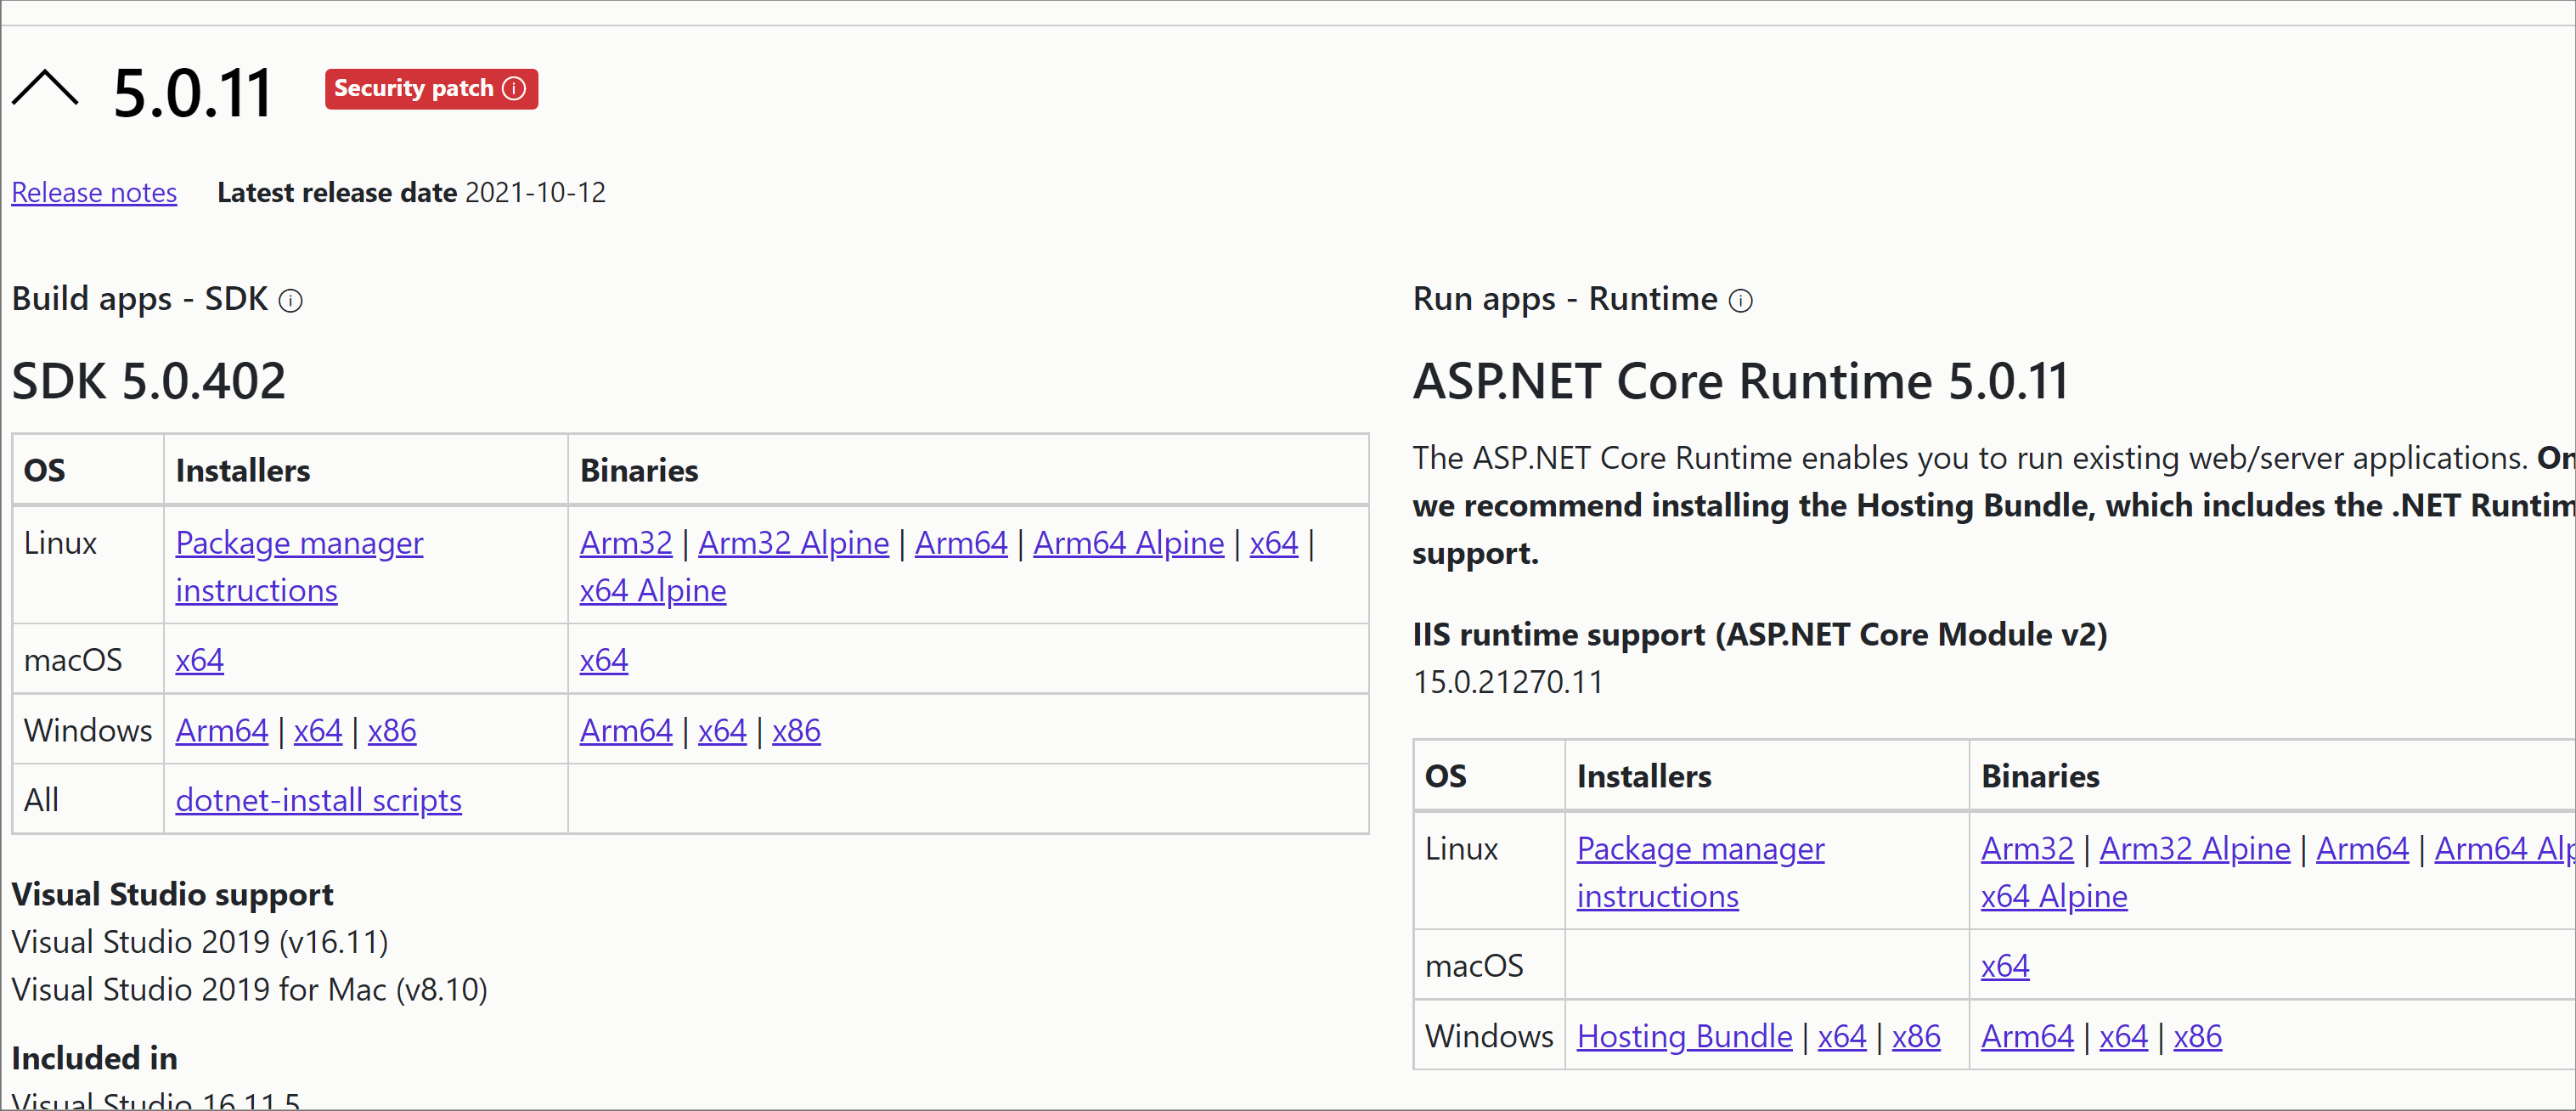
In order to run a .NET core site, you will also need to install a .NET core IIS module. This can be found from the .NET 5 website, under the hosting bundle link (see here)
Within IIS you will need to create a new website. In order to create a new website, you need three things, a name, a folder location and a hostname. Call the website in IIS anything you want as you will be the only person viewing it. Use the hostname you created above. Finally, point the folder location to the area on your PC where you will install the CMS files shortly. At this stage in the installation process, you should be able to type the hostname into a browser and you should see a 403 error.
After creating the website, you need to make sure the application pool can process .NET core code instead of ASP.NET framework code.
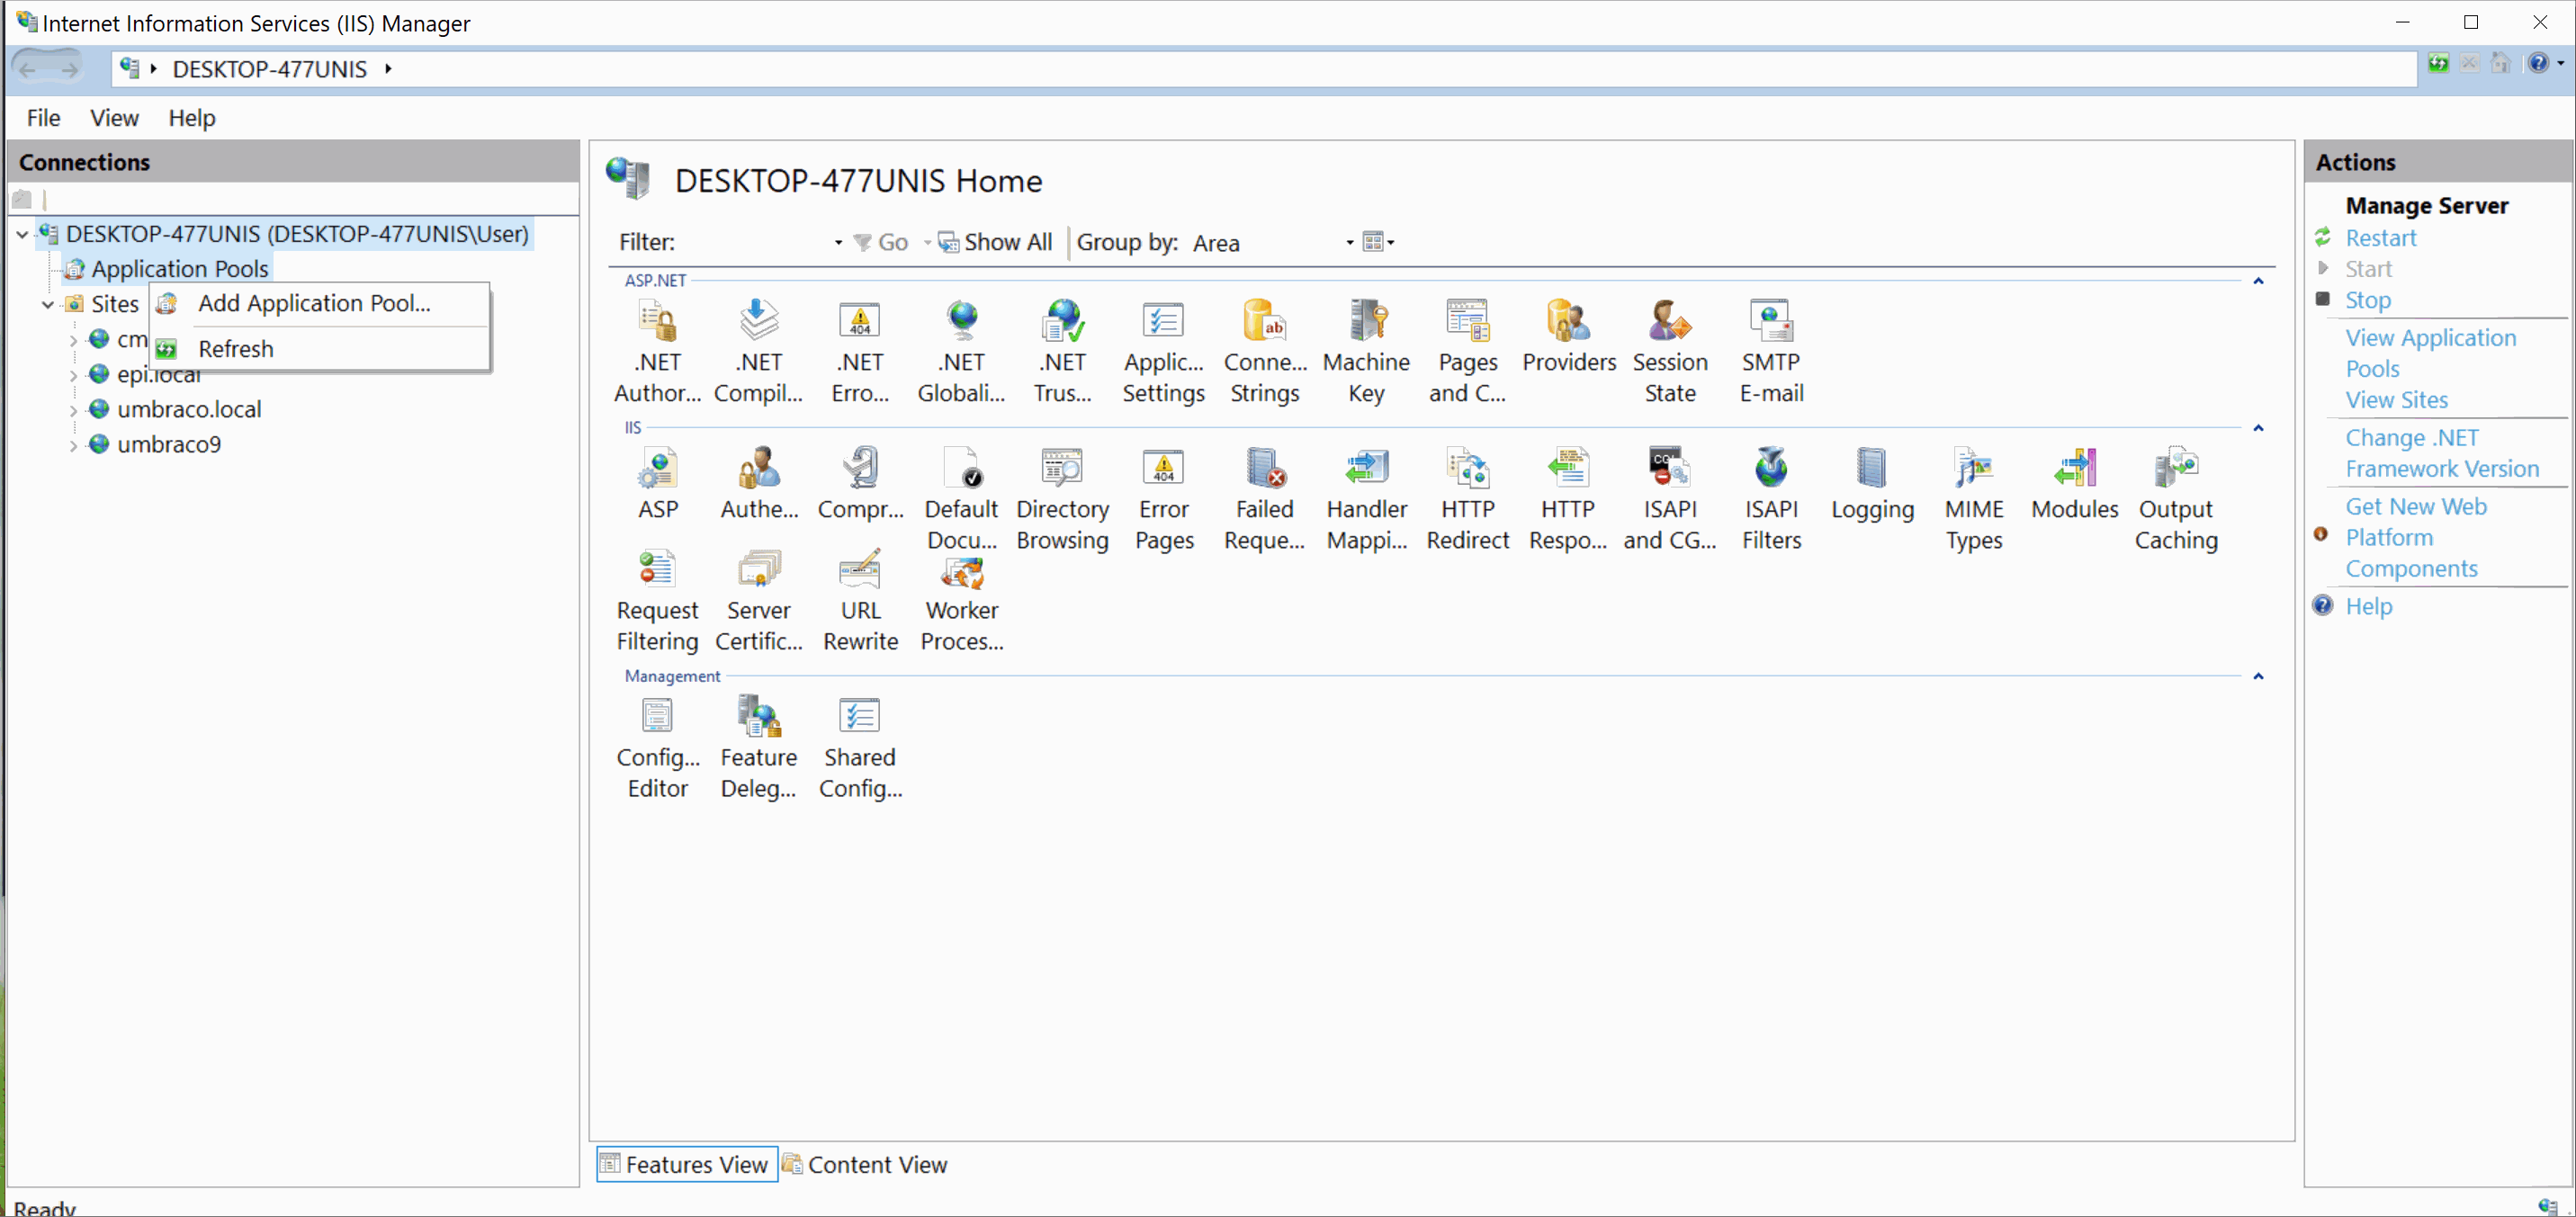
To do this, open application pool, find the entry that matches your website name and click on Advanced Settings. Within here, make sure .NET Cli version is set to No Managed Code. If you do not see this option, you need to install the .NET 5 hosting bundle and then reset IIS., e.g. reboot your PC or tun this command in a browser:
When trying to view your website, it is also possible that you will bump into a Windows file access permission error. The reason for this error is that IIS can not read or write files within this folder. To fix the permission error you need to set the correct folder permissions on your web folder. The easy way to set permissions is within IIS. Right-click on the website entry and select permissions. The permissions I recommend you add are:
- NETWORK SERVICE
- IIS\IUsers
Or any account that looks like this:
- IIS AppPool\ApplicationPoolName
The good news is that all the boring set-up tasks have now been completed, its time to install the CMS 💥
Installing the CMS
The great thing about Optimizely CMS 12 is that you can install it from the terminal without having to rely on Visual Studio. In order to create a new Optimizely CMS site, you need the Episerver installation templates and the Episerver CLI tool. Yes I have just referenced Episerver and that is not a typo. A lot of the tools and assemblies have not been rebranded, so expect some Episerver references from time to time! installing the installation template and the CLI tools is done using two commands. Open a terminal and type:
To make sure that the template installed correctly, you can run this command:
This command will show all the templates installed on your PC. Make sure that you can see an entry called epicmsempty. To install the CLI tool, you can use this command:
You are now ready to install an Optimizely CMS site, using the template and the CLI tool 🤩🤩🤩. To install the CMS you can use this command:
In the snippet above, change Cms12 for a project name of your choice. This command will install some files in a folder named after the project. The next step is to install the database. This is also done using a terminal command, however, this command will only work after you switched your terminal locations to the new folder. In this example, I would run this command:
You are now ready to install the database. Assuming you followed the steps above like the good little reader that you are, you should have SQL Authentication enabled in your SQL server and you should have a valid SQL account to connect with. You can install the database using this command:
When using the CLI database command you have several flags that you need to set:
-S: Set the name of the SQL server, on your PC, e.g.,.\sqlexpress-U: The SQL accounts username, e.g.sa-P: The SQL accounts password, e.g.password
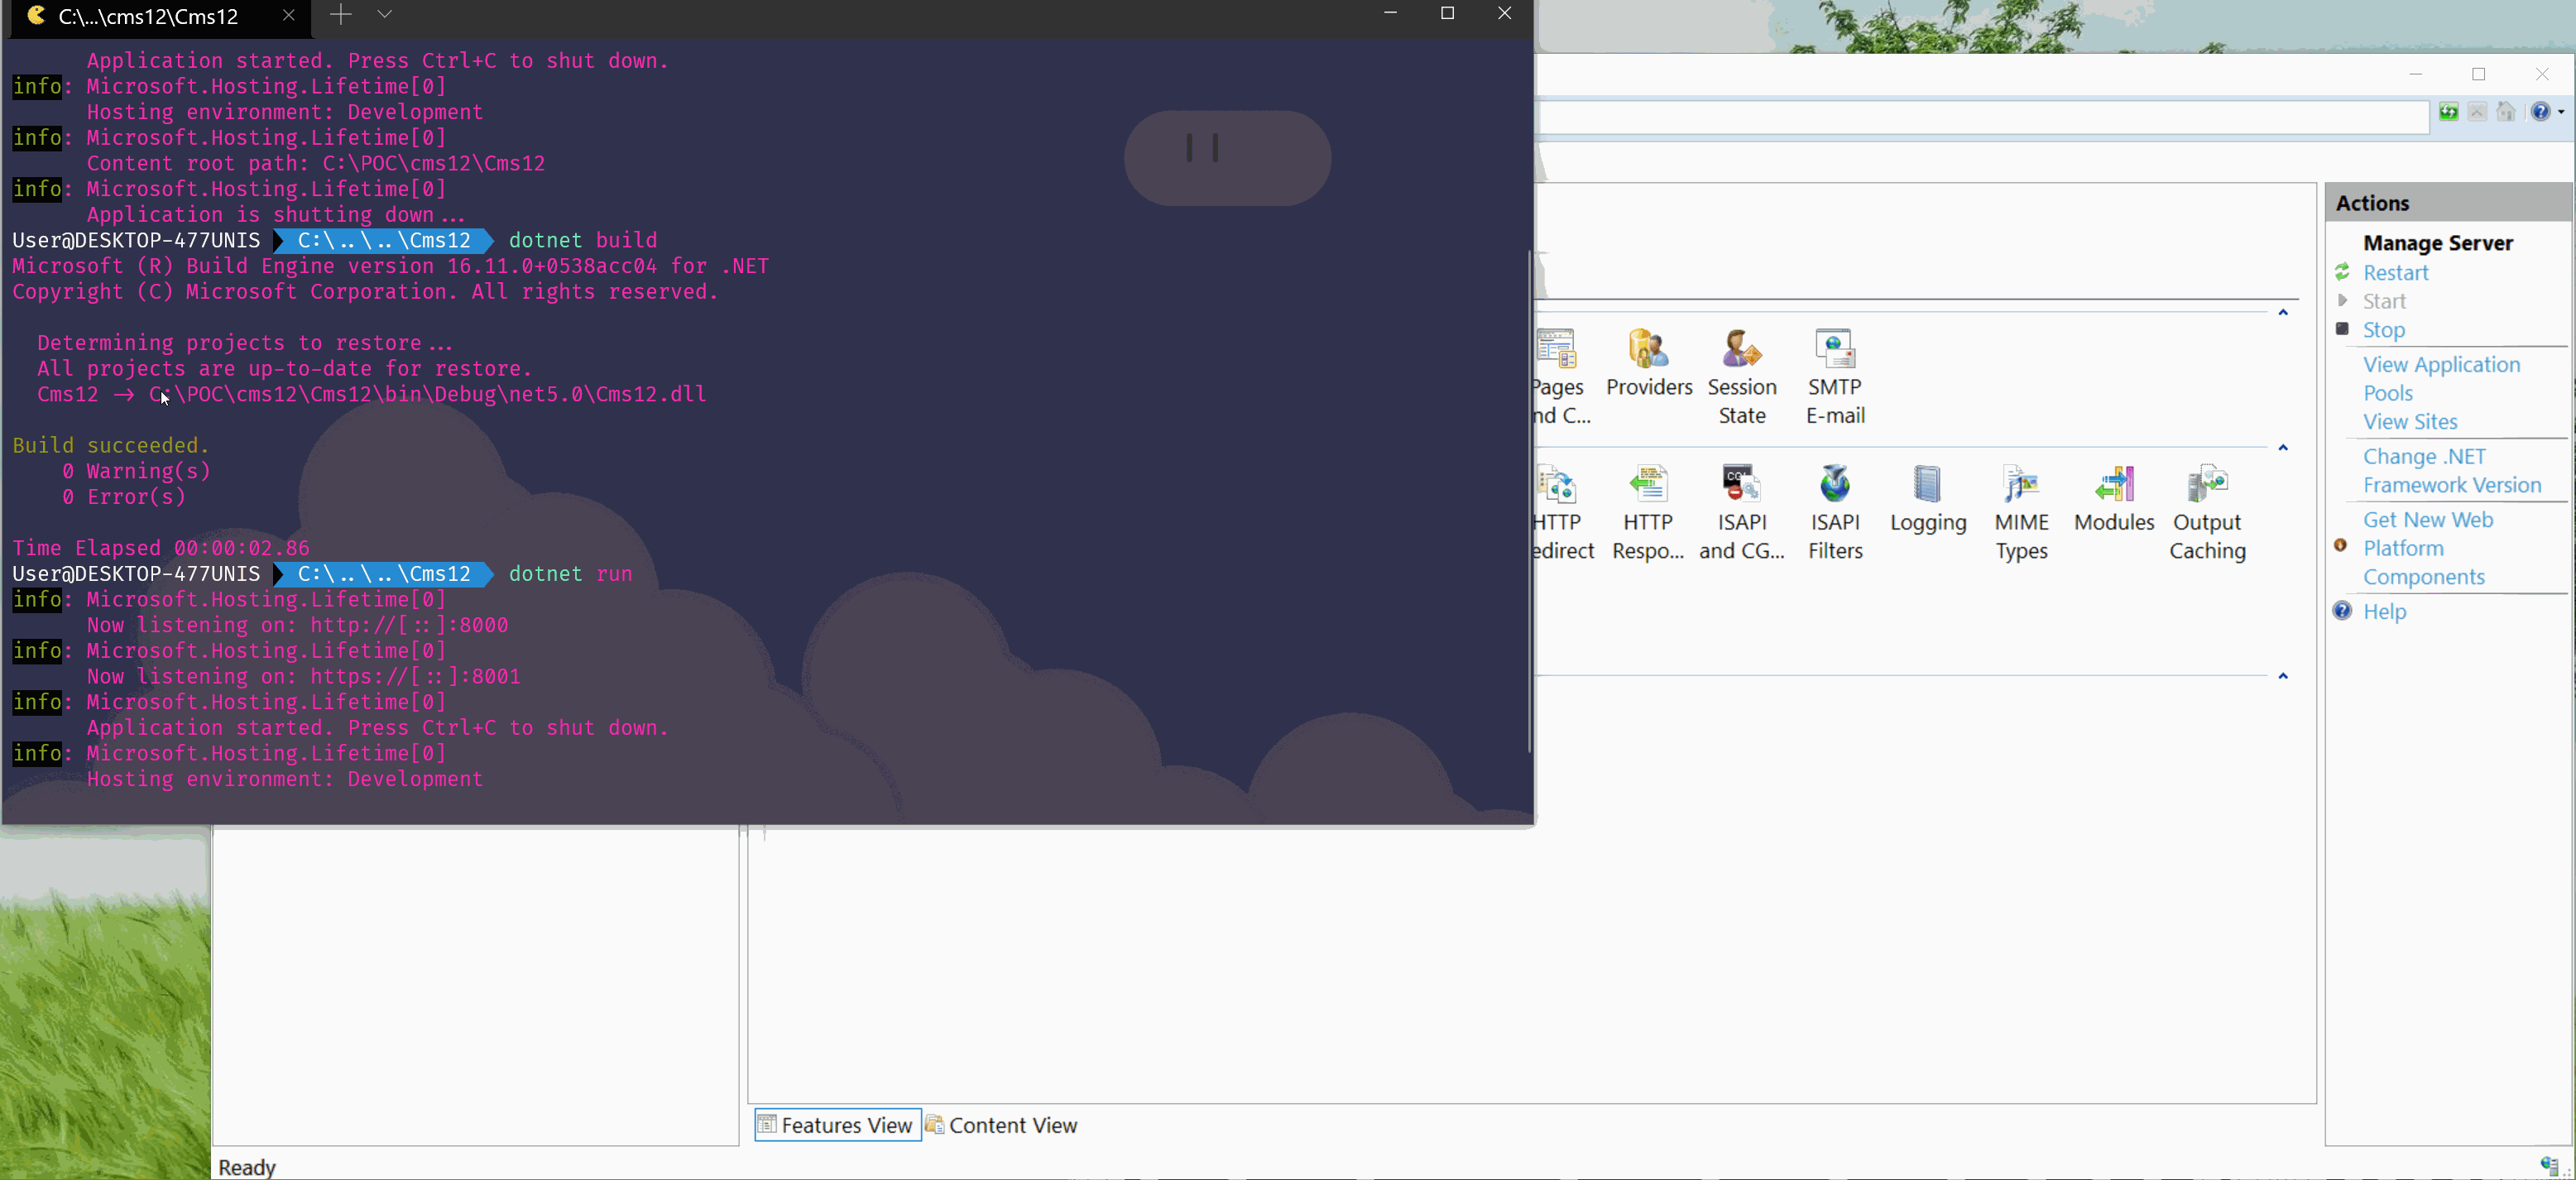
After running this command, you should have a CMS database lock, cocked and ready to rumble 🎬. It time to fire up the website and test that it works. The first step is to test that the site runs via the terminal. We can worry about IIS in a minute. You can fire up the website using dotnet run. By default, you can normally access the site using http://localhsot:8000 (look in the terminal to double-check). When the site fires up, you should see a 404 page. As we have installed the blank template, your new website will not have any page types or pages so this is expected behaviour. To test that the CMS is working, you should try to access the CMS log-in screen.
In CMS 11, the log-in screen was accessible by adding episerver to the end of the URL. In CMS 12, this URL will now throw a 404. Instead, you access the CMS using this URL util/Login. If things have gone smoothly, you should see this screen:
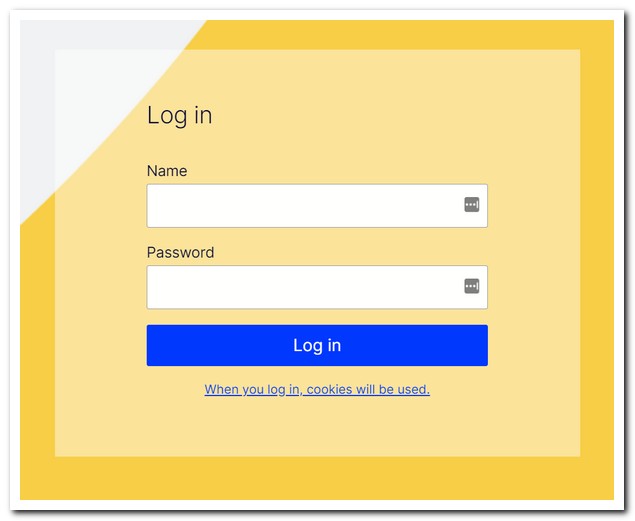
If you see this, great! Your next thought might be "how do I log into the CMS?". Good question. Currently, there is no CMS admin/editor account, so you will not be able to log in to the CMS until you create one!
Creating A CMS User
The CMS 12 blank sample site will not install with any CMS editors or admins. This means you will not be able to access the CMS yet. In CMS 11, you could use a local Windows administrator account to bypass security and log-in. This is not possible in CMS 12. In order to log into the CMS, you will need to create a CMS user. As of writing, the best way to create a new CMS user is via code. The good news is that you can copy the code required to create a new CMS user from Optimizelys Github. You can use the UsersInstaller class available here. Create a new class file in your website and copy this code into it. Next, within start.cs, copy this line within the ConfigureServices() method:
Now build the site. If the site compiles OK, go back to your terminal and run a dotnet run. The CMS should load, type in [email protected] as the username and Episerver123! as the password. If everything has worked you will be logged into the CMS. If you get some strange re-direct, you can get to the CMS directly using this URL episerver/cms.
Finishing The IIS Configuration
The final step is to finish the IIS configuration so we can access the site 24/7 via a web browser from our PC without having to reply on the terminal. The way in which you access a site in .NET core is different compared to ASP.NET Framework. In .NET Core, you need to point IIS to the published files rather than the webroot. To get this location, in your terminal type dotnet build. This will give you the location of the publish directory:

Take this value and update the folder location within your IIS website:
With this done, when you type the hostname into a browser, e.g. http://MyHostname, you should be able to access the site 😺
That's it. You now have a website up and ready 💥💥💥. You can now start building some epic and amazing things using Optimizely CMS 12. Happy Coding 🤘
