In this tutorial, you will learn how to create a new document type within Umbraco CMS. One fundamental skill that you need to master when learning a new CMS, is the ability to add templates so content editors can create pages within the CMS. As part of this process, you will need to master the art of content modelling. For each template, you will need to add the correct properties so content editors can add the appropriate content to be displayed on a page.
When working within Umbraco these page templates are known as document types. The cool thing about Umbraco is that it provides the Umbraco model builder. The Umbraco model builder is a model-based code generation tool. Any document type you create within the CMS can be converted into a C# class that you can interact with.
This is why you can think of a document type the same way you think about a C# class. A class contains properties that we, as developers, can define to allow any data we want to be saved against it. A 'document type' is the Umbraco way to allow content editors to be able to store data against a page. This data can be anything you like such as some text, a date, a URL, or a number. In order to render the output of your document type within your site, you will need to create an associated view for the file. Within this view (known as a template in Umbraco terminology) we can render any data and HTML.
How To Create A Document Types Within Umbraco?
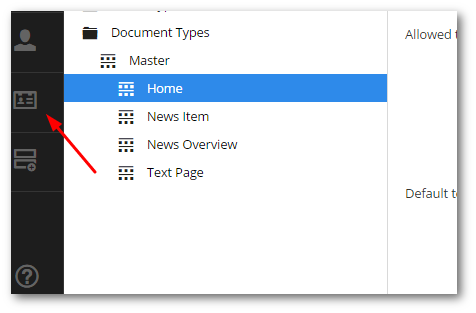
After you log into the Umbraco back-end, click on the Settings menu link within the sections menu. From the screen that loads, you will see a node labelled Document types. If you expand this node, you will see a list of existing document types that exist within your website:
Clicking on any of the existing document types will allow you to see its internal structure. When editing a document type you will have access to four tabs, Info, Structure, Generic Properties and Tabs.
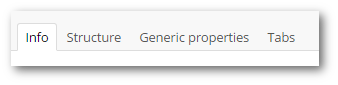
It is from these tabs that you can define what the document type offers and how it can be used within the CMS.
Creating A Document Type
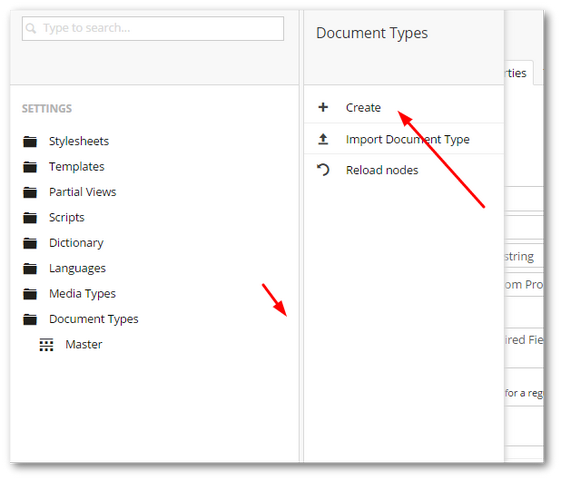
To create a new document type, hover your mouse over the document types node and to the right you should see three ellipses appear. Click on this to load the settings menu. From this menu, select Create:
This should load the new document type tab screen. From here select New Document Type. You can choose whether to create a template and associate a master document type.
Document Type Inheritance
When working with document types it is very likely that a lot of pages will have common properties. For example, modelling the SEO data that is required to render the head section on every page. Instead, of having to constantly define these properties on each document type, you can use inheritance. Within the Umbraco editor, if you create a document type under another document type, all the parent properties will be inherited by the child document type
For example, let us say we create a document type called Master. In Master, we define a new tab called SEO. In SEO, we model some properties, specifically the page name, page description, keywords, og:URL, etc... Any document types that are created under Master will automatically inherit this tab. This can be a great time saver and will avoid you violating the DRY principle in your codebase.
Creating this SEO tab is easy enough. On the document type that we created in step one, select the Tabs tab:

Create a new tab and call it SEO. Click on the 'Generic Properties' tab to create a custom property:
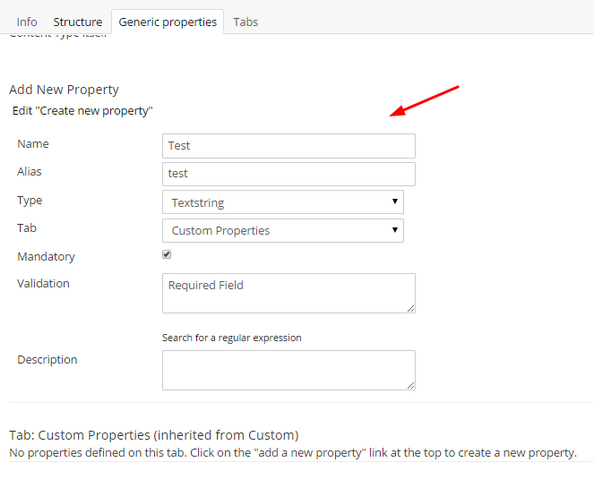
Click on the Click here to add a new property button to add some new custom properties to the tab:
After creating the master document type, you can now create document-type underneath it and they will inherit this tab.
Permissions With Document Types
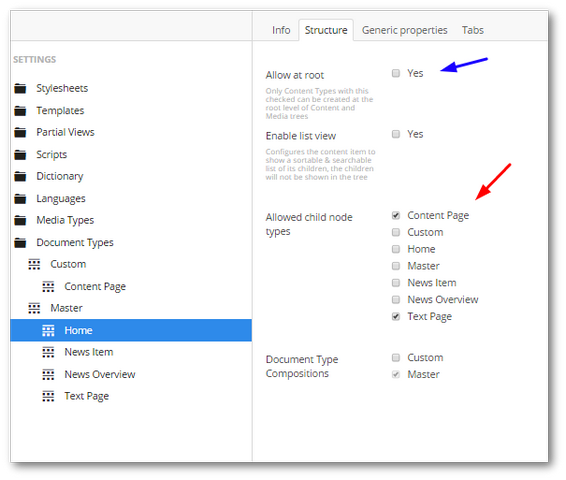
When creating a new document type, you should always define where content editors are allowed to use that document type with the CMS. For example, you may want the document type to only be accessible when someone is creating a page under the root node or the homepage. Adding these restrictions is done within the Structure tab. If you want the page to be available at the root level of the content tree, select the Allow at root option. If you want a content page to be available under the homepage, in the homepage document type, select the Structure tab and in the Allowed child node section, add the content document type. Remember to always save the page after making any change 😊
Creating A Page
We now have everything we need to create a page using our document type within the CMS. Within Umbraco, content editors will be creating pages within the page tree. You can access the page tree within the Content section. In my example, I have set my content page to only be accessible under the homepage. Click on the ellipse to the right of the Hompage tab and select the Create Item option from the menu:
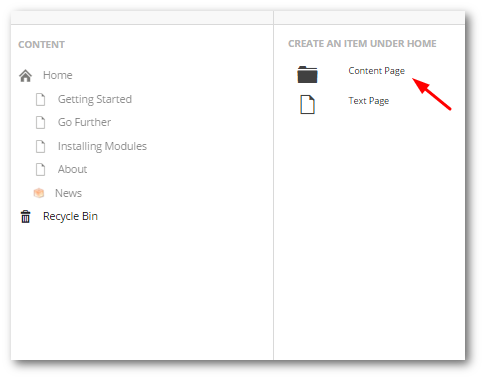
From the screen that loads, enter the appropriate content. Job done 💥
You are now a Umbraco document-type pro, congratulations. You should now feel confident on how to get started with content creation within Umbraco. Stay tuned for more Umbraco goodness. Happy Coding 🤘
