In this video, you will learn some tips and tricks to make you a NextJS error handling ninja 🐱👤🐱👤🐱👤 This article is part of a series on how to build a website using the JAMStack, you can get access to the other articles and videos in this series here. To kick things off we will create a 404 page! To create a 404 page in NextJs is super-simple. We can use the default routing engine to help us. Within your NextJs projects pages directory create a file called 404.js. The contents of this file can be anything you like, for example, this component will render a 404 page with a John Travolta animated gif:
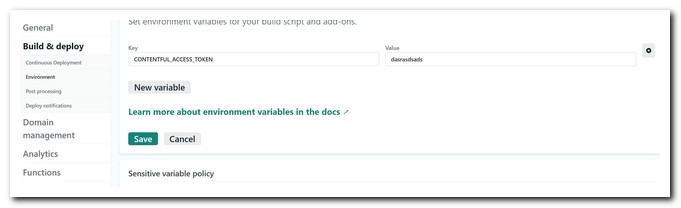
The code in this component should hopefully be pretty simple to comprehend, however, I should point out the usage of the NextJS Image component. This component is included as part of the NextJs feature set. Running this component as-is will result in an error. NextJs will complain the image domain is not authorised. To authorize the domain you will need to add it to a trusted images sources list. This is done by creating a next.config.js file in the root directory of your project, with the contents looking like this:
Notice how the giphy domain is being allowed in the array. The rest of the config is required if you want to use the plug-in within Netlify! Netlify and NextJs images do not work out of the box in static site mode. Speaking of Netlify, if you use Netlify with NextJS sometimes the Netlify router can kick in and create problems with the NextJs router. To avoid this you can update your netlify.toml file to redirect to the NEtlify error page, like this:
This extra rule might not be needed in all circumstances, however, it's better safe than sorry! For reference, this section in the netlify.toml is also how you can add 301 redirects in Netlify 😍
Maintenance Pages
Now you have the 404-page nailed, l will show you how to create a maintenance page! Being able to route the whole site to a maintenance page is useful when you are making a big change and you want your release to look smooth. Releasing big changes and testing code in production at the same time users are accessing the site, can look unprofessional and naff, so let us avoid that! Assuming you are using Netlify, the easiest way to do route all traffic to a maintenance page is to create a single HTML in a new branch called 'maintenance or something equally as imaginative. In this branch, you do not need any files except the files you need to render the maintenance page and a netlify.toml with the correct build information for your static page. You can delete your node_modules folder, your pages folder and anything NextJs related. All you need is an index.html page. This HTML file will be the page that is rendered to the world, so add whatever mark-up you desire! To make the maintenance page live we need some Netlify magic. First, you need to update your Netlify project's configuration to also build the new maintenance branch you create and pushed in source control. This is done within the Netlify UI:
You can enable this configuration in the Netlify UI by going to Builds & Deploy ➡ Deploy contexts ➡ Branch deploy. Enable the Let me add individual branches option. Add the GIT branch you added the maintaining page within here. This will trigger a build. When the build succeeds you should be able to publish that branch. You now have the option to with make master live, or the maintenance branch build live. You now have a way to switch the site between the production version and the maintenance page:
This maintenance branch process is super simple. Create a new branch and clean it. Create an HTML page to render the maintenance page and then push it into your Netlify pipeline. Doing this will allow you to switch between maintenance mode and production mode with two clicks of a button insideNetlify. I hope you learnt something from this video. Happy Coding 🤘