In this video, you will learn how to run A/B tests within your Netlify powered website. Traditionally, a lot of web experimentation and A/B testing has been done using optimisation tools, like Optimizely. These SAAS tools work by allowing developers to inject Javascript onto a web page. Developers can update the DOM after a page has loaded in order to tweak things. Developers can change the page layout, the content of the page, and the images used on the page to test which variation converts the most optimally.
One issue with doing A/B testing with these types of tools is performance. The extra tag to load the tool can add minor delays to the page load. User experience can also be affected. The experiments only kick in after a page has loaded. This can often result in a slight jump in page layout when the experiment finishes loading.
When hosting a site using Netlify, one way to create faster experiments is to do it on the edge. Netlify has recently released a new feature so you can do A/B tests on a branch deploy basis. This type of testing will allow you to perform experiments between two different branches. Using this new feature, you can compare and test two variations of the whole site. While this type of testing isn't as feature-rich compared to a SAAS experimentation tool, it can give you as an implementor some quick wins for experimentation.
Another benefit of this feature is the ability to do canary releases 🐦For those of you new to the term, a canary release is a deployment pattern that allows you to roll out a new feature to a subset of users as an initial test. You could roll out a release so only 5% of your customers can see it. You can then test the release works, before deploying the new code to your entire customer base. If the release does not work, then only 5% of your customers will be affected rather than everyone. A canary release can drastically reduce the risk around shipping new code and it is a strategy I highly recommend.
You may be wondering how this sitewide A/B testing magic works? Netlify Edge allows a thin layer of logic to run right on its edge nodes. Using atomic deploys and static site generation, you can switch which branch is loaded when a request to the site is made. This means no extra libraries or code is required to run experiments. You can A/B test and still get the speed of static-site generation 💥. When running a test, the Netlify edge network will automatically drop a cookie whenever there's a split test running. This function will randomly pick a number between zero and one. This cookie will then be used to make sure that the site visitor always goes back to the correct branch when they request to navigate through the site.
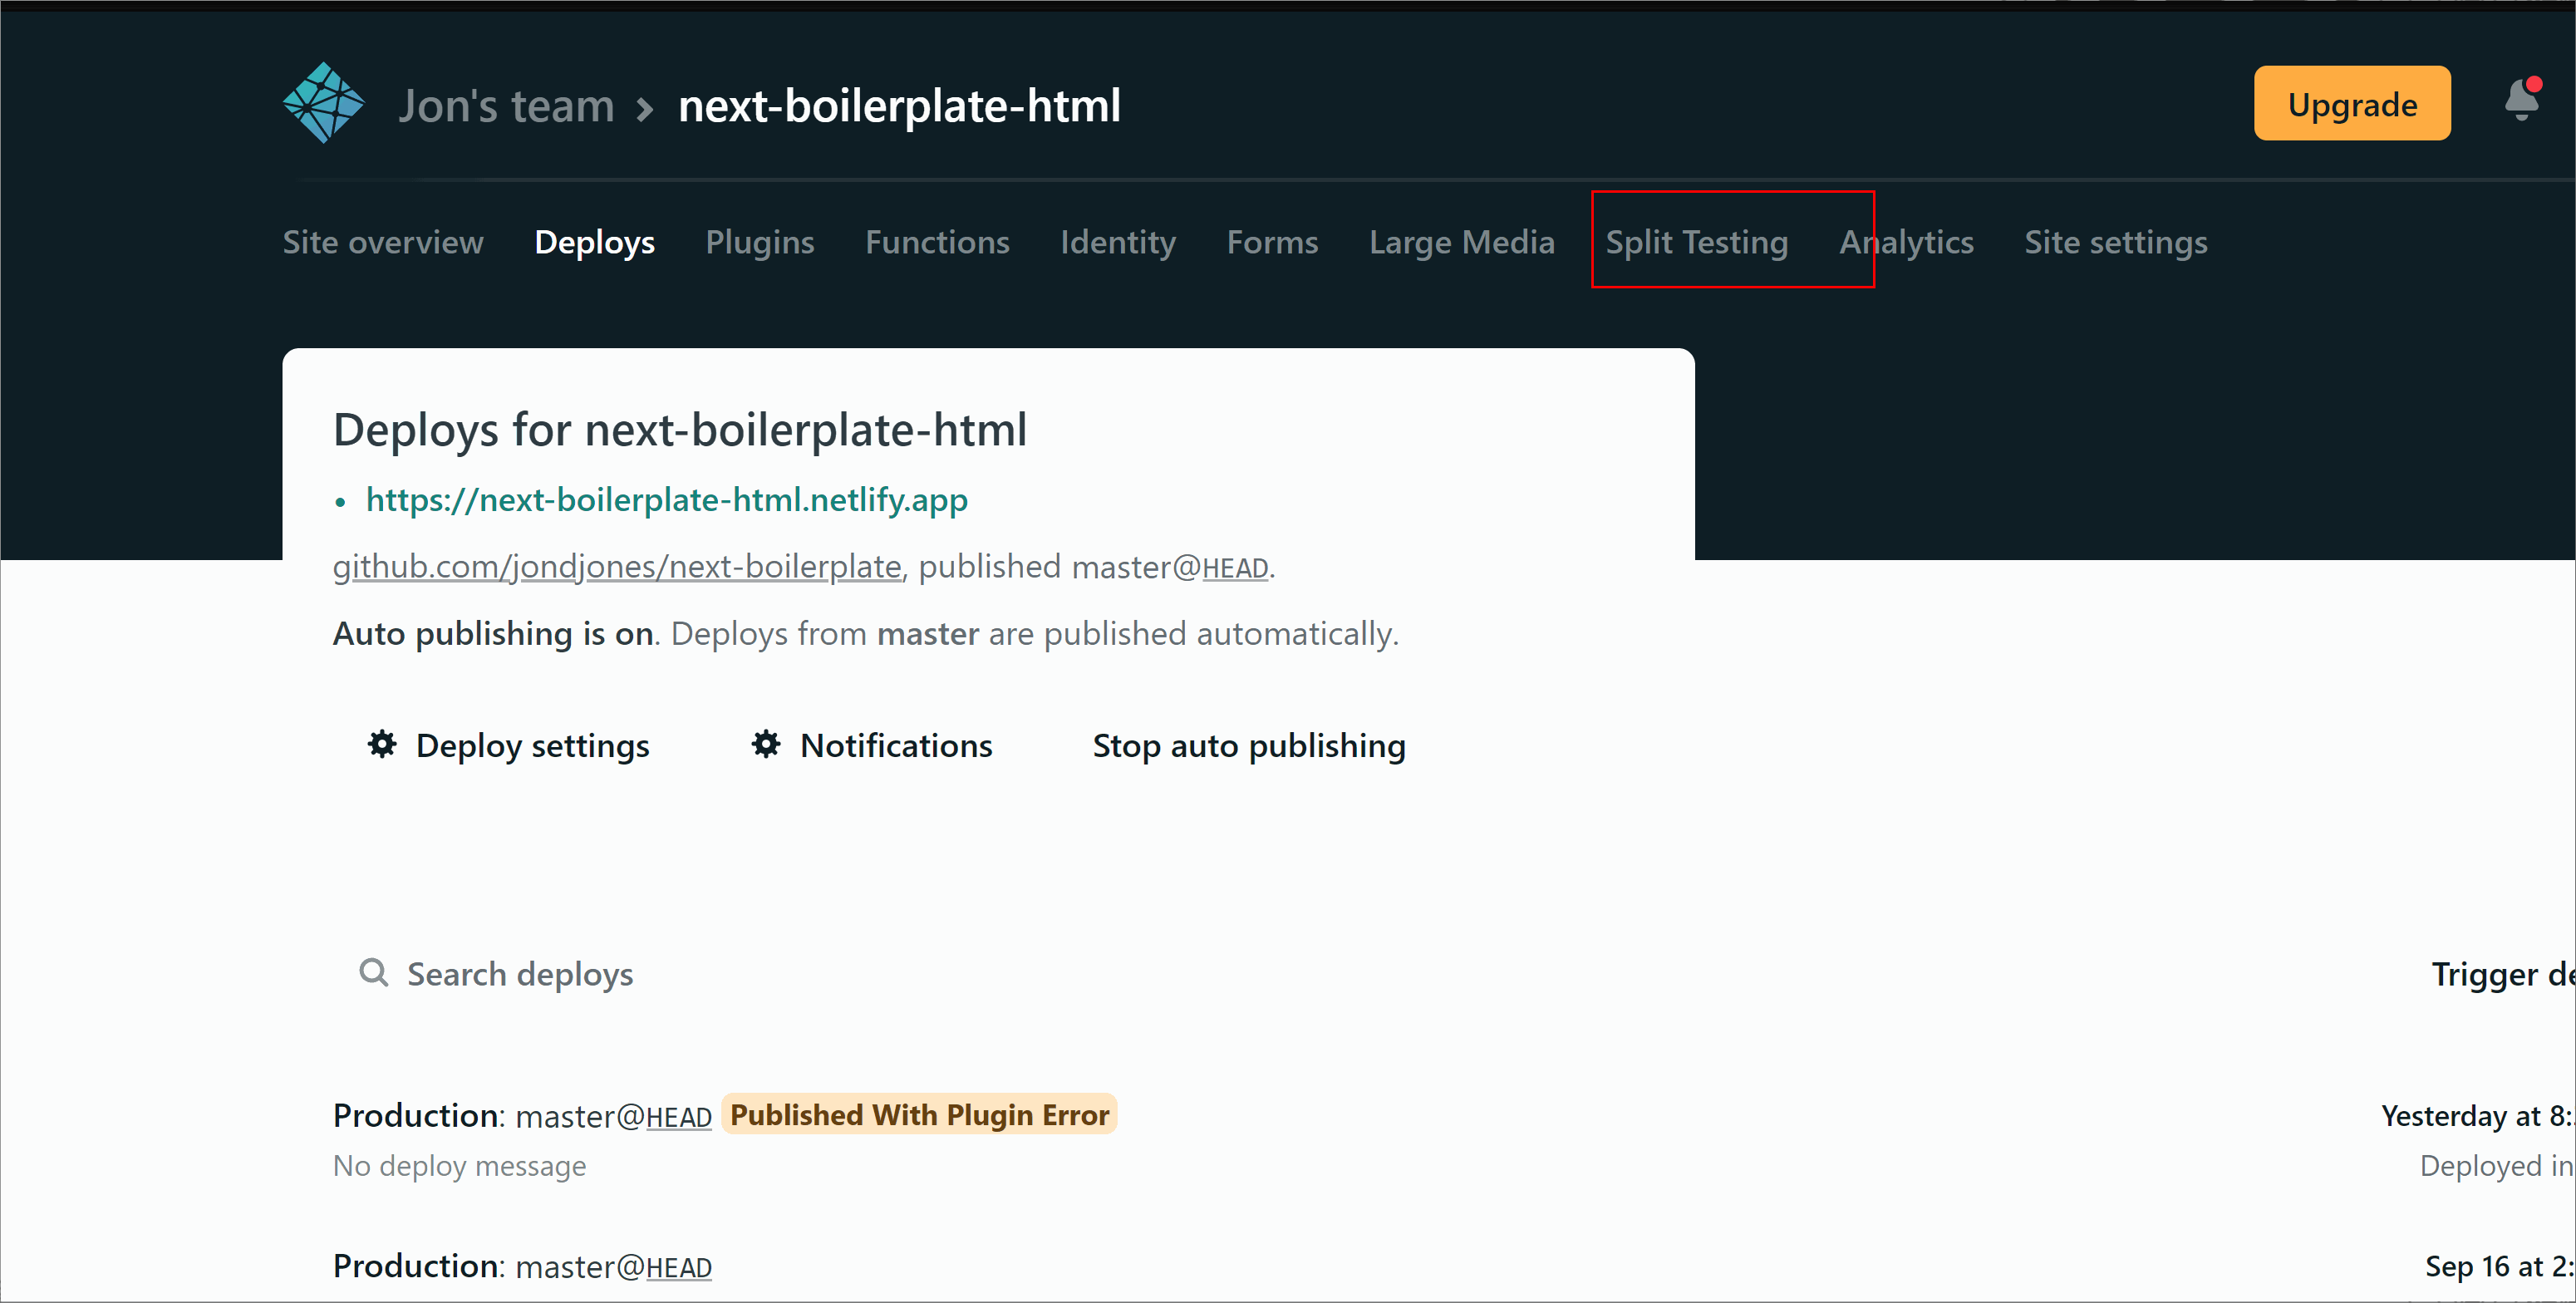
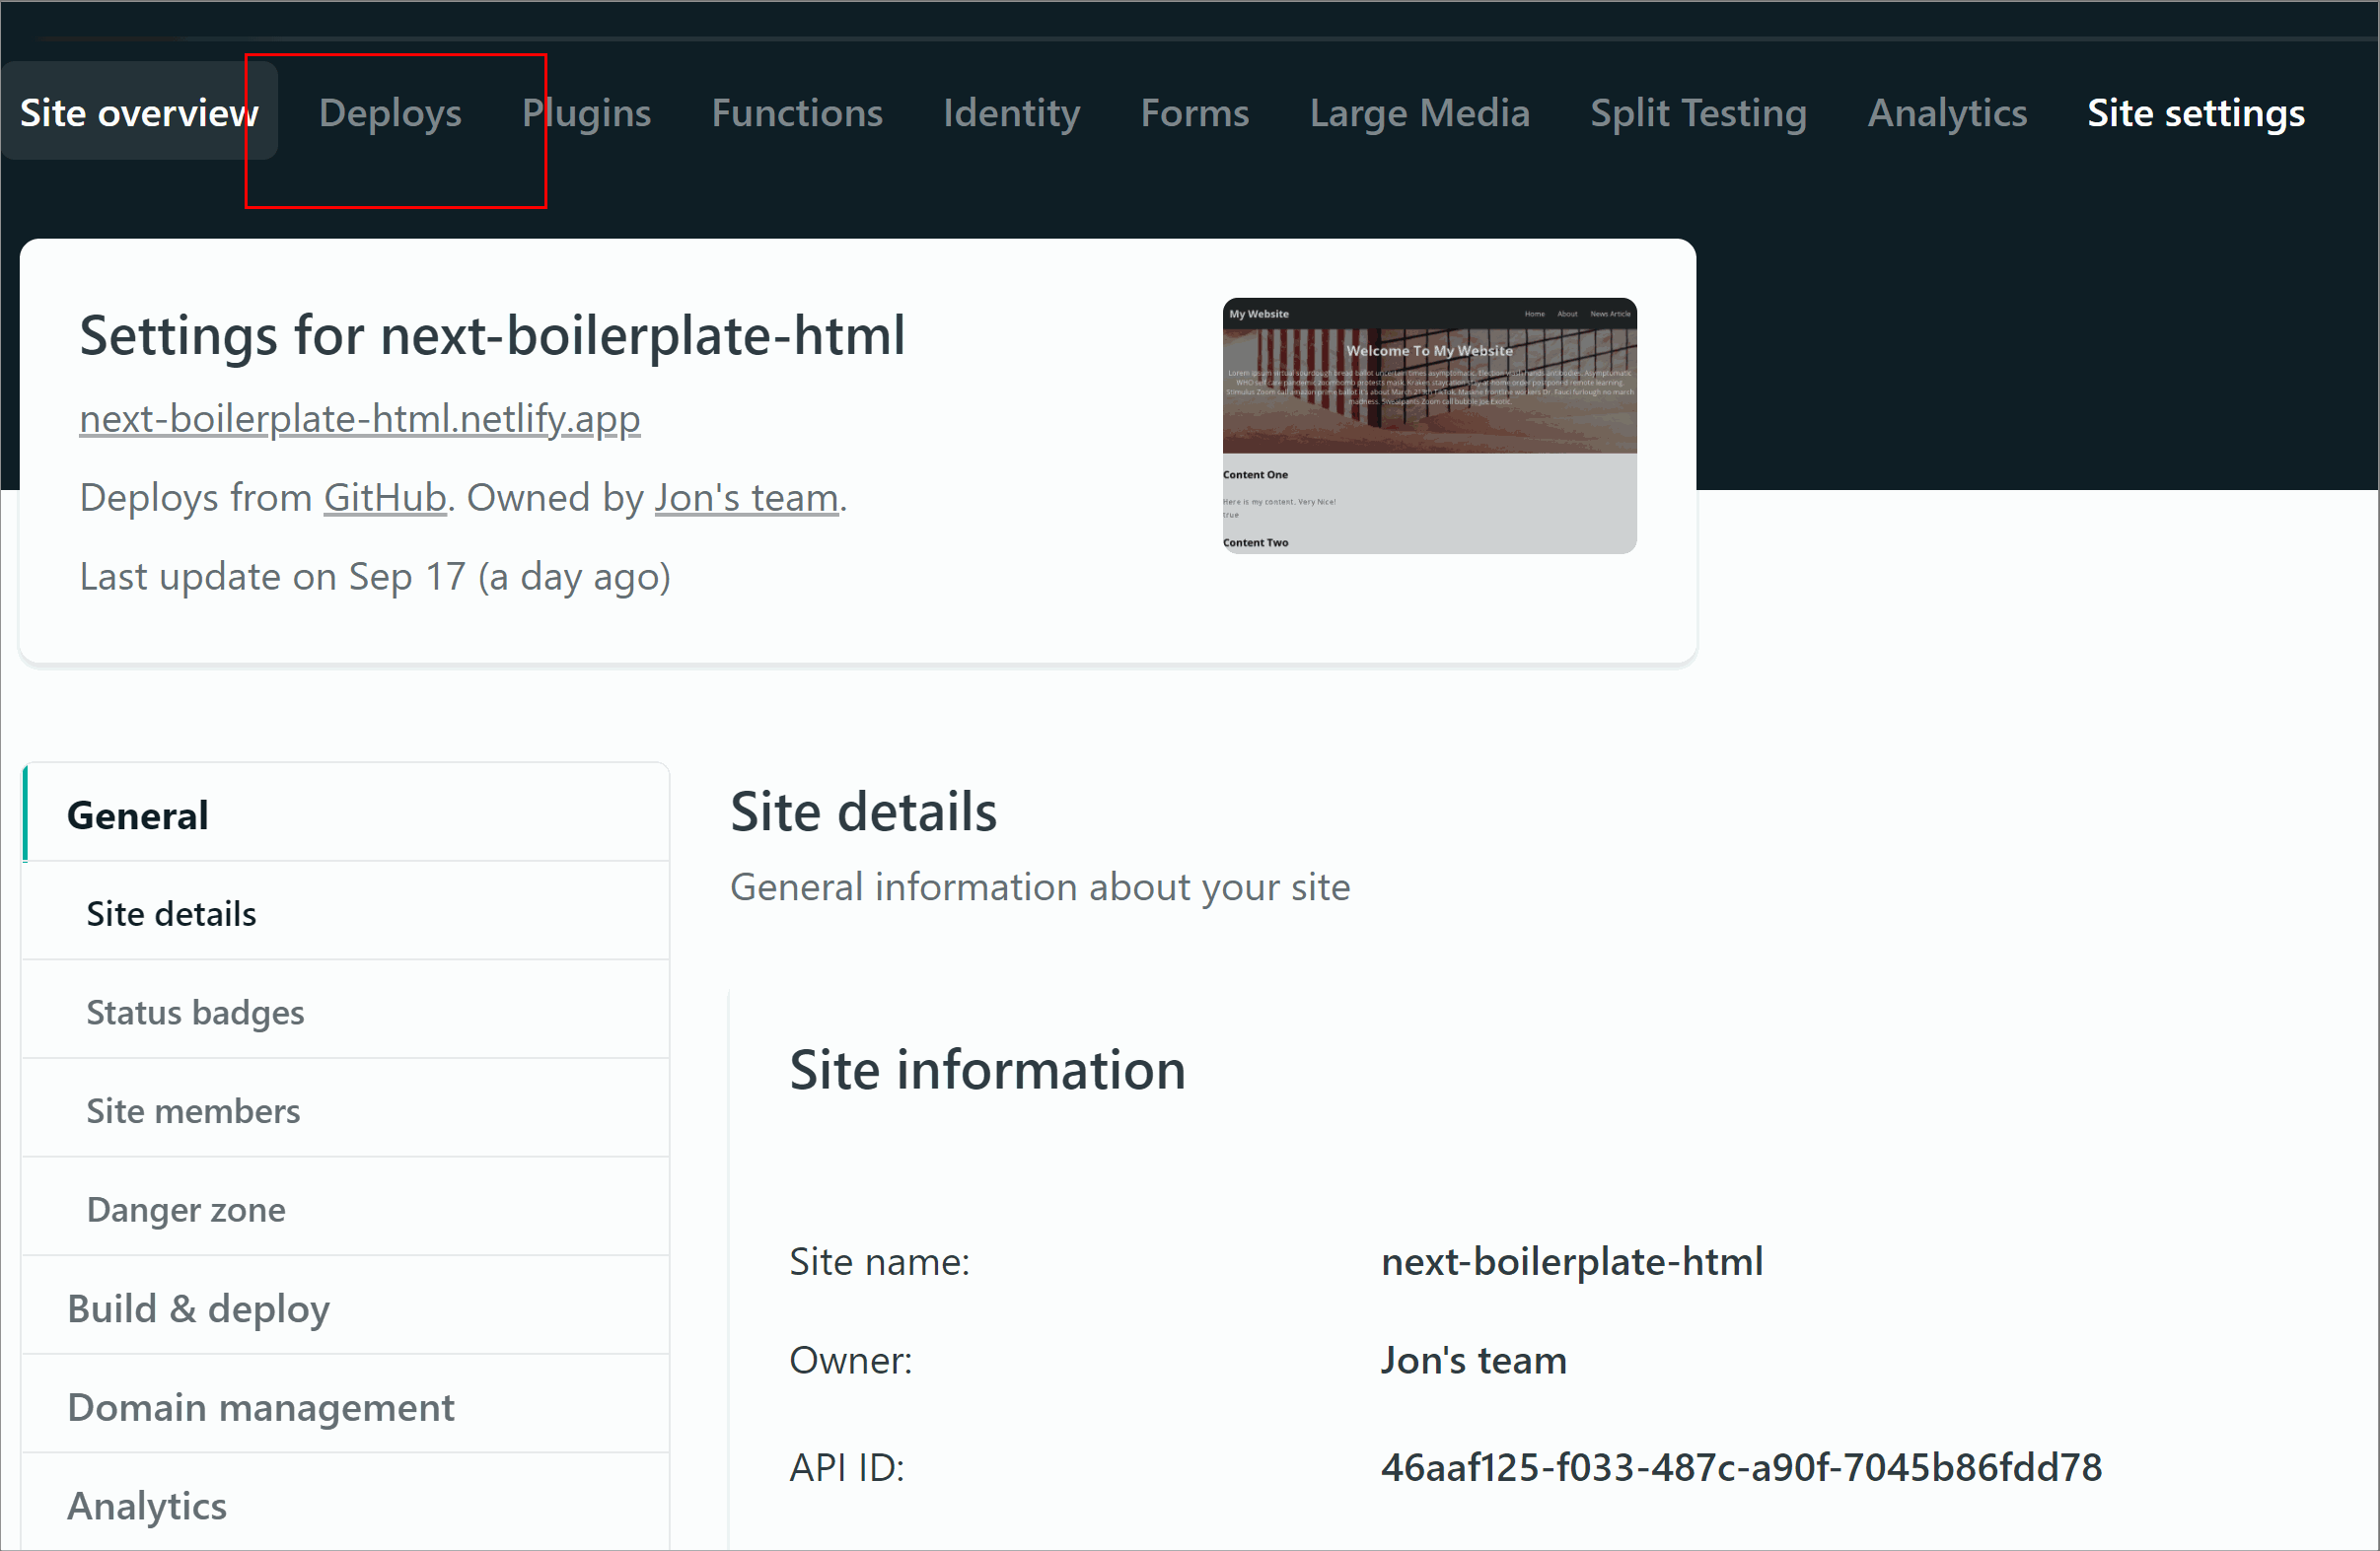
This all sounds great, let us talk about implementation. In the Netlify UI, go to the 'split testing' tab. Select which branch you want to run the test against. For an A/B test, a 50-50 split can be run. If you want to do a canary release you could do a 90-10 split. When you are ready to start the test, click on the 'Start Test' button:
When someone visits the live site, a site visitor will then get a 50-50% chance of seeing the variation branch:
Analytics
In order to ensure that your experiments are working successfully, you will want to measure and track user interaction data from the site. To successfully compare the results of an A/B test, you will need access to the branch name in Google analytics. Using the branch name will allow you to compare which variation has the best conversion rate. As the variation served to the user will only be known in the edge, you will need a way to inject the branch name after build time. To inject the branch name into the data layer, you can make use of an environment variable that Netlify supplies. If you head over to Netlifys Split testing page, you will find this example:
Using (( branch)) will inject the branch name into the HTML fragment after build. To inject this snippet onto your pages, you can use Netlifys 'snippet injection' feature. With snippet injection, you can inject some code onto every single page either after the head tag or after the body tag. You can access the snippet injection through the Netlify UI:
Injecting the snippet above, rebuilding the site will result in the branch name for the test being rendered within the pages HTML:

⚠️The snippet assumes you have added the GA tracking code somewhere in your master layout or within the tag manager!
That is all there is to it 💥. As you can see A/B testing in Netlify and injecting data to GA is super simple. This feature is fairly new'ish to Netlify and in my opinion extremely useful. This is a very powerful and free feature that you should be aware of. Happy Coding 🤘