In this tutorial, you will learn how to install CypressJS within a NextJS application and create a simple test. You will learn how to configure CypressJS to work within a Netlify build pipeline. Finally, you will learn how to enable Cypress video recording and how to copy the Cypress videos recorded within Netlify into Cypress.io, so they can be watched within the Cypress dashboard! Sounds a lot, however, within 20 minutes I am confident you can set everything up. If this sounds good to you, read on!
Installing Cypress
The first task is to install the packages required to make this all work. This is done within your project using this command:
With the packages installed, the next task is to configure your Netlify pipeline. Assuming you have added your project within Netlify, you will need to create and update a file within your project called netlify.toml ⚙️
Netlify.toml
To configure the Ci/Cd pipeline within Netlify you will need a netlify.toml file and you will need to enable the netlify-plugin-cypress plug-in. An example of how a correctly configured netlify.toml looks is shown below:
You need to add the [build.environment] section and a [[plugins]] section. You can also see on Line10 that video recording has been enabled! With this setting enabled, when the Cypress test runner is doing its thing within Netlify, for each test a video will be recorded. Having a video can make it a lot more efficient when debugging broken tests later on so I recommend you enable it.
Package.JSON
To launch the Cypress test runner, you will also need to update your package.json file with a script to trigger Cypress. You can head over to the recommended Cypress docs here to see which scripts they recommend you use.
As you can see on Line6, for this tutorial all you need is this simple one ❗
Cypress.JSON
To configure your project to work with Cypress you need a cypress.JSON file. This will not be created when you first install CypressJS. Within your project, you may need to add some custom properties, for this tutorial all you need is these properties defined:
I will show you where to get the projectId later. This is a value you can get when you create a new project in Cypress.io. The width and height will configure the screen width of the test runner. The baseUrl will set the URL the runner will use. Using the netlify-plugin-cypress will automatically swap this value for the Netlify production value later on 🔥🔥🔥
Writing A Test
To write a test, create new a folder within your cypress folder called integration. The filename needs the word spec in it in order for Cypress to pick it up. If you wanted to create a test file for your homepage, the file should look like this, homepage.spec.test:
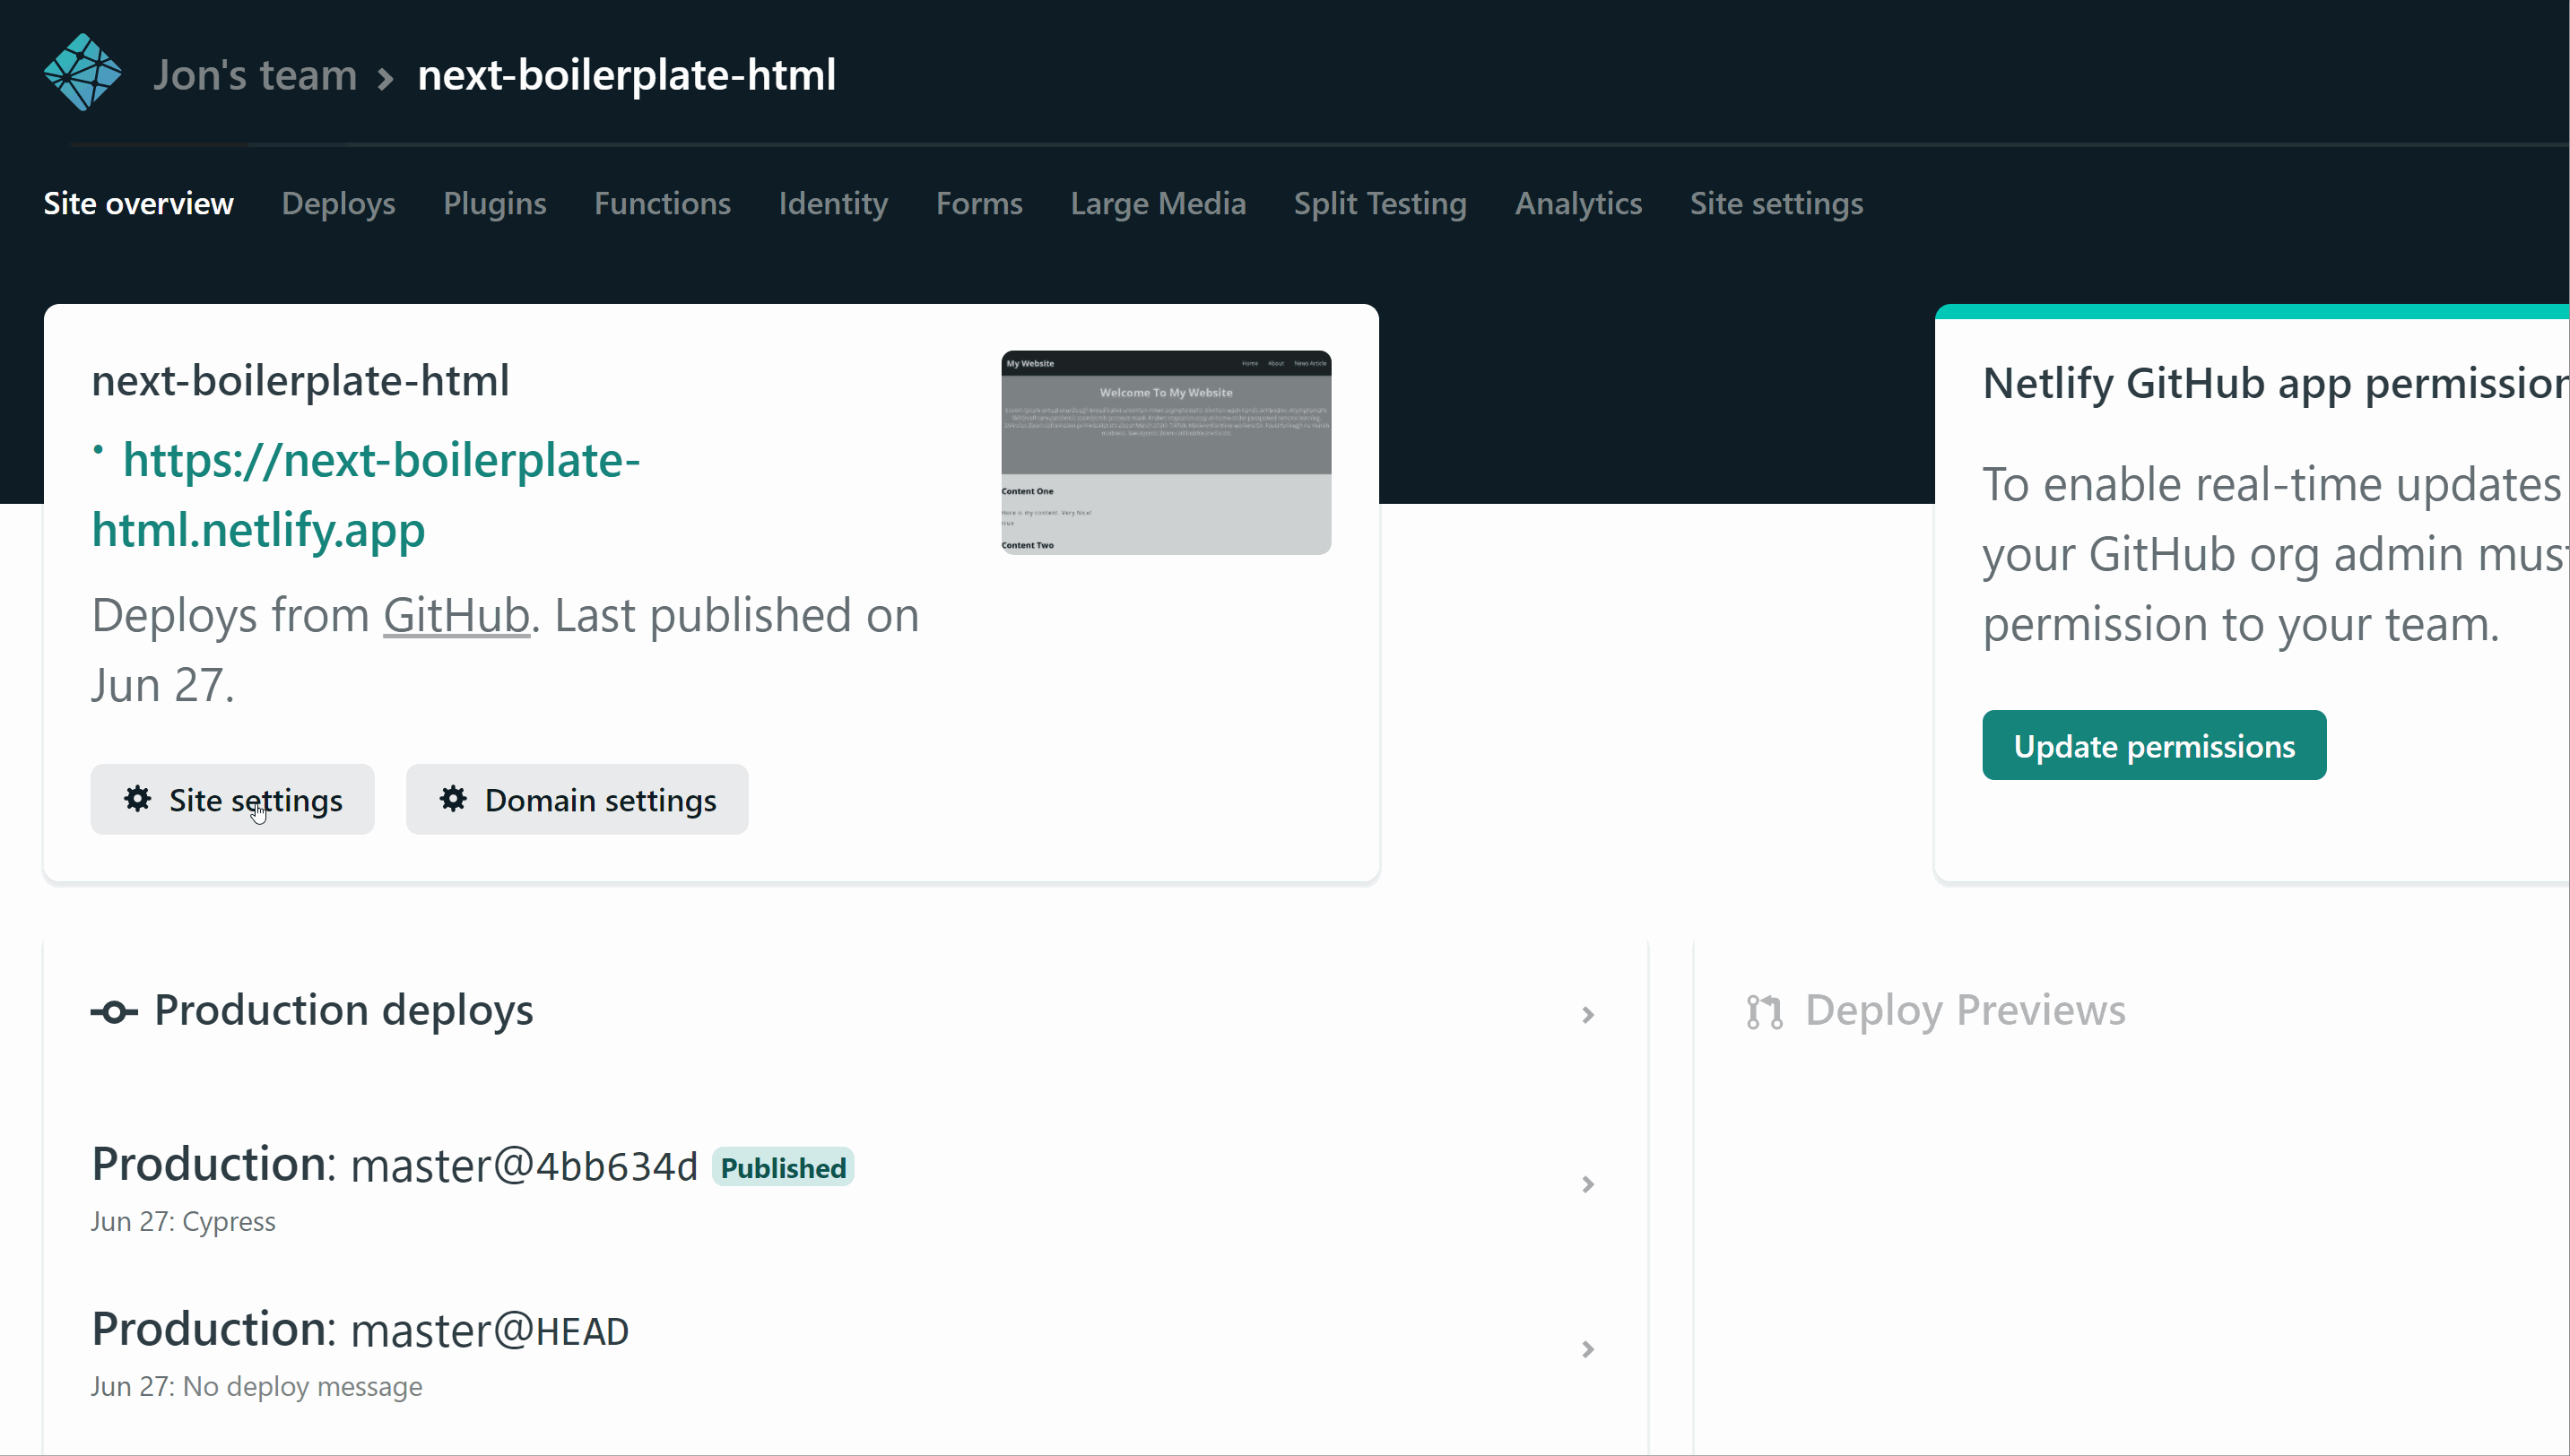
To run your CypressJs, tests run the script we created above by using this command in a terminal, npm run cypress. If the test runs OK, you are now ready to commit your code and push it into Netlify! As you have a netlify.toml file configured, there is no extra Netlify specific configure required. Assuming everything goes OK, you should see the Cypress test results in your build log now inside of Netlify.
Watch Cypress Videos Recorded In Netlify WIthin The Cyprus Dashboard
We have enabled Cypress to record videos within our build pipeline, this raises the question, how do we watch them? The easiest way to watch your videos is to create an account at cyprus.io and configure Netlify to copy the videos over to Cypress. To do this, head over to cyprus.io and create a new account. After creating an account, you will be prompted to create a new project, do that. On successful project creation, you will be given a project ID and an access key. The projectId goes within your projects cypresss.json file in the projectId setting. The access token should be added to Netlify. In Netlify, you will need to create an environment variable called CYPRESS_RECORD_KEY with the value being the access key. How to do this is shown below:
That's it! The next time you trigger a deployment within Netlify, you should see a corresponding build within the Cypress dashboard. From here you can see the video of what has passed and what has failed 💥 💥 💥You now know how to install CypressJs in a NextJS application and write a simple test. You know how to configure your Netlify Ci/Cd pipeline to fail a build based on your Cypress tests and you also know how to send the recorded CypressJS videos into the Cypress dashboard so you can watch them. Happy Coding 🤘