In this tutorial, you will learn how to create a dynamic robots.txt file within a NextJs powered website When building a website for a client, you will likely be working as part of a team. To ensure your team is productive, you will want to create different CMS environments. Working in different environments will ensure that team members do not trip on each other's toes. The developers can work in one environment, the testers can test changes in a second environment and then the production environment can be used to power the live website.
If you are using Netlify to host your website and a headless CMS like Contentful to power your site's content, creating different environments is dead simple. I created a video that walks you through the process here). One issue when creating different environments is accessibility. By default, all Netlify environments will be public-facing, this means that anyone with the site URL will be able to view the site. As the environment is public-facing, it can also be indexed by web crawlers. Obviously, you will not want your development and QA environments to be crawled Google 😞
You could password protected the site (read this tutorial, to learn how), however, certain clients can find this annoying. The second option is to create a dynamic robots.txt file. That is exactly what we will do in this tutorial, sounds cool, read on!!!
Tip: One thing to note is that Netlify will automatically set an HTTP response header of X-robots-tag: noindex for preview deployments. This prevents any preview site from being index by a web crawler!
Netlify deployment configurations
The easiest way to create an environment aware robots.txt is via Netlify deployment configurations. Netlify builds configurations can be defined within your project within a file called netlify.toml. Create a file called netlify.toml within your projects root folder. In this file, you can use the environment flag to run a custom command during the build. You will need to create two robot.txt files, one for non-production and one for production. In this example, I will call mine robots-disallow.txt and the other file will be called robots-production.txt.
On build within Netlify, depending on an environment variable, one of the robot.txt files will be copied to the site public directory and renamed to robots.txt. The configuration to do this is shown below:
Next-Sitemap
A second way of creating a dynamic robots.txt file is to use nextjs-sitemap. The policies of the robots.txt file will be determined based on an environment variable. If the variable is set to production, the policy will allow the site to be crawled. If the environment variable is set to develop or QA then all web crawlers will be disallowed. Installation of next-sitemap is easy, simply use this command:
npm install next-sitemap
To configure the plug-in to render a robots.txt you will need to create a configuration file. To do this, create a file called next-sitemap.js within the root of your project directory. In this file, add some config like this:
This code snippet will create a dynamic robots.txt file, based on the environment. If an environment variable exists, that is set to production, the policy will allow all web crawlers to index the site, otherwise, the policy will be set to disallow web crawling. In case you are wondering what my `.env' file looks like:
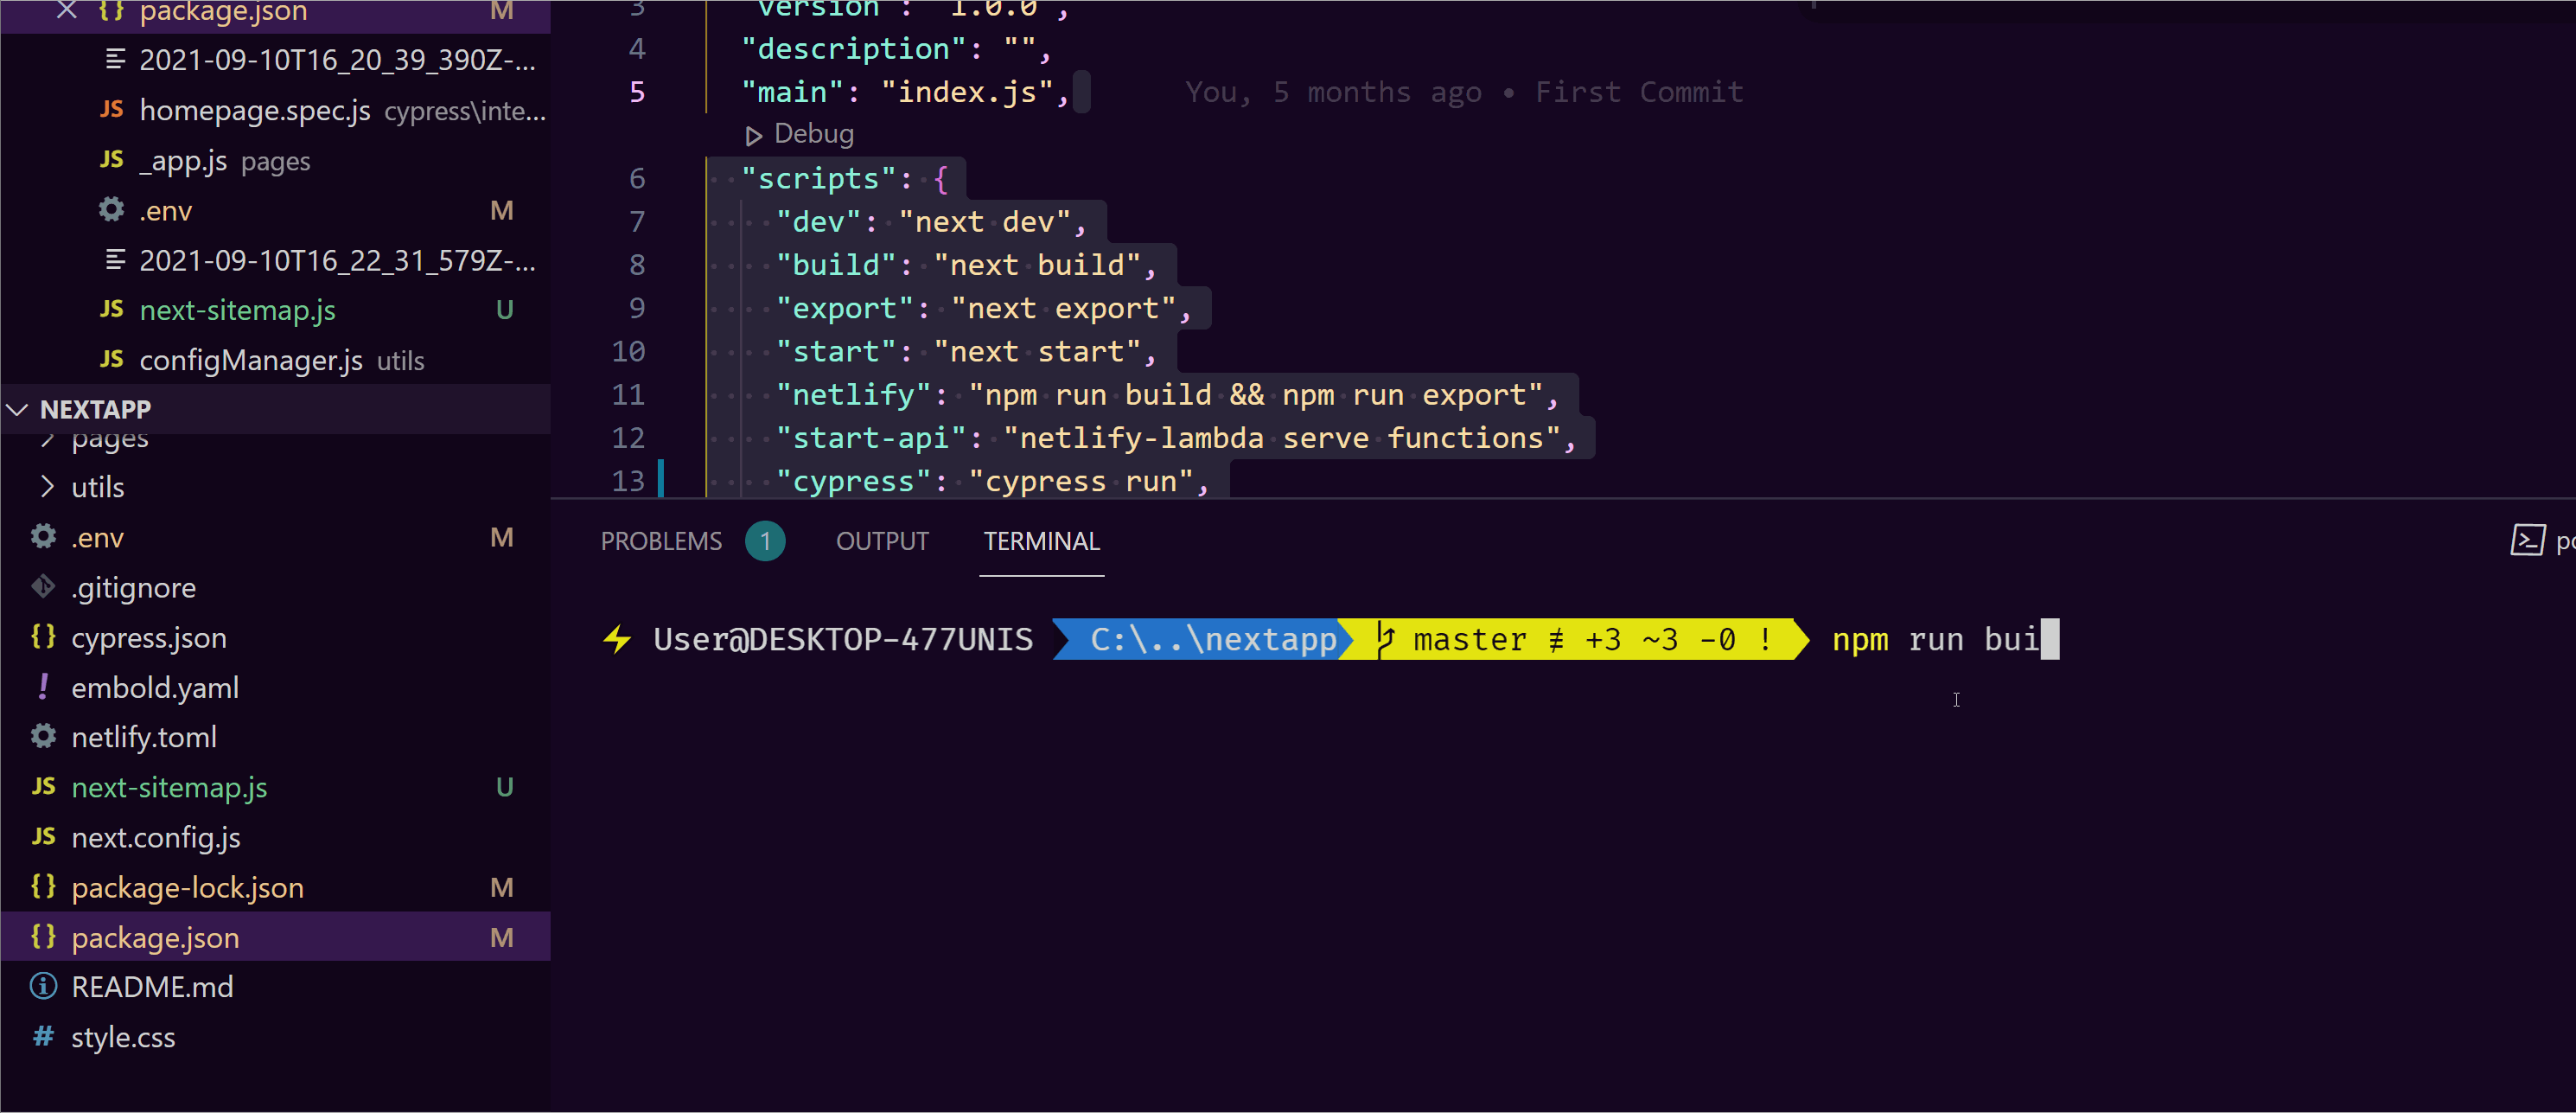
Finally, you will need to add a postinstall script inside of the scripts section within `package.json':
Whenever you perform an npm run build, if you look in the NextJS out folder you will see that a robots.txt file has been created 🔥🔥🔥🔥
⚠️ If you use Windows, trying to run postinstall will not work and you will encounter an error. Read this tutorial to learn how to make next-sitemap work on WIndows!
When using Netlify and NextJs you have plenty of options if you want to create a dynamic robots.txt. I have used both of the options that I have presented in this tutorial in production for clients and they both work well, so pick the one that makes you the happiest 😃😃😃. Happy Coding 🤘