Within this tutorial, you will learn the easiest way to create a number of common A/B tests within Optimizely Web. When you are new to A/B testing and you are trying to figure out how to set-up a test in order to make a page look a certain way, it can often feel overwhelming. I have been creating A/B tests for years, so I can say with first-hand experience that when you know the easiest way to create tests, you can create tests in less time and in gernal the porocess is more enjoyable 😊. If you want to learn how to make your A/B testing journey as easy as possible, read on 🔥🔥🔥
Changing The Menu Item Order
The first test we will cover is re-ordering menu items. The way most people try to re-order the menu is by selecting a menu element and then using their A/B testing tool to re-order the element. On some sites, this works very easily, on other sites it can take some trial and error before you make the menu look the way you want it to. If you struggle to reorder the menu, fear not... there is a simplified approach 💥. Instead of reordering the menu, simply update the menu items that you want to swap manual directly as seen below:

By swapping the name and the link between the menu items, you do not need to worry about re-ordering elements. Simples 😊
Creating 50/50 Layout Shifts
It is very common to want to create an experiment with a new type of layout to a page. Creating a new section on a page with a different layout can take a little trial and error to get working. This is because the structure of how a web page is composed will depend on something known as a CSS grid. Each website will implement either its own bespoke CSS grid, or, an off the shelf grid. The main takeaway is that the way the grid works on your site will be very different to another site. This means no A/B testing tool can easily create different layouts automatically.
This is why I recommend that you create some HTML snippets that you can copy and paste into Optimizely Web to allow you to easily create these different types of layouts. For example, take this snippet:
After you have these snippets created, all you need to do is use the inject HTML feature within Optimizely Web, copy this HTML snippet into the HTML textarea and you will get a layout you can then update until your heart's content ❤️
Saving these HTML snippets in a Word document, JIRA ticket, or a spreadsheet will really speed up your experiment creation process. If you have a library of these useful snippets it will make your life much easier. If you are unsure how to create these, ask the Optimizely on-boarding team!
Set The Background Colour Temporarily When Setting Up A Test
Another tip that will make your experiment creation process a little easier, is to temporarily set the background colour of the element to a loud colour. This contrast will help you understand what you are editing. To do this add you can either use the background colour picker within Optimizely Web, or you can copy and paste this CSS snippet into within the Inline section:
With this change applied, it should be easier for you to see what you are changing, as can be seen below:
Changing A User Journey
If you want to create a test that changes the user flow of a page significantly, maybe you want to make a page look like a different page on your website, more often than not, it is easier to automatically redirect a user to the page with the layout they want to copy rather than trying to re-create the content of that page
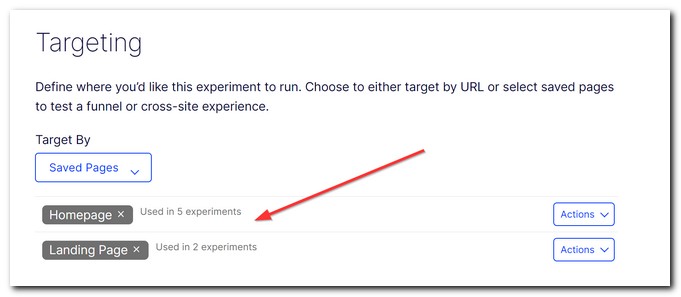
Using Optimizely Web, you can achieve this by creating a two-page experiment. First, add the page you want to change, say the homepage. Next, add the page with the layout you want to copy. IN this example, this page is called Landing Page:
On the homepage, create a simple test that redirects the user to the landing page, like this:
On the landing page, make the copy changes you require, update any button links etc... Using this redirect approach can save you hours when setting up pages. My advice is to always use the simplest solution where possible. If you were to create an experiment like this, I would also add Audience that ensures a user has visited the original page first. This rule will mean that site visitors who have only directly visited your landing page will not be bucketed into the experiment.
Adding Spacing Between Elements
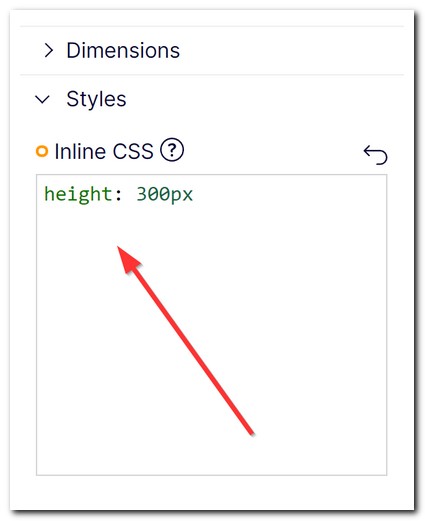
In order to create AB tests, you do not need to be a CSS or HTML wizard 🧙, however, knowing one or two common commands will make your life much easier. The most useful one is probably the height property. By adding height onto an element and giving it a value in px you can adjust the space between elements. There are two ways of doing this. The simple way is within the 'Inline CSS' section within the visual editor:
If you feel more adventures you can add it directly onto an HTML element like this:
The height CSS property is one of the easiest to master, so use it wisely!
Adding Padding
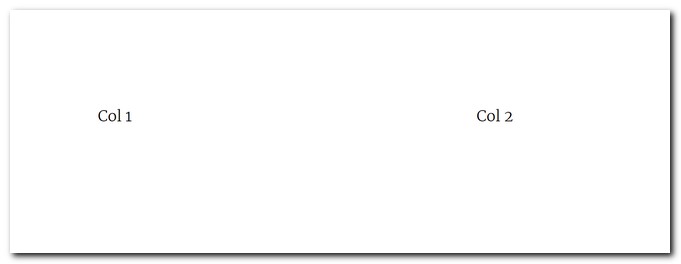
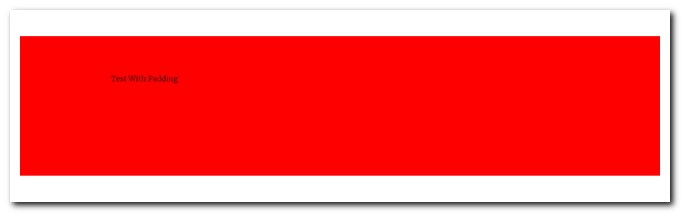
Another CSS trick that you can quickly and easily learn is the padding property. If you need to add some internal spacing within an element, you can use the padding command to create it. Lets us take this example:
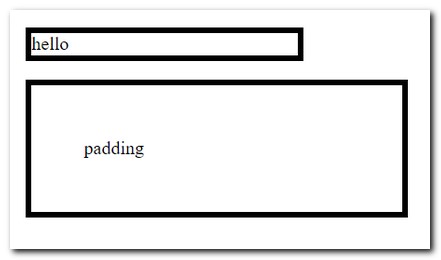
The top element has no padding, the bottom element has some padding. To add padding in all directions, just add this line within the Inlines CSS section:
You can also use one or a mix of these to add more specific padding:
Hopefully, these tips will simplify your experiment creation process and make your day a little more enjoyable. Happy Coding 🤘
