
In this tutorial, you will learn how to add easy to manage feature flags into your codebase using Optimizely Rollouts. If you are a developer, you might be reading this and wondering why you should use Rollouts rather than build a feature flag yourself? First, Optimizely Rollouts is completely free. Rollouts ships with 12 ready-made SDKs built against the most popular programming languages today, including IOS, Android, Javascript, C#, Java, and Python ✔️. If you work in a company that has different teams working on different stacks, or has lots of legacy websites/apps and you want a central place to manage all of your feature flags then Rollouts will be very useful. Through the Rollouts portal, you have a place to centrally manage all of your feature flags for all of your projects. You can even share the same flag between different tech stacks, so for example, If you had a mobile app and a website, you could use one flag to turn the same feature on or off on both devices at the same time.
I think the biggest benefit of using Optimizely Rollouts is that you can run experiments and some personalisation on your feature flags 🧪. Being able to wrap a feature in an experiment or to define which subset of your audience should be able to access it will give you greater control over your releases and it will mean that you can test and measure the impact of each feature. When launching a new feature, if you can define a success metric, you can check if your customers are using the feature how you expect them to. With Rollouts, you can prove if customers love all your hard work, or if you have just wasted many weeks of your life for nothing 😞. If like me, you agree with the Dev-Ops mindset of continuous delivery, using Rollouts will allow you to adopt more mature release management processes, like canary releases or dark launches.
Another useful feature of Optimizely Rollouts is that you can enable/disable flags on a per-environment basis. For example, let us say that you have a dev, QA and production environment. Within Optimizely Rollouts you can create multiple environments and by using a unique API key in your code, you can then target a feature per environment. This all works by simply using the correct API key when you deploy your code.
Optimizely Rollouts is priced using a freemium pricing model. On the free plan, Rollouts gives you unlimited feature flags, however, you can only run one experiment at a given time. If you want to run multiple tests at the same time you will need to use Optimizely Full-Stack. Optimizely Full-Stack is an enterprise-level tool, and the price jump from free to the enterprise plan is big... so be warned. If you think you need Optimizely FullStack, I suggest you make an enquiry here. The focus of this article is the free feature flagging so let's crack on.
In this tutorial, I will show you how to create a feature flag using the React SDK within a NextJs website. The code for those interested is available from my GitHub here.
The first step is to create a Rollouts account. As Rollouts is SaaS product, there is nothing to install in this phase. Simply head over to this page, scroll to the bottom and create an account.
After doing this you will get a username and password that will give you access to the access to Optimizely Rollouts portal:
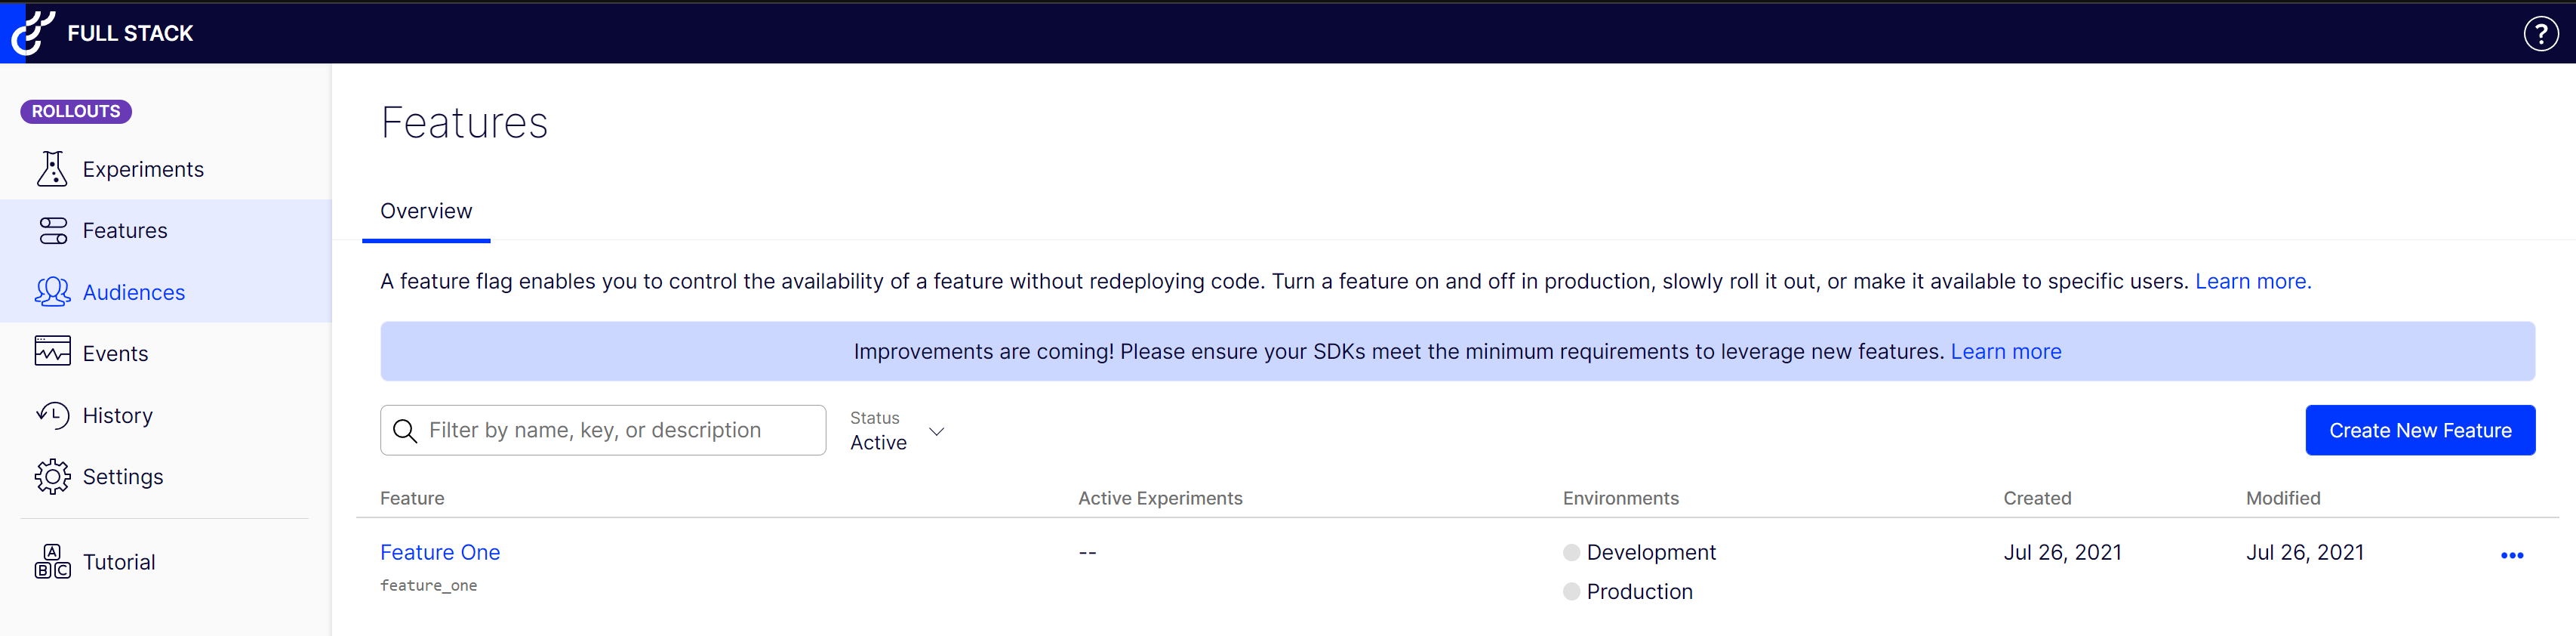
From the portal, you can create new feature flags, however, let us first go over the code required to call a feature flag from Rollouts using the ReactJs SDK.
How To Set-Up The React SDK
The first task is to install the React SDK, this is done via NPM using this command:
With the SDK installed, you can now write some code 🔥🔥🔥. Like all React apps, the first step is to import stuff into the page or component where you want to add your feature flag. In order for Rollouts to work, you will need to implement createInstance, OptimizelyFeature, and OptimizelyProvider.
The createInstance function will allow you to define the config to establish a connection back to the Rollouts API. Next, you need to make a call to the Rollouts API, passing in the name of the feature flag. This is done by wrapping some code within an HoC called OptimizelyProvider, like so:
You can access a feature flag using the OptimizelyFeature component. This needs to be wrapped inside of OptimizelyProvider. When defining OptimizelyFeature you will pass the feature flag ID that you want to reference as a prop. One important thing to note is that the feature flag name is case-sensitive. When setting the flag name in code be aware of this, otherwise your flag will always return false 😔.
Creating A Feature Flag In Rollouts
Creating a flag is simple. In the portal select the Features tab and click on the new Feature button:
With your feature created, it is now possible to run experiments on it and decide exactly how it will be launched. This is done by applying a rule to the feature:
Within a rule, you can define the total amount of traffic that will be driven to a feature, and also which subset of users will see the experiment. This ability is really useful as it will allow you to analyse how your feature is used and if your customers are using the feature how you expected them to 📈📈📈.
Passing Dynamic Configuration From the Portal Into Your Code
It is also possible to pass dynamic configuration, from the Rollouts portal into your code. This can be a really handy feature that can help you avoid making unneeded deployments when small configuration tweaks are needed. Dynamic configuration is done via Optimizsley variables. Within the portal, open your feature flag project, select variables:
Variables can be either of type Boolean, Double, Integer, String or JSON. Within your ReactJs code you can then access that variable, like this:
JSON can be very handy if you want to pass lots of configurations as props down into your React components 😊😊😊. All you need to do in your React code is use JSON.parse (or JSON.stringify) and jobs a good 'un:
Using JSON means you can dynamically pass as much configuration in your code as you like 💥
That is pretty much everything you need to know right now in order to start using Rollouts feature flagging abilities in your codebase. It's free, super simple, so what you got to loose? Happy Coding 🤘
