In this tutorial, you will learn how to host your Umbraco media folder within an AWS S3 bucket. There are lots of benefits from using S3 to host your Umbraco assets. including:
- Within a load-balanced configuration you can easily sync media between different servers
- Back-up are much easier
- Easy management
Having non-source controlled assets that live in a folder on a server is not ideal and can lead to data loss. Assuming you are sold on the idea let's configure Umbraco. In the first half of this tutorial, I will walk you through how to create an account in AWS and an S3 bucket. In the second part, we will focus on configuring Umbraco.
Creating an S3 Account
To host your media within AWS you will need to create an S3 bucket. You can do this from Amazon AWS. Create a new account and follow the steps to create an S3 bucket.
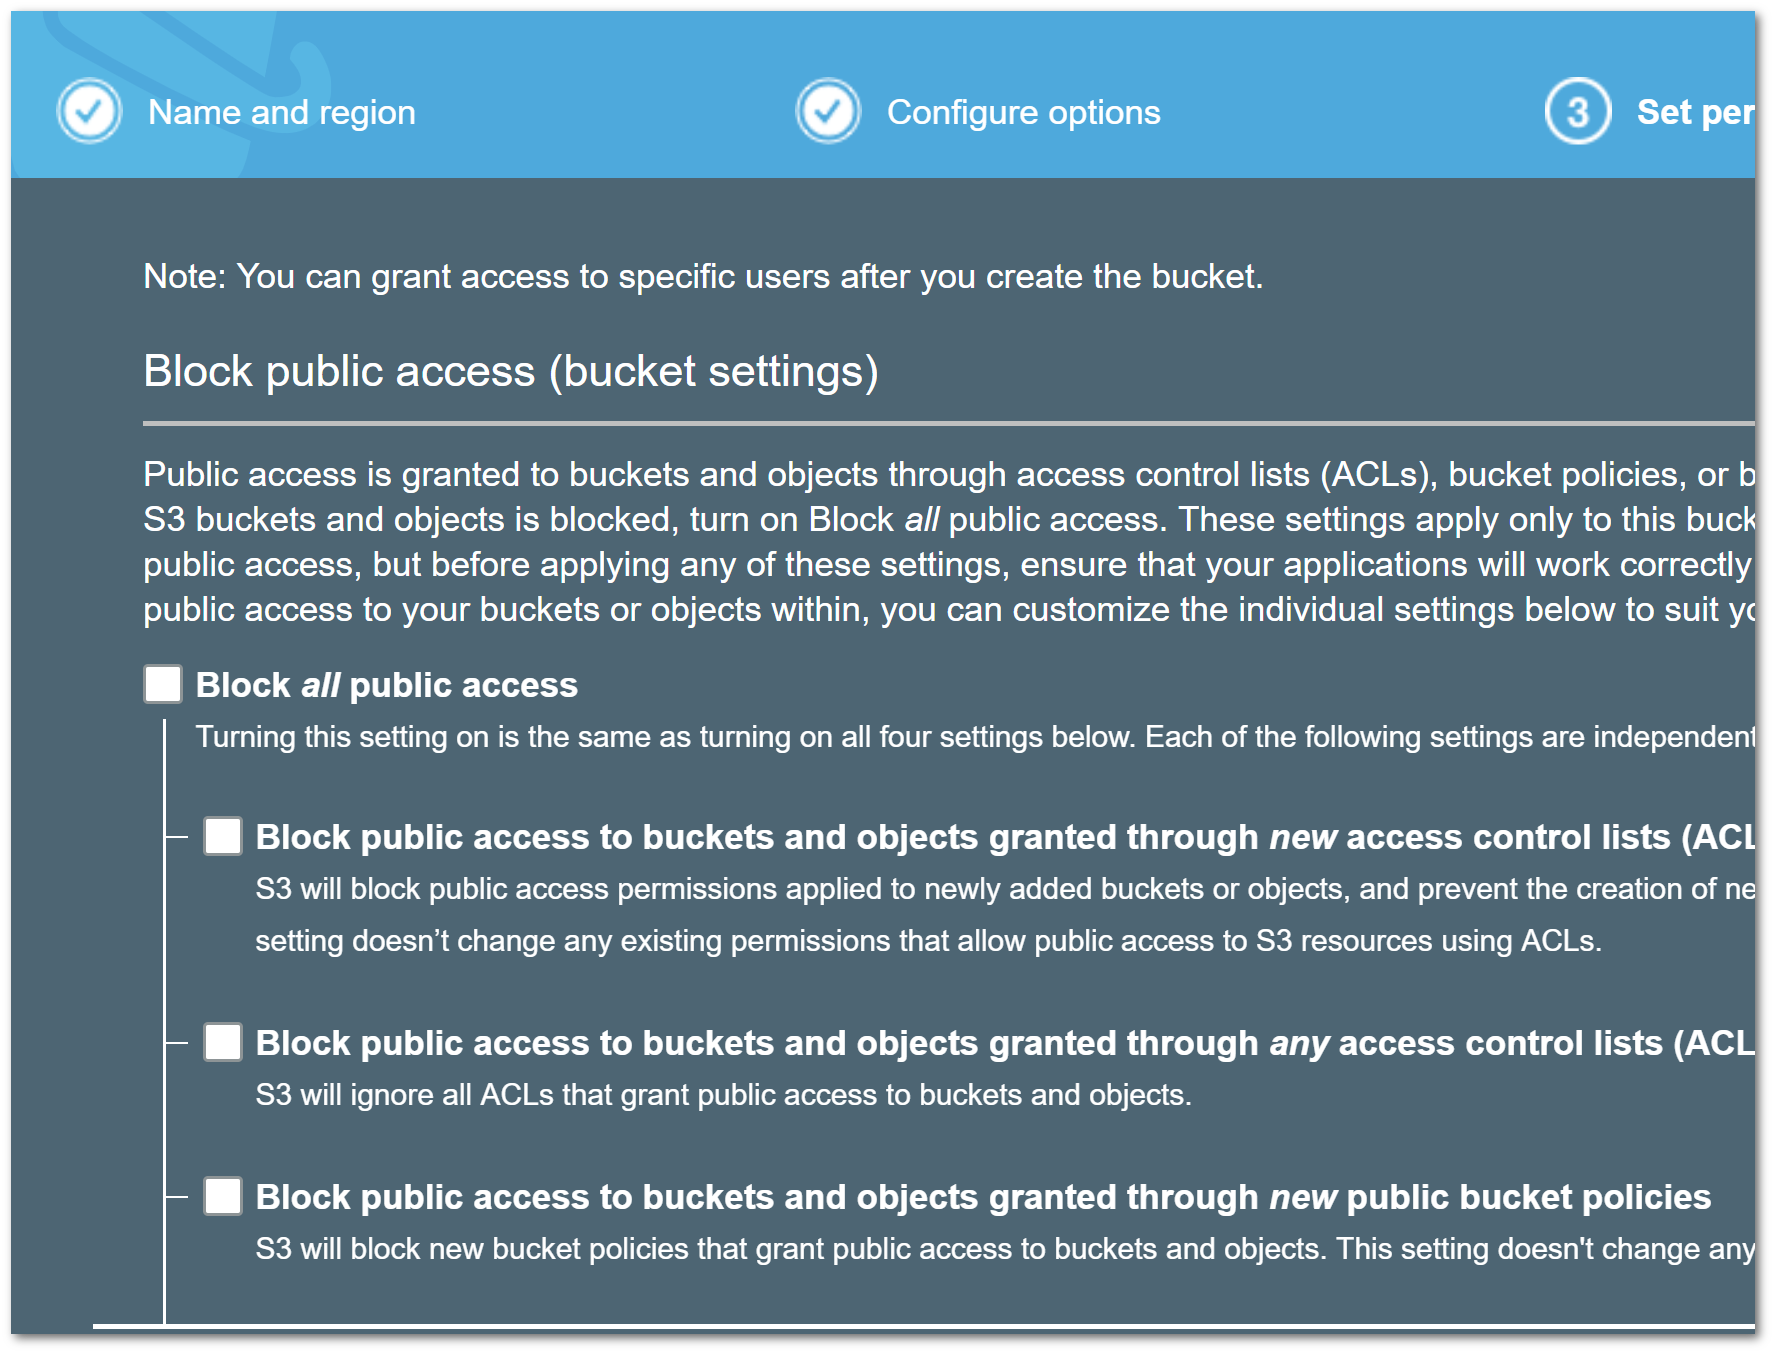
As the media within the bucket will need to be accessible from a public-facing website, you will need to allow your CMS and the world access. You need to ensure that you do not block public access from your bucket by making sure the 'block public access' is not ticked:
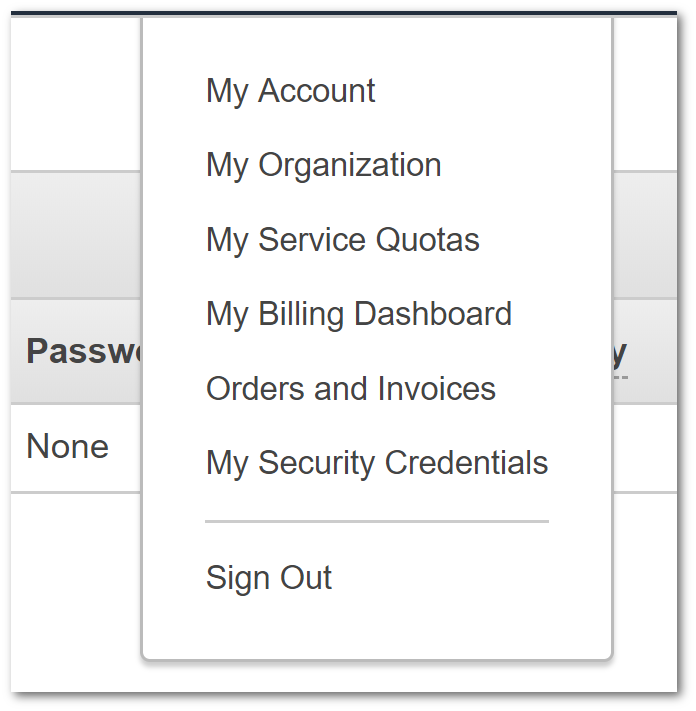
You will also need to configure a user account so you can upload files to S3. To create a user token within AWS go to the 'My Security Credentials' page:
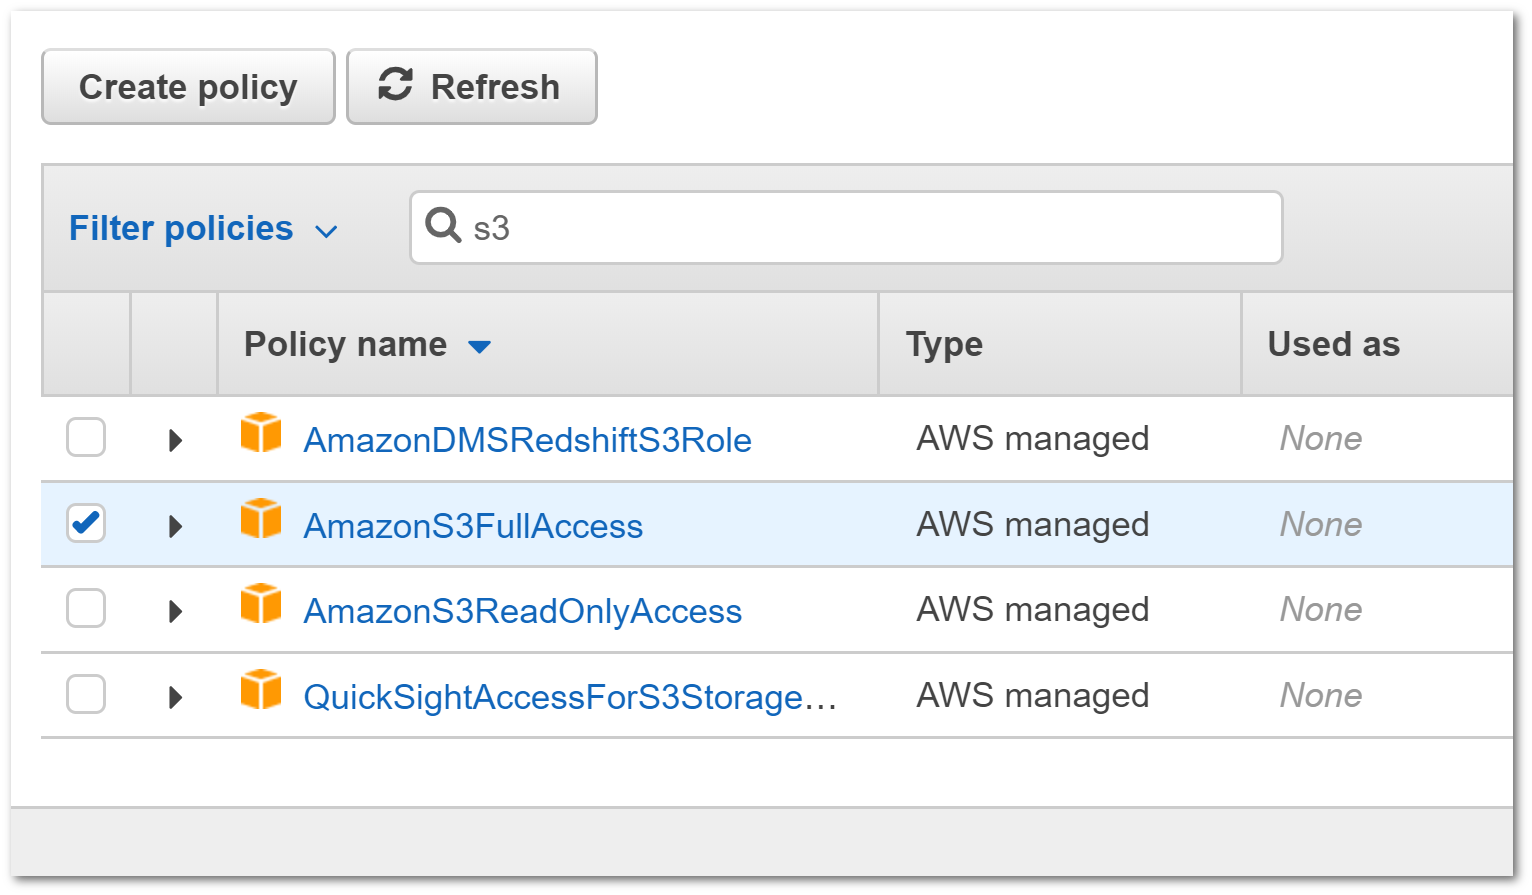
When you're creating the account that you will use for Umbraco to access AWS, you will need to ensure the account has the 'AmazonS3FullAccess' permission:
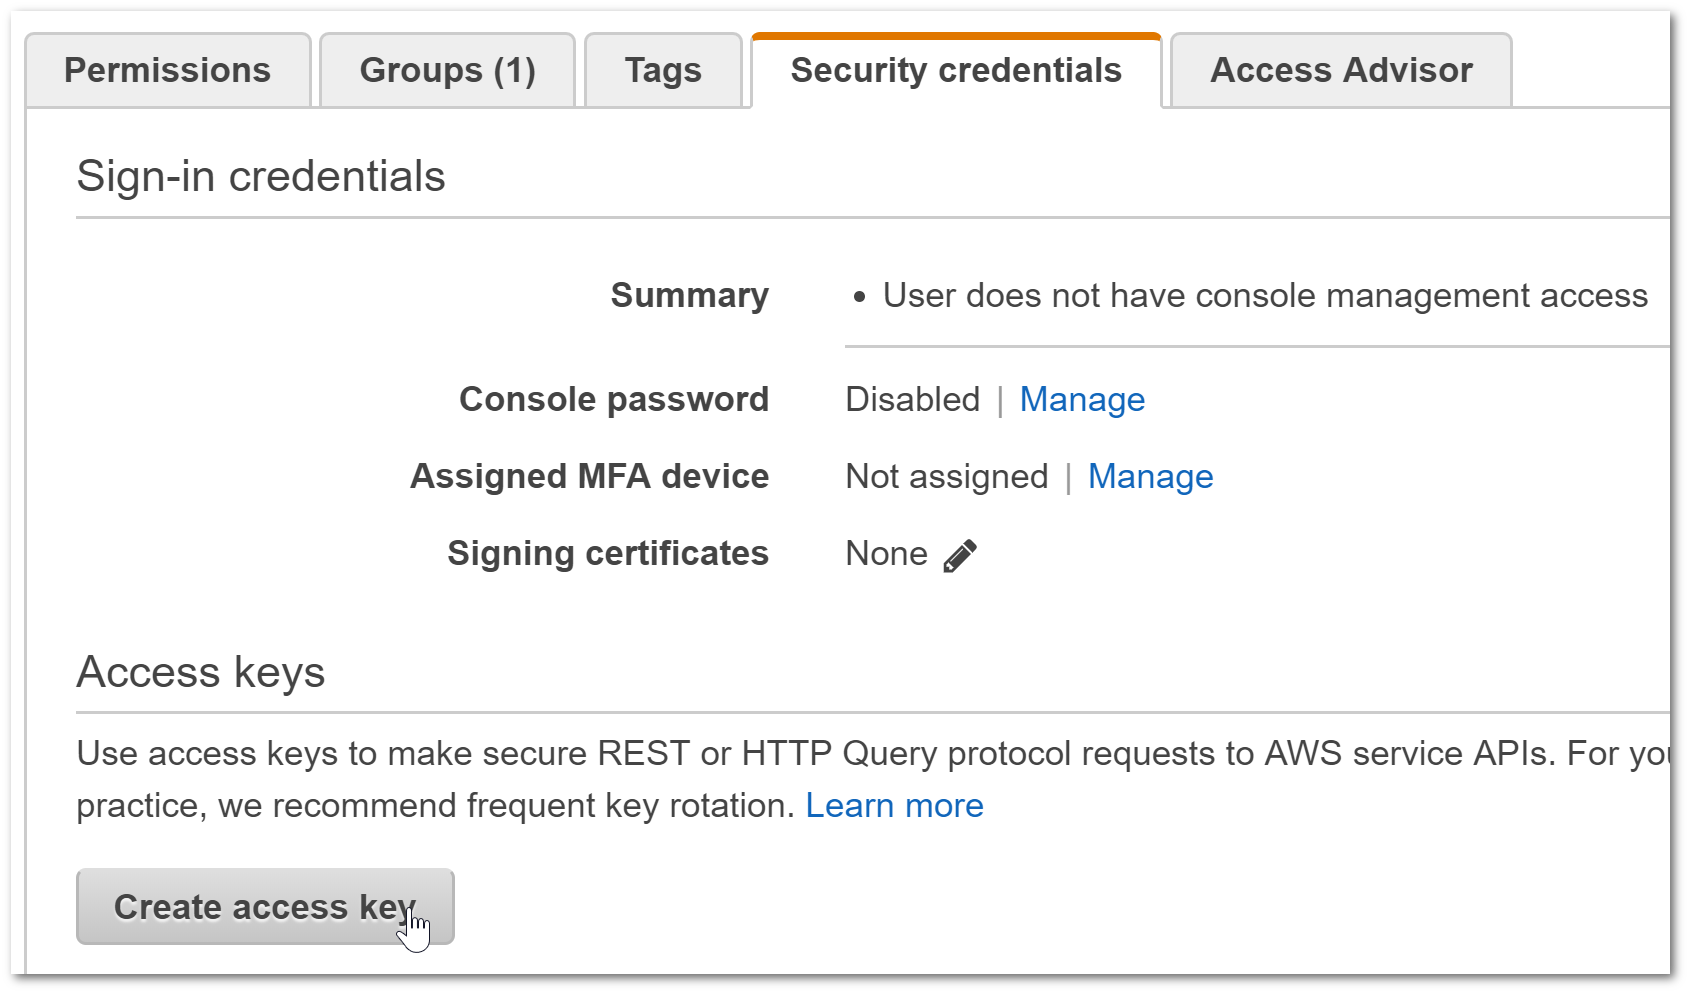
After creating an account, you will need to get the access ID and the access token. The tokens will be used as the connection details. They will allow Umbraco to communicate with the bucket. You will put these two settings within an app setting within the sites web.config shortly. You can get these keys from within the security credentials section. Copy the details from the 'create access key' pop-up:
Managing Your Media
The easiest way to manage and upload files from your PC into an S3 bucket is to use S3 Browser. Use this to copy your existing media library into S3. You just need your access ID and secret code. To configure Umbraco to use the S3 bucket will require installing a community package, Umbraco S3 Provider. To do this, within Visual Studio, open the package manager console and type this:
Run these commands:
And:
After installing the packages, we will need to update some config files.
Configuring ~/config/filesystemprovider.config
The fileSystemProviders.config contains all the configurations that tell Umbraco how to interact with the file system. If you want to read a little more about this you can view the official Umbraco documentation here. You can find this file within the config ➡️ filesystemprovider.config. If you open up a default config file, you should see something similar to this:
To configure Azure you will need to update/add containerName, rootUrl and connection string values. You can find the connectionString details within the Azure portal.
When setting this up, I encountered an issue that resulted in a lot of head-scratching. When I looked in the log files, this exception was being thrown:
Exception of type 'Amazon.Runtime.Internal.HttpErrorResponseException
With an inner exception of:
Error making request with Error Code MovedPermanently and Http Status Code MovedPermanently
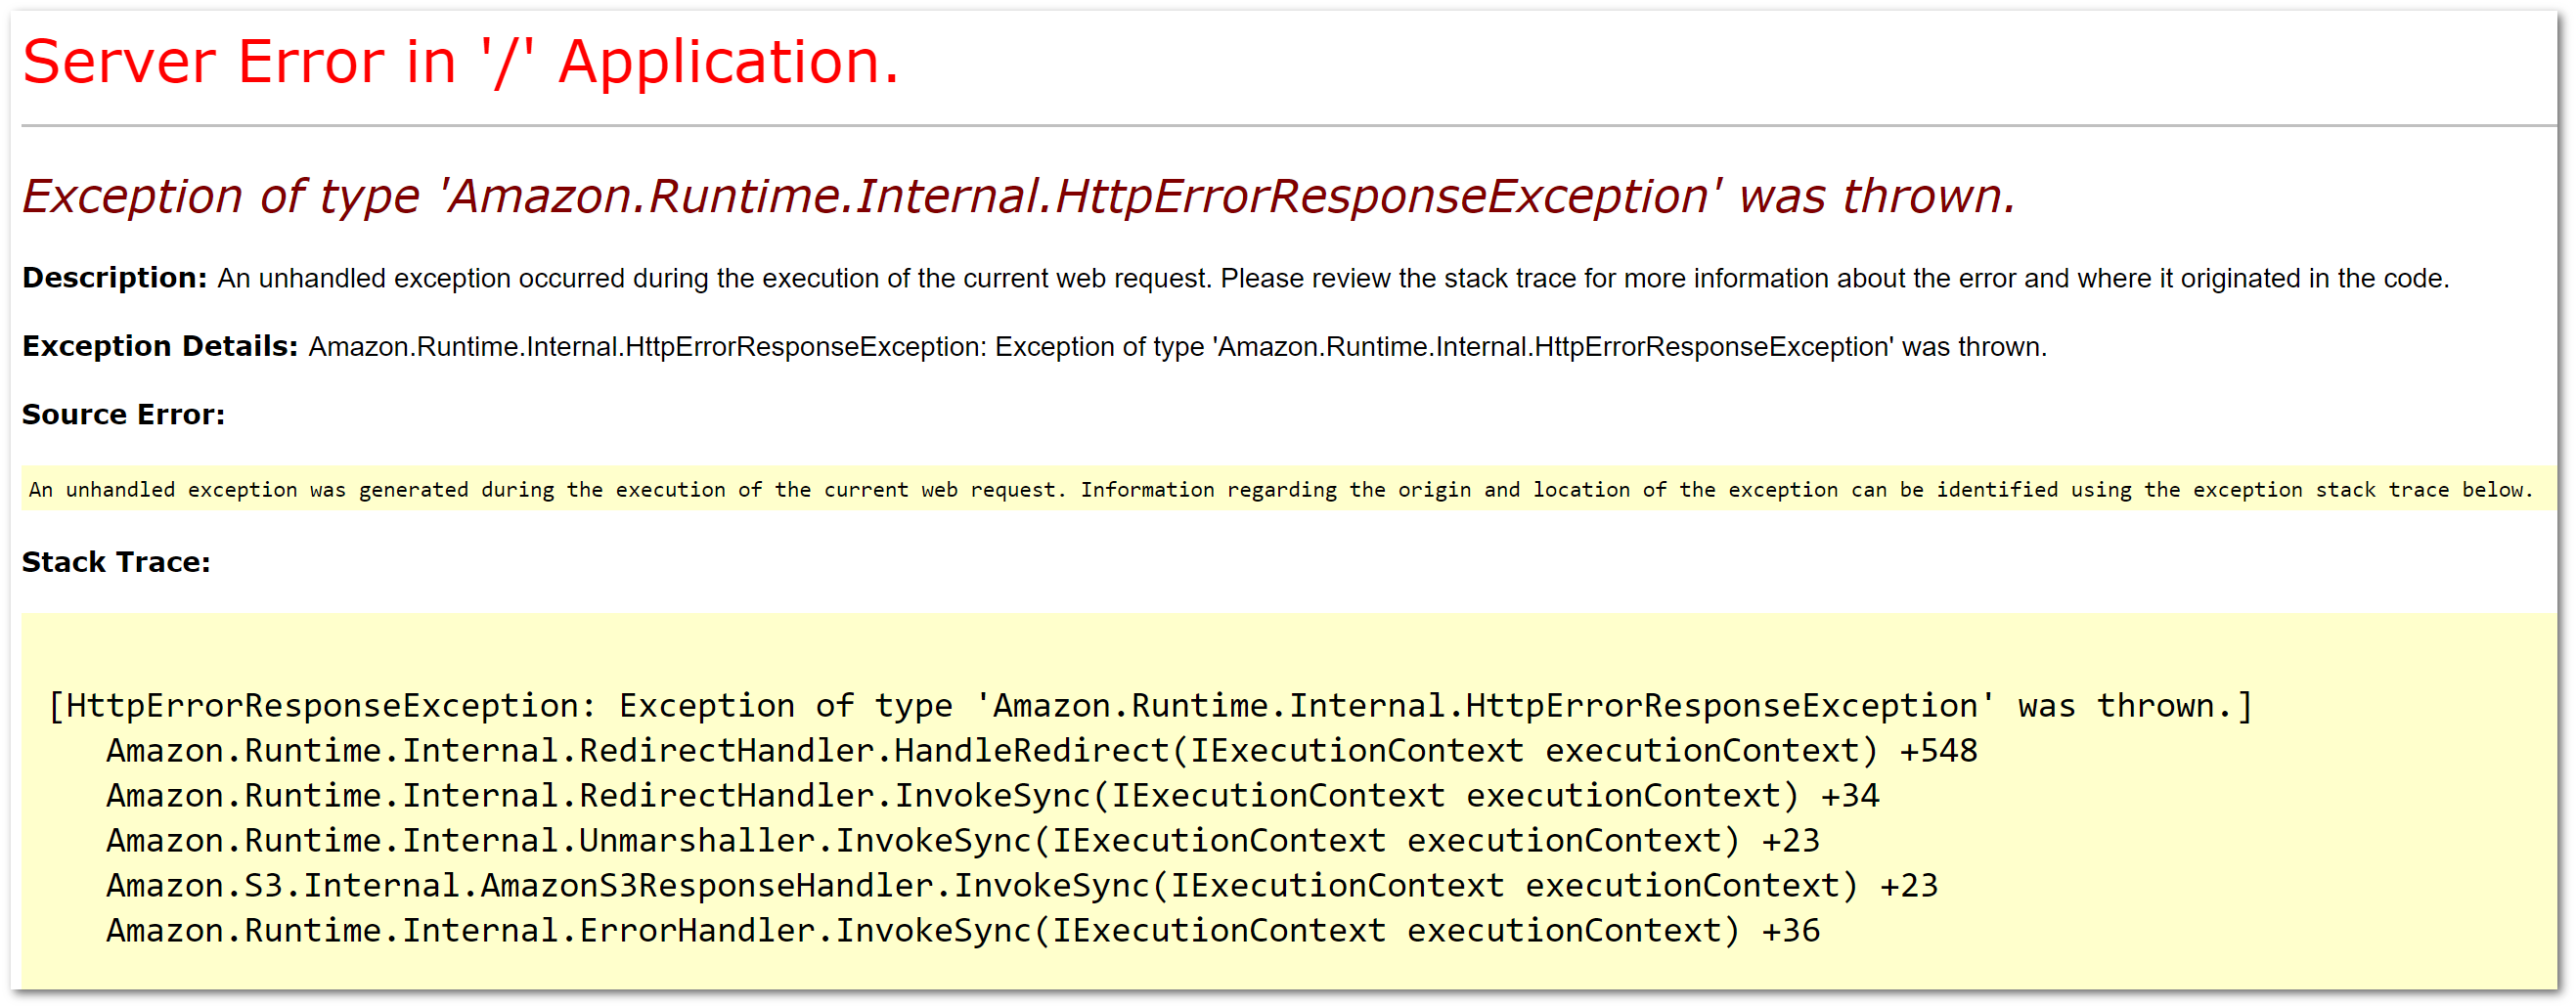
This error happened as I had the region wrong. Within the region, I had the region eu-west-1, instead of, eu-central-1. Simply having the wrong region resulted in all images throwing a 500. Finding the cause of this error took me ages as the documentation online was pretty limited. I hope this tip saves someone from the same pain!
Configuring ~/config/imageprocessor/security.config
When you have ImageProcessor.Web.config installed, you will need to update your security.config file like so. Replacing the <> with your bucket name:
Configuring ~/media/web.config
Within the media folder, you should have a web.config file. If not, create one and replace the file with this:
Configuring ~/global.ascx
The next step is to configure your global.ascx, we need to update the OnApplicationStarting() method. This is done like so:
Configuring ~/web.config
Finally, you will need to add your access key and secret within your web.config, like so:
If you configure everything above then your media should now be hosted within AWS. Getting AWS with Umbraco is definitely a little trickier than getting Umbraco to work with Azure however when it's up and running it great! Happy Coding 🤘
