This tutorial is for content editors. In it, you will learn how to create a page within the Episerver CMS editor. Creating a page is pretty easy and you should be able to get up and running in about less than 10 minutes. Before we start, I should warn you that the Episerver templates that you will be able to pick from will be different from my examples. Templates are built by developers during the construction of the site. This is why every Episerver site is unique, each containing its own custom templates to meet the business needs. The process of creating a new page will always be the same, so let us get into it ️🔥 ️🔥 ️🔥
Creating Your First Episerver Page
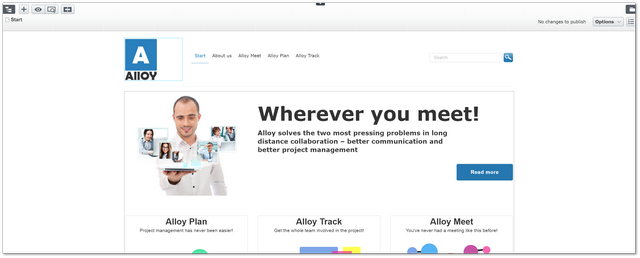
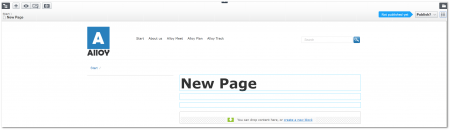
When you first log in to the Episerver CMS editor, you will usually see the Episerver dashboard, which is a pretty boring blank page. By default, the page editing screen should load, if not, opening the screen is simple. In the top navigation panel, you should see a menu that has an entry called 'CMS'. Within this menu, there should be a sub-option called 'Edit'. Clicking on this will load the page editor. When the editor loads, it will load the contents of the homepage within the main content panel, as seen below:
To create a new page, first, you will need to decide where you want to create it. This is done via the navigation panel.
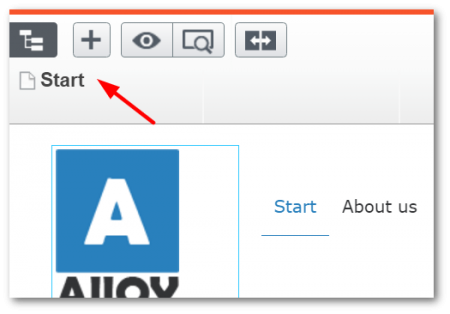
If the panel is hidden, you can open it by clicking on the navigation tree panel icon on the top left-hand side within the editor screen
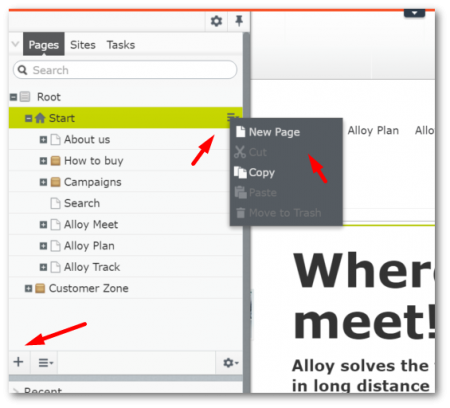
The navigation panel should now load displaying your website. To create a new page you have two options:
Option 1: locate the parent page of where you want to create your page. If you want to create a page under your home page, click the burger icon on the 'Start' page and click 'New Page'.
Option 2: Open the parent page in the editor and click the + icon located on the bottom left-hand side. Selecting either of these options will bring up the create new page screen.

You should now see a list of pages that you can create. The page types that you will be able to see will be specific to your website. The ones seen in the screenshot above are the pages-types that ship with the Alloy Demo website.
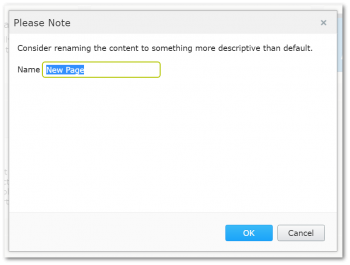
Click on the page type you want to create. You will usually have to add in some mandatory information about the page, like the name.
Other data that you might be required to add will be dependant on the template you choose. You may need to add extra fields in the create new page type dialogue. After you click OK in the step above, Episerver will create your new page. You can edit the page contents. You can edit the page using the on-page editing feature. This view allows you to edit properties on the page on the fly. Hoving your mouse over any of the fields that turn blue are editable. If you click in one of them you should be able to add content.
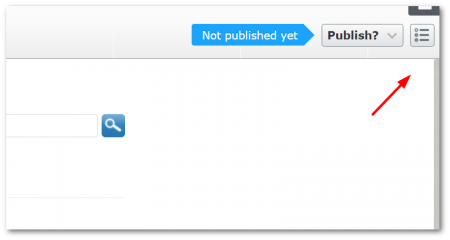
If like me, you don't like on-page editing, if you click the burger menu on the top right-hand side, you can load up the edit view panel:
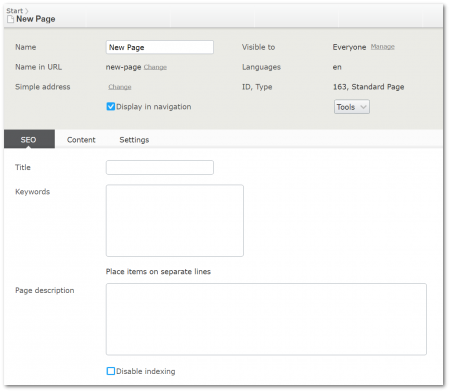
The edit view isn't as pretty, however, in my opinion, it allows you to enter content quicker. The tabs and properties that ou will see on this screen will vary based on your implementation of Episerver. When have finished editing, click the Publish button. Happy Coding 🤘
