In this content editors guide, we will take a tour of the Episerver editor. This series of posts will teach a content editor everything they need in order to master the Episerver editor. The editor is the area where content editors and marketers will spend most of their time using Episerver. Mastering the editor is a key part of being able to create compelling content within your website. Within this guide, you will learn everything you need to get started. If this sounds good to you, read on 🔥🔥🔥
To access the editor add /episerver to the end of your websites Url. After you have logged into Episerver, you will be redirected to the editor. In this tutorial, I will provide some screenshot and descriptions about what you can do within the editor. If you are reading this and your editor looks different, or some capability is missing do not worry. You may not be able to see all the features that I highlight below. There are a few reasons why this might happen:
The editor can be locked down based on user permissions and your account might not have access to everything 🔒
Different versions of Episerver offer different capabilities. If your site is powered by an older version of Episerver, you will not have access to the latest features.
Episerver is very extendable. It ships with lots of integrations, extensions and plug-ins. If your website uses one of them you may see extra things not listed here
So, if your website looks slightly compared to the screenshots below, don't worry too much 😊
Top Navigation Menu
The main navigation area lives at the top of the editor. As you can see from the screenshot below, there are a few editor related links on the left and some account management features on the right.

First, on the left we have these links:
EDIT: This is where you create, edit and publish your site content.
ADMIN: This is where the website's settings are managed. Depending on what type of Episerver user account you have been assigned, you may or may not have access to this. Only
adminaccounts can access this areaREPORTS: This area gives you some basic reports about your content.
VISITOR GROUPS: This area allows you to create segments. Segments will allow you to start personalising how your website behaves to site visitors. For example, you may want to display a discount code to a visitor if they have added a certain product to their shopping cart.
In the top right-hand corner, you have access to the standard account features like log-out, search, help etc... I won't go over these links in too much detail, as they are all pretty self-explanatory.
Top Editor Menu
Directly under the top Episerver menu, you start to see the editor controls:

Episerver's interface is quite user-friendly, so there's not that much to be afraid of here. On the left-hand side you will see a panel with five icons:
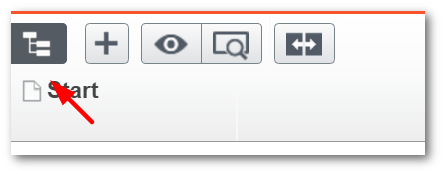
The first button will open the left-hand navigation panel:

This panel gives you access to the Episerver page tree. From the page tree, you can add, edit, delete and publish pages. You can re-order content, apply permissions, workflows and personalisation. The page tree gives you a master view of your website. Within the page tree, you can either click on a page to view it in the editor, or, you can click on the plus arrow icons to view any child pages:
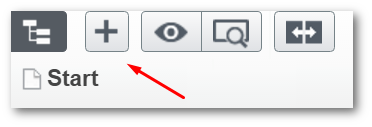
The second icon in the top editor menu is a button with a +. This button will create new a new page. More information about creating a new page can be found in, here.
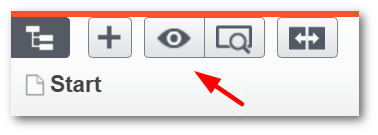
The third icon will allow you to preview the page using different views. In the modern age of the responsive website, you may need to create omnichannel content. Omni-channel content is content that is consumed on different platforms, like your website, mobile app, etc... It is possible to see how content will look in different channels in the CMS. Depending on how your developers have set-up your website will determine what views and options you have available. Everything in this section is just buttons, so feel free to go in and click whatever as you won't break anything.
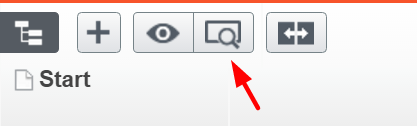
The next icon is the preview icon. Before publishing content I recommend that you always double-check how a page looks using the preview view before publishing it. When writing content, a lot of editors rely on Episervers on-page-editing feature. This feature gives you a good indication of how a page will look, however, the final page might not render exactly how it appears in the editor. The preview button will switch Episerver into real-life view mode.
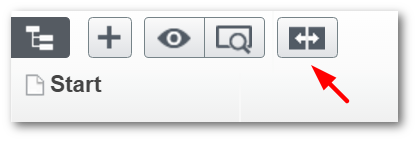
The last icon in the editor menu, is the page compare feature. This button is really useful for organisations that have to adhere to compliance, governance and regulations. If Episerver has been configured to only publish content within an approval workflow, you can use this feature to review any page revisions. This is handy when you need to decide if some new content amends are OK to make live. Comparing a page to a previous state can be very useful.
Right Side Of Menu
On the right-hand side of the menu, you have the publishing-related features:
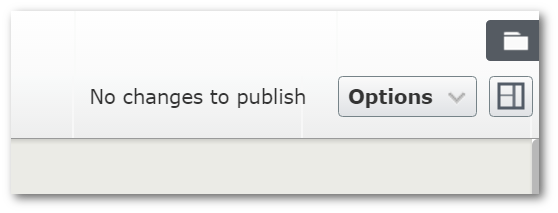
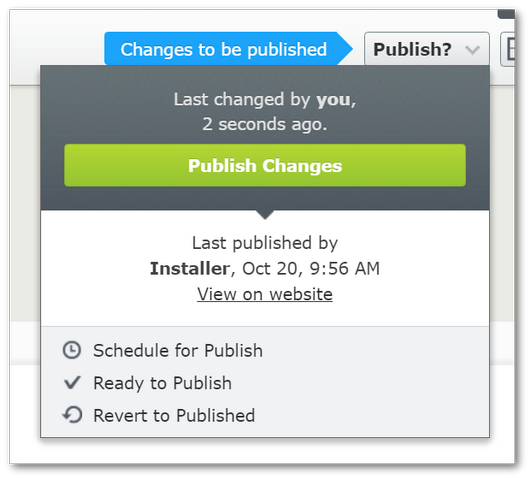
The first thing that you will likely notice is the publish status. If a page has any outstanding content amends, you will see a bright blue publish button. Underneath this button, you will also have access to a dropdown. From here you will be able to publish any changes using the big green Publish Changes button. If you do not see this it is likely that your user account does not have the correct publishing permissions:
The next button is the On-Screen editing button:
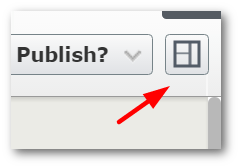
This button will toggle the view between 'On Page editing' and 'All Properties' view. The last button is the view/hide assets panel button:
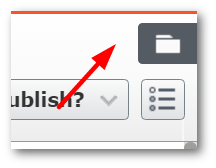
Clicking on this will expand the Assets panel. The assets panel is where you will manage blocks and media.
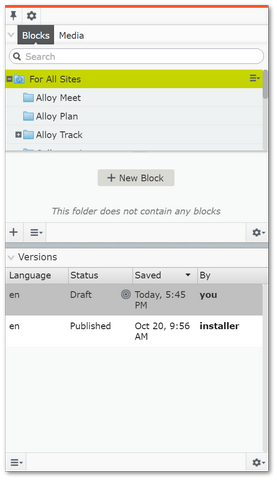
From this panel, you can see what images and what blocks have been built within the system.
This covers the main features and capabilities within the editor interface. I hope this helps you write some EPIC content. Happy Coding 🤘
