If you are a .NET developer, you use Windows 11 and you hate waiting around for Visual Studio to compile your code, you need to learn about dev drives.
Have you ever tried to debug your .NET solution and your anti-virus software pops up and prevents your console from running until it confirms your code is not a threat? Since when did we hand over permission to our anti-virus scanner to decide when we are allowed to code? This process sucks.
Dev drives were released in October 2023 as part of the Windows 11 22H2 update. This means that you can start using dev drives without installing any additional software, as long as your Windows 11 is up-to-date.
Aside from anti-virus savings, compiling is also faster within a dev drive. This means that by simply copying your solution code into a dev drive, you can save a good chunk of time every time you compile your code. If these types of potential savings sound interesting to you, read on in order to learn how to become a dev drive master in less than 15 minutes!
Windows Dev Mode
Before Windows will allow you to create a Dev-Drive, you will need to enable Windows Dev mode first. Dev Mode was first introduced within Windows 10.
Dev mode definitely started out being more focused on developers who create Windows Store apps. The reason for this is that once enabled you can install and debug non-certified Windows Store apps and have better integration with the device portal and device discovery
The good news is that the dev mode isn't all focused on App Store developers. Dev mode also offers a few capabilities that any developer will find handy. These include:
Disable/enable the Window hide file extension rule by default
Disable/enable show full path in Windows Explorer
- Disable/enable show empty drives
- Run as a different user when you launch an application
- Allow remote desktop connections
- Powershell just works without you needing to modify the execution policy
- Ability to create symbolic links
While having all these options available to you in a single area is useful, however, for normal .NET developers there is nothing really groundbreaking here. You can definitely enable a lot of these settings directly within different areas of Windows regardless if dev mode is enabled or not. This is why historically, this mode wasn't really an essential setting, however, with the release of dev drives this is now a must-enable mode for all .NET developers in my opinion!
Enabling dev mode is really easy, as you can see in the clip below:
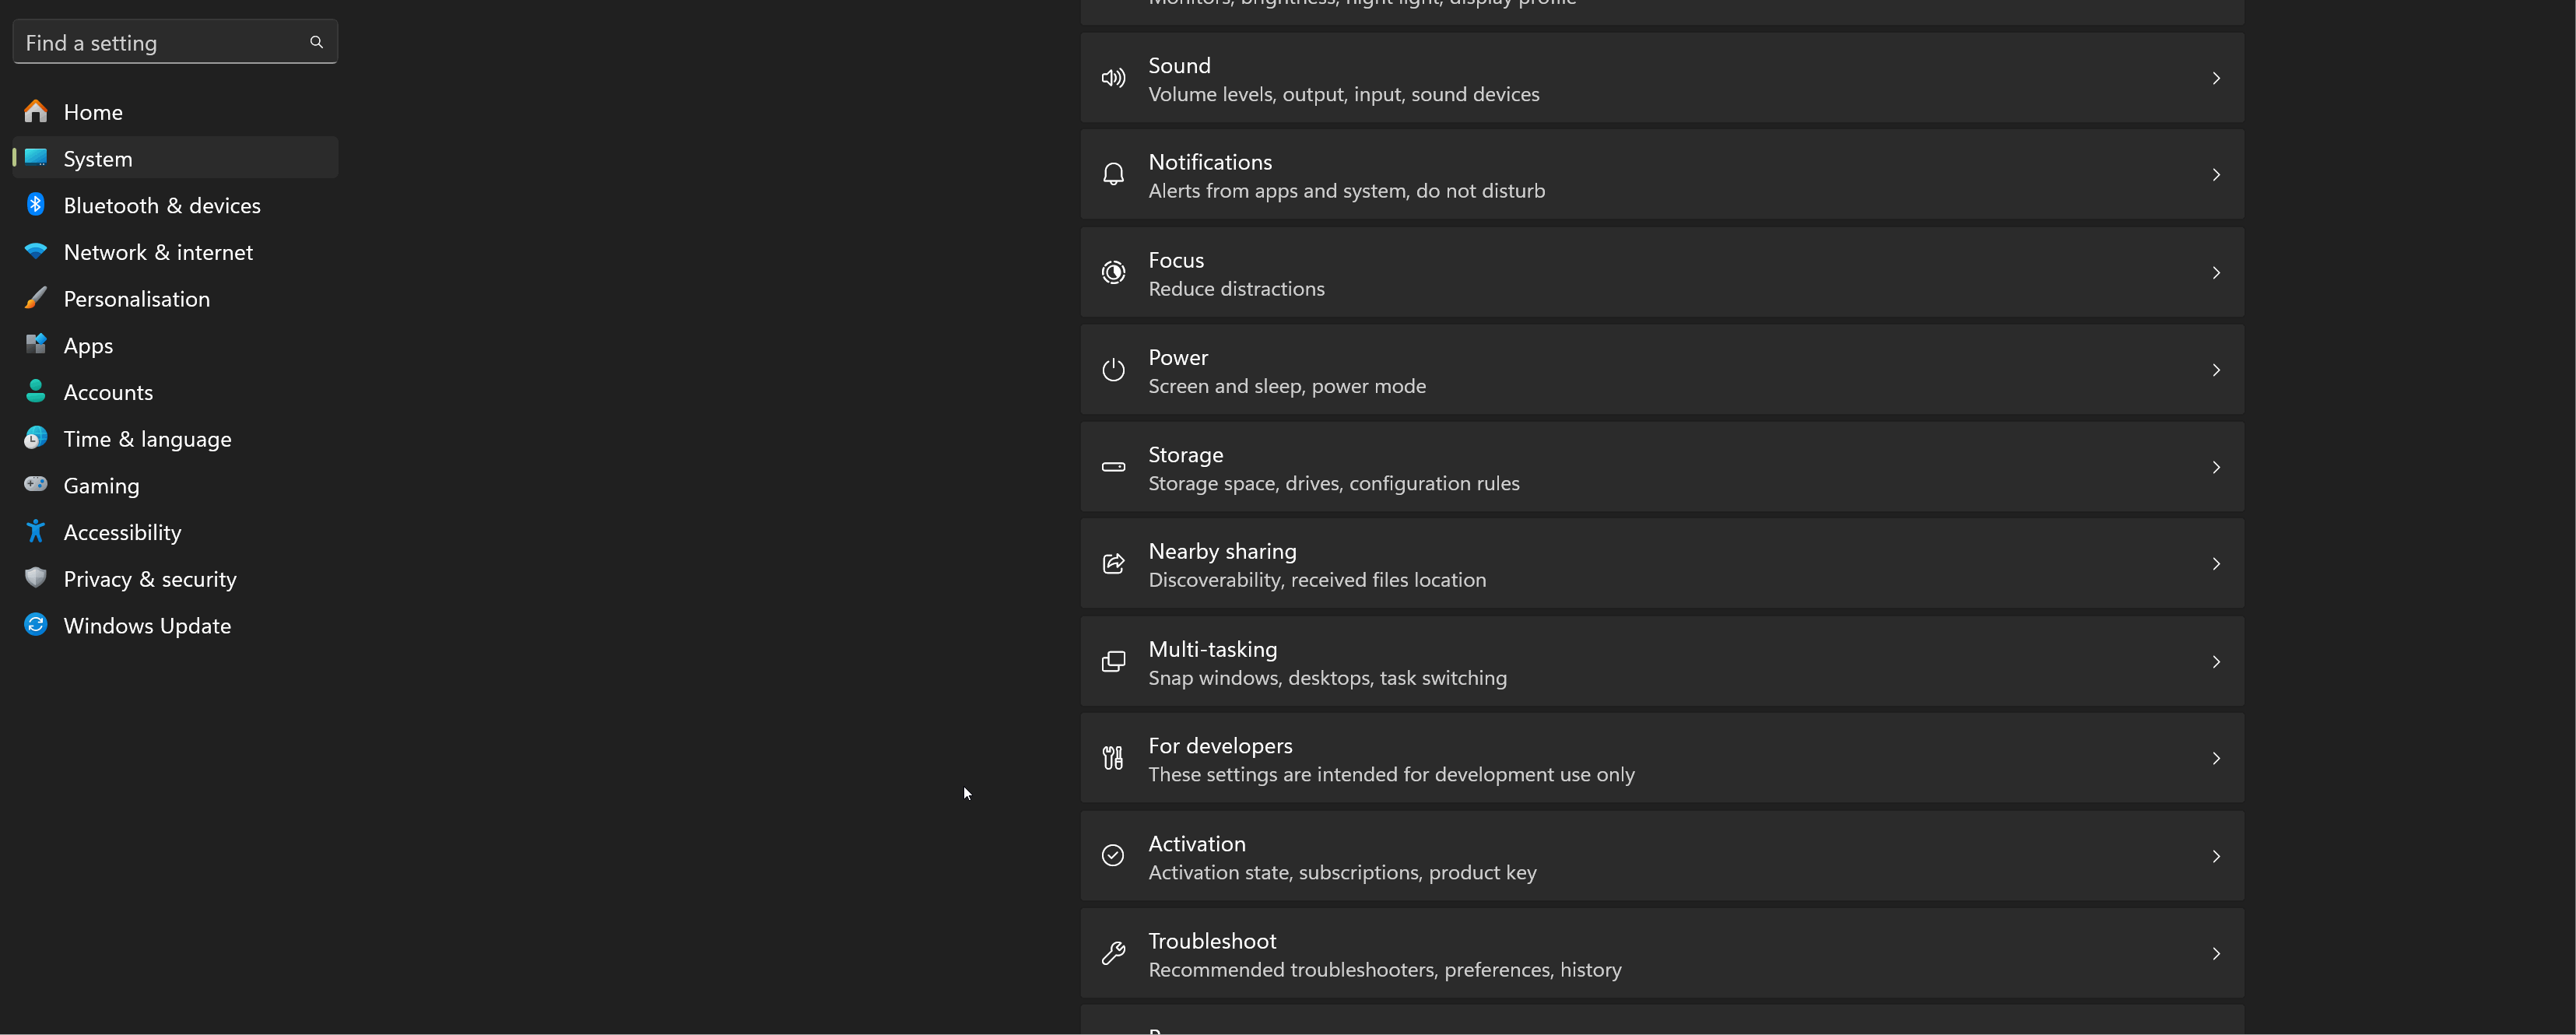
Go to the System settings and within here you will find an option called For Developers. Enable this setting.
What Is A Dev Drive?
A dev drive is a new file/disk format. The benefit of storing your code within this new format is that it should allow Visual Studio to compile that code more quickly. I've seen speed savings of 50% when I've made some side-by-side comparisons locally, however, the official stat Microsoft says you can expect to see is around 25%!
A second benefit of a dev drive is that it should also make repeated disk reads quicker (think restoring Nuget packages)
Lastly, storing your code within a dev drive means that when you debug your code it will not trigger your anti-virus software anymore! This alone is worth the effort of creating a dev drive!
The reason for these savings is that dev drives are formatted using ReFS technology. ReFS provides file system optimizations and additional control over storage settings and security, including additional trust designation aimed at antivirus configuration.
ReFS also speeds up disk-bound operations, so think cloning files, building solutions, as well as NuGet package restores, so all-in-all, lots of good stuff! If you want to learn more about ReFS you can find additional information here!
How To Create a Dev Drive
You can create a dev drive within a standalone new disk partition or, you can create a virtual disk drive that will get stored within your normal Windows files system. Personally, I've been coding within a virtual dev drive and so far it's been working really well!
If you opt to create a virtual hard drive (VHD) on your machine, you will need to define the folder location where you want the drive to be stored. Additionally, you will need to give the dev drive a label and a drive letter. For this example, I labeled my drive Code and defined the drive letter as Z!
You can create a dev drive using the option found towards the bottom of the dev mode screen.

Once your dev drive is created it should appear under My Computer just like the rest of your disk drives. Once you can access your drive, your final task is to copy/clone your projects and solutions into this drive... job done!
How To Performance Test Dev Drive Compiling
In order to prove how much quicker your code compiles within a dev drive, you can make use of a PowerShell command called Measure-Command. Using this command you can performance how long it takes to clean and build your solution. You can then compare new and old to determine the savings! Assuming you are running a normal .NET app, the command you need to run is shown below:
From my tests, the code for my main website solution compiled in 13.2611822 seconds on my hard drive. When I connected the code to my dev drive it compiled in 8.1136182. Finally, if you launch the debugger you should now notice your anti-virus is not triggered. This on its own will give you a giant time-0saving on a weekly basis. This makes me happy!